AI Image21 min read
Batch 4–6 On Brand AI Images: Prompt Formula for Creators
A creator-first playbook for AI image generation. Use a repeatable prompt formula, batch 4–6 variants, and a brand workflow to produce consistent on brand...
Batch 4–6 On Brand AI Images: Prompt Formula for Creators
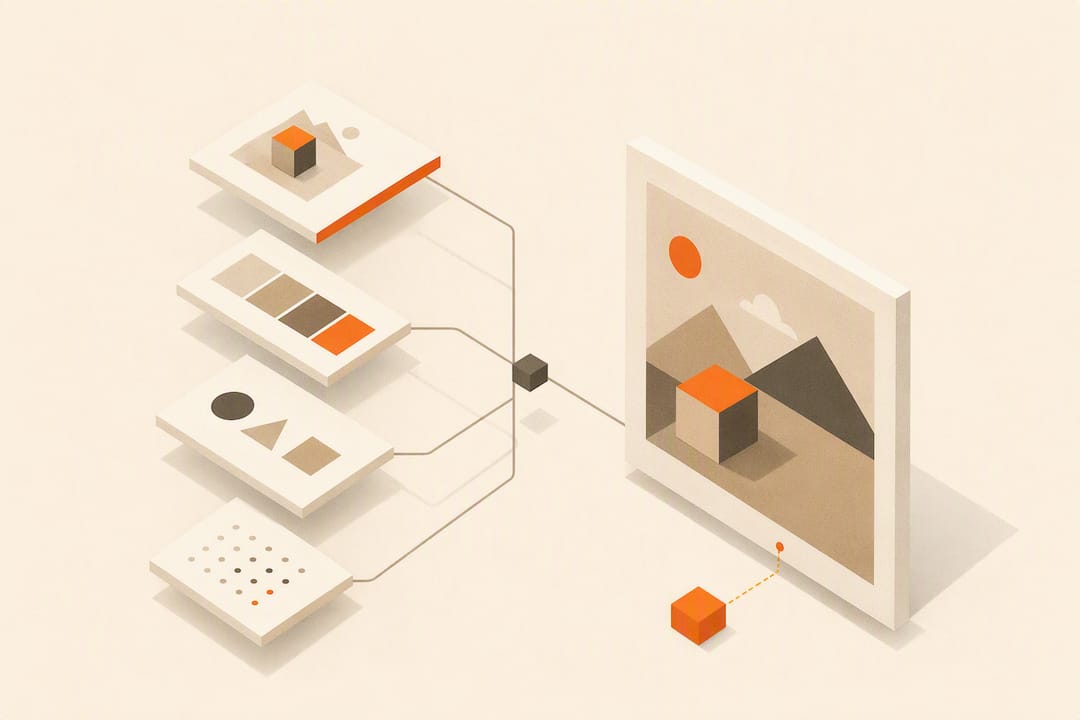
AI image generation turns a written prompt into a custom picture, using a model trained on millions of image-text pairs to predict pixels that match your words. To get something usable fast, write a specific prompt (subject, action, environment, style), choose an aspect ratio that fits where the image will live, then generate and refine. Most modern tools let you tweak a result conversationally instead of starting over, and workspace features like brand voice and bulk generation help teams keep a consistent look across dozens of images.
TL;DR:
- Higher-quality setting produces more detailed and coherent images, but it takes longer compared to faster, lower-tier models suitable for quick drafts.
- Reusing seed values and reference images helps maintain visual consistency across multiple generated images in a series or campaign.
- Specifying technical details such as aspect ratio and lighting in prompts significantly increases the likelihood of meeting the desired output, reducing the need for cropping.
- The most versatile tools are diffusion-based models that offer a wide range of styles, but matching the tool to the specific job minimizes troubleshooting.
- AI image generators excel at rapid ideation and batch production but still often produce artifacts or biased results, which require human review and editing.
Table of Contents
- How Text-to-Image Models Actually Work
- The Controls That Actually Change Your Output
- A Prompt Formula You Can Reuse Every Time
- Matching Style and Settings to the Job
- Running a Real Production Workflow, Not Just One-Off Prompts
- GANs, Diffusion, and What Actually Powers Modern Tools
- Why AI Images Still Get Things Wrong
- Who Owns an AI-Generated Image, and How to Use One Responsibly
- Where Businesses Are Actually Using This Right Now
- Comparing Popular AI Image Generation Tools
- Fixing the Most Common Generation Problems
- When to Trust the AI and When to Call a Professional
- Try a unified platform for faster, on-brand visual production.
- Sources
- FAQ
How Text-to-Image Models Actually Work
The mechanics are simpler than the marketing makes them sound. You type a prompt, the model breaks it into concepts it recognizes from training, and it builds an image pixel by pixel (or in stages) until it matches those concepts as closely as its training allows. There’s no database of stock photos being stitched together. The model is generating something new each time, which is why the same prompt can produce noticeably different results on separate runs.
Model variant and quality settings change two things: how closely the output matches your prompt and how long it takes to show up. A faster, lighter model gives you a rough draft in a couple of seconds, useful for testing ten prompt variations quickly. A higher-quality setting takes longer but renders finer detail, better hands, and more coherent backgrounds, the stuff that separates a passable concept sketch from something you’d actually put in a client deck.
Iterative editing has changed the workflow more than any single model upgrade. Instead of writing a perfect prompt on the first try, you generate a rough version, then ask for specific changes: “make the lighting warmer,” “move the subject to the left third of the frame.” Reference images push this further. Upload a product photo or a brand mascot, and the tool can generate new scenes around that exact asset rather than guessing at it from a text description. The Nano Banana 2 image generator is a good example of a tool built around this back-and-forth refinement rather than one-shot generation.
The Controls That Actually Change Your Output
Most people generate an image, don’t love it, and just re-type the whole prompt. That’s the slow way. The faster way is knowing which control to touch for which problem.
Model choice is your speed-versus-fidelity dial. If you’re brainstorming ten directions for a social post, use the faster model and burn through options. If you’re producing the final hero image for a landing page, switch to the higher-fidelity setting and accept the longer wait.
Resolution and aspect ratio should be decided before you write the prompt, not after. A square or 4:5 crop works for Instagram feed posts, 9:16 for Stories and Reels, and 16:9 for YouTube thumbnails or website banners. Print work needs higher resolution output than anything destined for a phone screen, since a blown-up low-res image shows artifacts a scaled-down one hides.
Reference images and seed settings let you lock in a look across a series. Reusing the same seed value with small prompt tweaks keeps lighting and composition consistent, which matters if you’re generating a set of product shots that need to feel like one photoshoot instead of five random attempts. Compositional detail, camera angle, lighting direction, exact framing, is often what separates a professional-looking asset from an obviously AI-generated one, according to Google’s overview of its Nano Banana 2 tool.
A quick reference for what to adjust and why:
- Model/quality tier: controls detail level and generation speed, not just image size.
- Aspect ratio: match it to the platform before generating, not after cropping.
- Reference image: anchors style, character, or product consistency across a batch.
- Seed value: reuse it to keep variations visually related.
- Credits/generation limits: quality tiers usually cost more per image, so reserve them for final outputs, not early drafts.
A Prompt Formula You Can Reuse Every Time
Vague prompts get vague results. The fix is a formula: subject + action + environment + style + technical details (lighting, camera angle, aspect ratio). Skip a piece and the model fills the gap with a generic guess, which is usually where disappointing outputs come from.
Here’s the formula in practice:
- Photorealistic portrait: “A woman in her thirties laughing while pouring coffee, in a sunlit kitchen with wood cabinets, photorealistic style, soft morning light, shot on a 50mm lens, 4:5 aspect ratio.”
- Illustration: “A fox reading a book under a lamp post, flat vector illustration style, muted autumn colors, centered composition, 1:1 aspect ratio.”
- Product shot: “A ceramic mug on a marble countertop, minimalist studio lighting, soft shadows, product photography style, 3:2 aspect ratio, clean white background.”
- Social header: “A team celebrating around a laptop in a bright open office, candid documentary style, natural window light, wide shot, 16:9 aspect ratio.”
Once you have a result you mostly like, don’t rewrite the whole prompt to fix one thing. Ask for the specific edit instead: “keep everything the same but change the mug to blue” or “same scene, move the camera closer.” Tools that support this kind of conversational refinement save you the frustration of losing a good composition while chasing a small fix. AmmarAI’s own guide to writing better AI prompts walks through this same subject-action-environment-style structure with more worked examples.
The most common mistake is stacking contradictory instructions, asking for “photorealistic” and “cartoonish” in the same prompt, or specifying two different lighting setups. The model will average them into something muddy. The second most common mistake is skipping the aspect ratio entirely and cropping after the fact, which often cuts off exactly the part of the image you cared about.
Pro Tip: Generate multiple variants of the same prompt before you start editing to increase your chances of a strong starting image. Picking the strongest of four rough drafts is almost always faster than trying to perfect one image from scratch.
Matching Style and Settings to the Job
The style you pick should follow from where the image is going, not the other way around.
- Photorealistic: best for marketing hero shots, product mockups, and anything meant to look like a real photo shoot. Pair it with higher quality settings since flaws are more noticeable in realistic renders.
- Painterly/illustrated: works well for blog headers, editorial pieces, and brand mascots where a stylized, less literal look reads as more approachable.
- Vector/flat design: ideal for icons, infographics, and anything that needs to scale cleanly without losing crispness.
- 3D render: suited to product visualization, app mockups, and anything that needs to look dimensional without a physical photo shoot.
Format matters as much as style. A LinkedIn post crops harshly on mobile, so square or 4:5 images survive better than wide landscape shots. Print materials need higher resolution exports and usually favor a more literal, photorealistic style since stylized art can look flat on paper. Web banners benefit from 16:9 or wider ratios that fill a hero section without awkward cropping.
Three quick examples: a fitness brand wanting an Instagram carousel would use “photorealistic style, 4:5 aspect ratio, warm natural light, athletic subject mid-motion.” An indie game studio building a website banner would go with “painterly fantasy illustration, 16:9 aspect ratio, dramatic side lighting.” An e-commerce seller prepping a product listing would use “studio product photography, 1:1 aspect ratio, soft even lighting, plain background.”
Running a Real Production Workflow, Not Just One-Off Prompts
Generating a single decent image is easy. Generating fifty on-brand images for a campaign, without every one looking like it came from a different designer, is the actual challenge most creators and small teams run into.
The fix is treating image generation as a workflow, not a one-off task. A workspace that carries a saved brand voice across every generation keeps color palettes, tone, and style choices consistent without you re-typing style instructions each time. Bulk generation lets you queue a batch of prompt variations (same product, five backgrounds; same character, ten poses) instead of generating one at a time and losing track of which settings you used. Shared workspaces mean a marketing team isn’t emailing image files back and forth, everyone works from the same history and the same brand settings.
This is the core idea behind AmmarAI’s image generator, which builds text-to-image generation into a workspace alongside writing and video tools rather than as an isolated app. For a small team, the practical benefit isn’t any single feature. It’s not re-explaining your brand’s visual style in every new tool you open.
A simple workflow that holds up for actual campaigns:
- Draft your prompt formula once, save it as a template.
- Generate a small batch (four to six variants) before committing to quality-tier renders.
- Use brand voice settings to lock tone and style across every image in the set.
- Store approved outputs in a shared workspace so teammates aren’t regenerating the same asset.
Pro Tip: When producing images for a multi-platform campaign, generate the full batch in bulk first, then crop or reformat for each platform. Regenerating separately for Instagram, LinkedIn, and email almost always produces inconsistent results.
GANs, Diffusion, and What Actually Powers Modern Tools
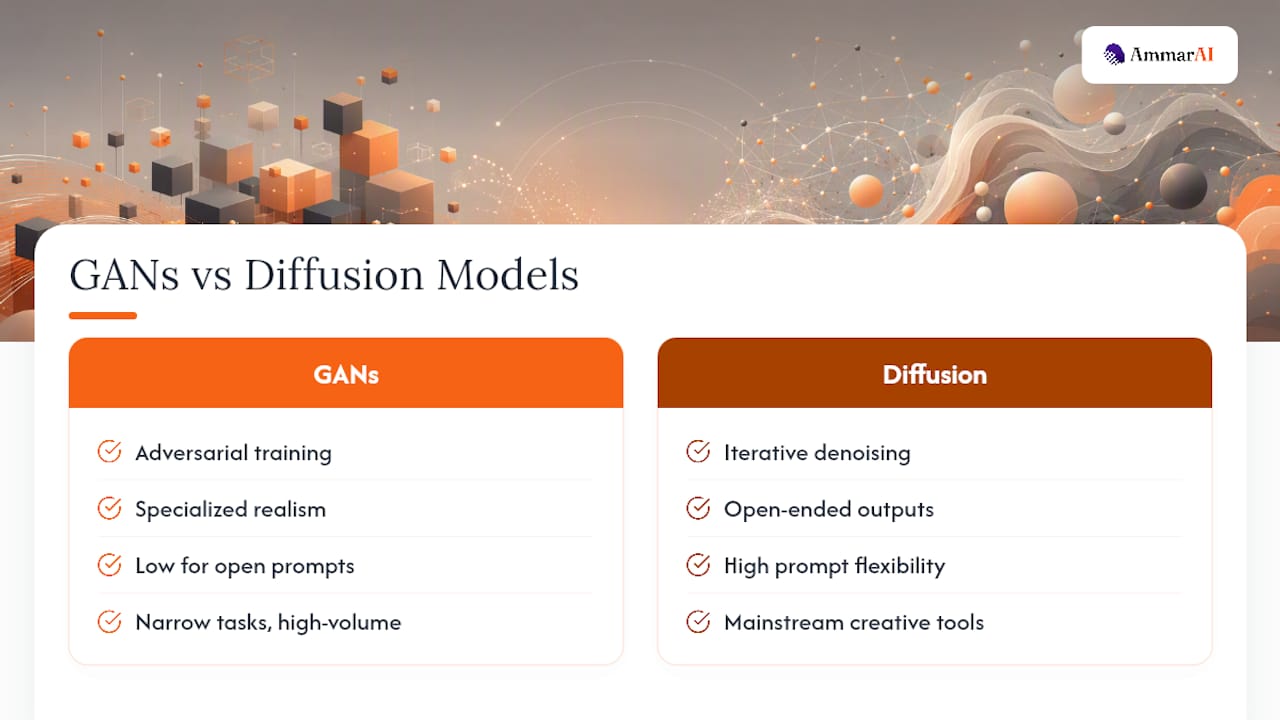
Two families of models built the AI image generation field, and they solve the problem differently. Generative Adversarial Networks, or GANs, work by pitting two neural networks against each other: one generates images, the other tries to spot which ones are fake. Over thousands of rounds, the generator gets good enough to fool the detector, which produces sharp, often highly realistic outputs. GANs tend to excel at narrow, well-defined tasks, generating faces or upscaling images, but they can struggle with the open-ended, “generate anything from any text” flexibility most creators want today.
Diffusion models, which power most current mainstream tools, take a different approach. They start with random noise and gradually refine it, step by step, into a coherent image guided by your text prompt. This process is slower per image than a GAN but far more flexible, since the same underlying model can generate a photorealistic portrait, a cartoon fox, or an architectural render depending entirely on what you type.
Each family has a strength worth knowing. GANs still shine in specialized, high-volume tasks like face generation or image restoration, where a narrower model trained on one job outperforms a general-purpose one. Diffusion models dominate the general creative tools most people use today because they respond to open-ended prompts rather than a fixed category of output. Newer transformer-based image models are narrowing that gap further, improving prompt adherence and detail in ways that used to require heavier quality settings just a couple of years ago.
Why AI Images Still Get Things Wrong
Every AI image generator inherits the biases and gaps baked into its training data, and that shows up in predictable ways. Ask for “a doctor” or “a CEO” with no other detail and many models default to a narrow demographic, not because that’s accurate, but because it’s overrepresented in the images the model learned from. The fix isn’t perfect, but being specific in your prompt, naming age, gender, ethnicity, setting, reduces the model’s tendency to default to a stereotype.
Artifacts are the other recurring headache. Hands with the wrong number of fingers, text that looks like language but isn’t actually legible, and objects that blend into each other at the edges are all symptoms of the same root issue: the model is predicting plausible pixels, not rendering physical reality. Text inside images remains one of the hardest problems, most tools still struggle to render a clean, readable word on a sign or label, even as everything else in the frame looks sharp.
Consistency across a batch is a subtler limitation. Ask for the same character in five different scenes and, without a reference image or a locked seed, you’ll often get five different faces. This isn’t a bug so much as a reminder that these models generate fresh each time rather than remembering a “character” the way a human illustrator would.
None of this means the outputs are unusable, it means treating the first generation as a draft, not a final. Reviewers evaluating tools consistently flag prompt fidelity and editing controls, not raw model name, as the real difference between a tool that requires ten regenerations and one that gets close on the first or second try, according to Zapier’s roundup of AI image generators.
Who Owns an AI-Generated Image, and How to Use One Responsibly
Rights and ownership questions around AI-generated images are still being worked out in courts and legislatures, and the answer can depend on which tool you used and where you’re publishing. What’s consistent across current guidance is the advice to check your specific tool’s licensing terms before assuming you can use an output commercially without restriction, since terms vary meaningfully between platforms.
Creator advocacy groups also push a second point that’s easy to overlook: think about the people whose work trained the model you’re using. The Copyright Alliance’s guidance on generative AI recommends transparency about AI involvement and attention to licensing, particularly when a generated image closely mimics a specific, identifiable artist’s style. That’s not just an ethics point, it’s increasingly a practical one, since platforms and clients are starting to ask directly whether content was AI-generated.
A few habits keep you on solid ground. Disclose AI involvement when a client, publisher, or platform asks, rather than letting it come up later. Read your tool’s terms of service for the specific language around commercial use rather than assuming all AI image tools grant the same rights. Avoid prompts that explicitly target a living artist’s name and style, both because it raises fairness questions and because platforms are increasingly restricting that kind of prompt anyway. And keep a record of your prompts and generation dates for anything used commercially, useful if a rights question ever comes up later.
Where Businesses Are Actually Using This Right Now
The use cases stretch well beyond social media graphics, though that’s still where most people start.
Marketing and advertising teams use AI image generation for rapid concept testing, generating five visual directions for a campaign before committing budget to a full photo shoot. E-commerce sellers generate product mockups and lifestyle shots for listings without booking a studio, particularly useful for sellers testing multiple product variants before deciding which to manufacture at scale. Publishing and content teams generate custom blog headers and editorial illustrations instead of relying on generic stock photography that readers have seen a hundred times elsewhere.
Game development and entertainment studios use it for rapid concept art, environment sketches, and character exploration during early pre-production, long before a final asset needs a human illustrator’s polish. Architecture and interior design firms generate rendered concepts of spaces before committing to expensive 3D modeling software. Education and training materials benefit from custom illustrations that match a specific curriculum’s tone rather than forcing a generic stock image into an awkward fit.
Small business owners across categories, real estate, local retail, personal brands, use it for everything from social proof graphics to seasonal promotional images they’d otherwise skip entirely due to design costs. The common thread across every one of these is speed: a direction that used to take a design brief and a week now takes a prompt and a few minutes of iteration, even accounting for the extra revisions rougher outputs sometimes need.
Comparing Popular AI Image Generation Tools
Different tools optimize for different things, and the “best” one depends heavily on what you’re producing. Reviewers evaluating the field consistently weigh a few factors: how closely output matches the prompt, how wide a style range the tool supports, how good the built-in editing tools are, and how well the tool fits into an existing design workflow, according to Zapier’s 2026 roundup.
Entry-level, free-tier tools are built for quick, low-stakes generation, ideal for personal projects or testing prompt ideas before committing to a paid tier. Specialized creative tools lean into a distinct artistic style or niche use case, useful if your work consistently needs one particular look. Integrated workspace platforms, where image generation sits alongside writing, video, and other content tools, tend to matter most for small teams and marketers who need images to match brand voice across many pieces of content rather than as a standalone creative exercise. One platform falls into this last category, pairing text-to-image generation with the rest of a content production stack rather than as an isolated app you jump into and out of.
The practical takeaway when comparing tools: don’t just ask “which model is best.” Ask which tool’s editing controls, export formats, and integration with your existing workflow will save you the most time on the tenth image, not just the first one.
Fixing the Most Common Generation Problems
Most generation frustrations trace back to one of a handful of fixable issues.
The image doesn’t match your prompt at all. This usually means the prompt is either too vague or too contradictory. Break it back down into the subject-action-environment-style formula and check whether you’ve accidentally asked for two incompatible styles in one prompt.
Faces or hands look distorted. Try a higher quality setting, since lower tiers often sacrifice fine anatomical detail for speed. If the problem persists, regenerate rather than trying to prompt your way around it. Some compositions are simply harder for a given model.
The style is inconsistent across a batch. Lock in a seed value and reuse it across variations, and consider uploading a reference image so the model has a concrete anchor instead of reinterpreting your text prompt from scratch each time.
Text in the image is garbled. This remains a known limitation across most models. The workaround is generating the image without text and adding it afterward in a separate editing step rather than trying to force legible text through the prompt.
Colors or lighting don’t match your brand. Add specific technical details to your prompt, exact lighting direction, color temperature, rather than relying on general style words like “professional” or “clean,” which the model interprets loosely.
When none of these fixes work, the tool itself may be the mismatch. A model tuned for photorealism will fight you on flat vector illustration requests, and vice versa. Matching the tool to the job upfront saves more troubleshooting time than any single setting adjustment.
When to Trust the AI and When to Call a Professional
AI image generation earns its keep in rapid ideation, low-cost marketing graphics, and early-stage mockups, situations where speed matters more than perfection. It starts to fall short on brand-critical hero shots and scenes with complex human interaction, where a client will notice the uncanny hand or the slightly wrong emotional read on a face. The strongest workflow isn’t AI instead of a professional. It’s AI for volume and speed, with a human editor or photographer brought in for the handful of images that actually carry the brand.
— Ahmed
Try a unified platform for faster, on-brand visual production.
If you’ve been juggling a separate subscription for images, another for video, and a third for writing, the actual cost isn’t just the combined bill. It’s the time lost re-explaining your brand style in three different tools every time you start a new project. One platform’s image generator sits inside the same workspace as its writing, video, and brand voice tools, so a product image you generate can flow straight into a script, a social caption, or a short promotional clip without exporting and re-uploading between apps.
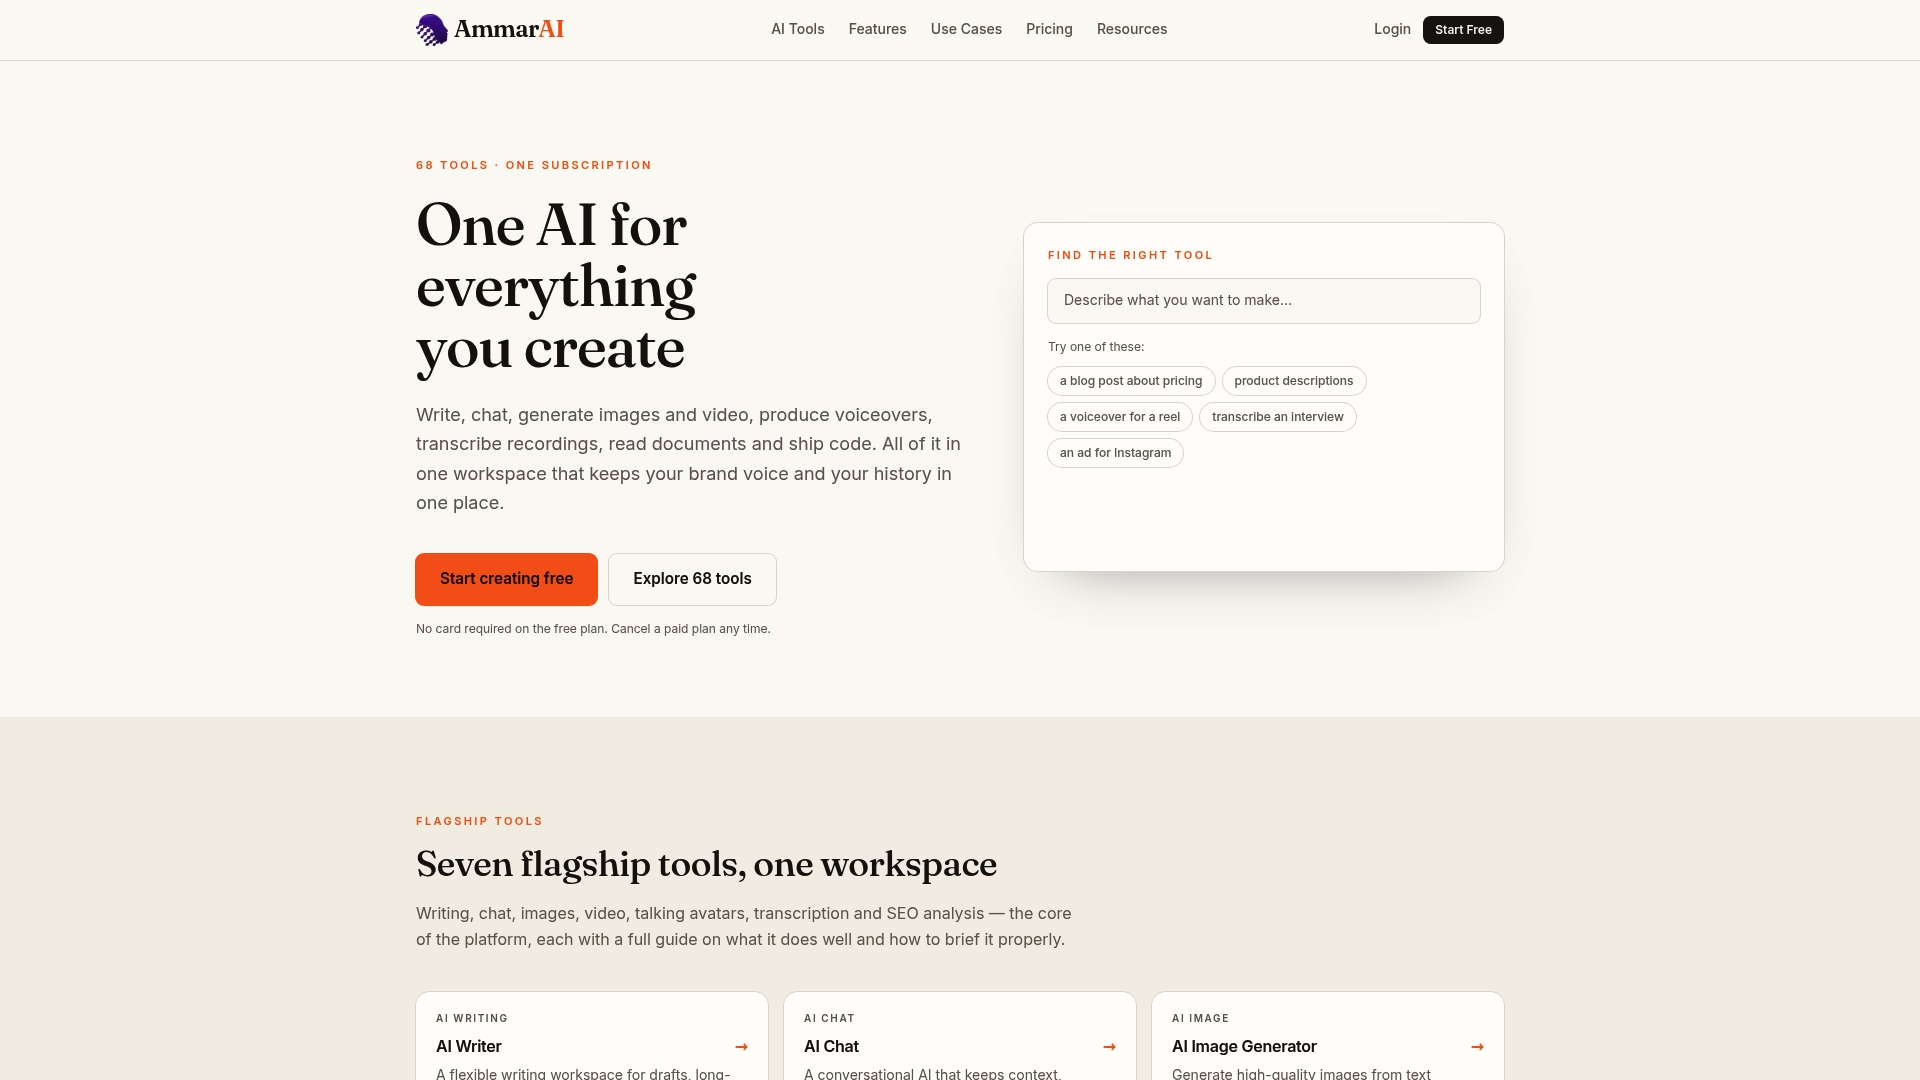
This setup benefits marketers running multi-platform campaigns, e-commerce sellers who need consistent product visuals across dozens of listings, and small teams that don’t have a dedicated designer on staff. Bulk generation and shared workspaces mean everyone pulls from the same history and the same brand settings instead of multiple people generating slightly different versions of the same idea.
If your next step after images is turning that visual into motion, an AI image to video tool animates a still image directly, useful for turning a product shot into a short ad clip without a separate video shoot. Start with the image generator, keep your brand voice locked in, and build outward from there.
Sources
For deeper guidance on rights and disclosure, see the Copyright Alliance’s generative AI resource. For a broader tool comparison, Zapier’s roundup of AI image generators breaks down feature differences. For how AI content is treated in search, Flock’s piece on whether AI-generated content ranks is worth a read.
- Protecting creators in an era of generative AI · Copyright Alliance
- The 8 best AI image generators in 2026 · Zapier
FAQ
What Is AI Image Generation?
AI image generation is the process of creating a custom picture from a written text prompt, using a model that predicts pixels matching your description rather than pulling from existing photos.
Can I Use AI-Generated Images Commercially?
It depends on your specific tool’s licensing terms, so check them before publishing commercially, and follow the Copyright Alliance’s guidance on disclosure and attribution where relevant.
Why Do AI Images Sometimes Have Distorted Hands or Faces?
The model predicts plausible pixels rather than rendering physical anatomy, so complex details like hands and faces are common trouble spots, especially at lower quality settings.
What’s the Difference Between GANs and Diffusion Models?
GANs pit two networks against each other to sharpen realism and excel at narrow tasks like face generation, while diffusion models refine random noise step by step and handle open-ended, flexible prompts better.
How Do I Keep AI Images Consistent Across a Campaign?
Reuse the same seed value and reference image across generations, and use a workspace with a saved brand voice, like AmmarAI’s image generator, to keep style and tone consistent across a batch.
Recommended
Recommended for you
- AI Search Visibility: Gain 3–5 Points in 4–12 Weeks for Marketers
Measure and boost AI search visibility. Use prompt audits and a visibility score, prioritize answer-first pages and third-party mentions to earn citations.
- Best AI Video Generator: 7 Tools Compared
Find the best AI video generator for cinematic clips, avatars, editing and value. Compare quality, length limits, pricing and ideal users.
- AI Content Repurposing With AmmarAI in 7 Steps
Follow a practical AI content repurposing workflow in AmmarAI to turn one article into social posts, a newsletter, and a short video.
Tools to try next
- AI Image Editor
Edit a photo by describing the change — swap the background, remove objects, extend the frame, fix the light.
- AI Product Photoshoot
Turn one plain product photo into a full commercial shoot — studio, lifestyle and seasonal scenes.
- AI Fashion Try-On
Put a garment on a model without a shoot — same clothes, real fit, any model, any setting.