
AI Marketing20 min read
Six Part Image Prompt Formula for Creators: Ship Campaigns Faster
Creator focused image prompt guide with a six part formula, 3–9 seed iteration rules, and ready templates for product, hero, and UI campaigns.

Six Part Image Prompt Formula for Creators: Ship Campaigns Faster
The most reliable image prompt guide is a single formula: Subject, Setting, Style, Lighting, Composition, Constraints, in that order. Start with a clean base prompt, change one element per turn, and generate three to nine seeds before judging the result. Check quality tier, size or format, and transparency settings before you troubleshoot the wording itself.
TL;DR:
- Using the six-part prompt formula and ordering prompts with subject and constraints first increases consistency and effectiveness across different tools and iterations.
- Generating three to nine seeds per prompt helps identify prompt stability issues and reduces the risk of chasing chance results.
- For the best results, specify camera lenses, lighting sources, and material qualities explicitly, especially for realism and detail.
- Reusing a well-structured prompt library by task and Varying only one element at a time enhances workflow efficiency and brand consistency.
- When editing images, state exactly what to change and what to preserve, repeat instructions each turn, and match mask formats to avoid drift.
Table of Contents
- Prompting fundamentals and a checklist you can reuse
- The 6-part prompt formula and how to assemble it
- Camera and lighting language that steers realism
- Choosing and describing styles and mediums reliably
- Settings that actually change your output
- Editing without drift: masks and change-only phrasing
- Combining multiple images into one result
- A disciplined way to iterate and fix what breaks
- Ready-to-adapt templates for common production tasks
- Turning a reference image into a working prompt
- Tools that speed up the whole workflow
- When to move fast and when to slow down
- Get your prompt formula into a workflow that keeps up
- Sources
- FAQ
Prompting fundamentals and a checklist you can reuse
Every strong prompt follows the same logic before it follows any style trend. Decide the intended use first (a hero banner, a product shot, a UI mockup), then work outward: scene or background, main subject, key details, style or medium, lighting, composition or shot type, and finally any constraints, including exact text that must appear. This order matters because generation models weight earlier tokens more heavily, and OpenAI’s image prompting guidance recommends structuring prompts with scene or background moving to subject, then key details, then constraints, with quality and size settings and masks handled separately for edits.
A compact way to audit a prompt before you generate is SCQIVE: Subject, Composition, Quality, Iteration plan, Variation count, Exact text. Read through your draft and ask whether each letter has an answer. If “exact text” has no answer, you probably don’t need quoted copy in the image. If “iteration plan” has no answer, you’re about to waste a generation on a prompt you haven’t decided how to test.
Three formats work depending on the task:
- Labeled segments (“Subject: a golden retriever puppy. Style: watercolor. Lighting: soft morning light”) when you need to debug which part is causing a problem.
- Short prose (“A golden retriever puppy sitting in a sunlit garden, painted in loose watercolor”) when the tool responds better to natural sentences than to lists.
- JSON-like key-value pairs when you’re scripting bulk generation and need a parseable structure for a batch job.
Labeled segments are the easiest to troubleshoot because you can isolate exactly which line changed between two generations. Prose reads more naturally to most models and tends to produce fewer literal, checklist-looking images. JSON-like structures shine only when a script is assembling prompts programmatically, not when you’re typing by hand.
Pro Tip: Write your first draft as labeled segments, then collapse it into prose once you know which lines matter. That way you keep the debug trail without shipping a checklist-sounding image.
The 6-part prompt formula and how to assemble it
The formula that recurs across current prompting guidance is Subject, Style, Lighting, Composition, Color, Quality. It’s a practical shorthand that modern how-to guidance converges on as a way to build a complete prompt without forgetting a slot that quietly ruins the render.
- Subject. The main thing in the frame, described concretely: “a red vintage bicycle leaning against a brick wall,” not “a nice bike.”
- Style. The medium or aesthetic: “35mm film photograph,” “flat vector illustration,” “oil painting with visible brushstrokes.”
- Lighting. Source, quality, and direction: “golden hour backlight,” “soft overcast light from the left.”
- Composition. Framing and shot type: “close-up, shallow depth of field,” “wide shot, rule of thirds, subject on the left third.”
- Color. A palette or dominant tone: “warm amber and rust tones,” “muted blue-gray palette.”
- Quality. Rendering intent: “sharp focus, fine detail,” or a lower bar when you just need a rough draft.
Assembling the parts means front-loading what matters most: subject and intended use come first, because early tokens carry more weight, and constraints (exact text, aspect ratio, things to avoid) come last so they read as final instructions rather than buried mid-sentence.
- Short prompt (5 to 15 words): fast ideation, quick mood checks. “A lighthouse at dusk, watercolor, cool blue palette.”
- Medium prompt (one to two sentences): most production work. Covers subject, style, lighting, and one composition note.
- Long prompt (three or more sentences, or labeled segments): brand-sensitive assets where you need to lock color, composition, and constraints simultaneously, such as a hero image that must match an existing campaign.
For photorealistic results, camera and composition terms tend to steer the output more reliably than a generic instruction to make something look real. That guidance holds across OpenAI’s own prompting documentation, which favors lens and lighting language over vague polishing words. A partner reference on subject and style wording, WOVA, covers similar ground for readers who want more worked examples of keyword selection.
Camera and lighting language that steers realism
Composition and lighting words do more work than most people expect, because they map to physical cues the model has learned from real photographs and film stills.
Shot type sets the frame: close-up, medium shot, wide shot, or aerial view each imply a different amount of background and detail. Aspect ratio matters for the same reason: a square crop reads differently than a 16:9 banner, and if you need clean space for text overlay, ask for negative space explicitly, positioned according to the rule of thirds rather than centered.
Camera cues borrow from photography vocabulary:
- Lens feel: “35mm lens” reads as natural and slightly wide, “85mm portrait lens” reads as flattering and compressed.
- Aperture feel: “shallow depth of field” blurs the background, “everything in sharp focus” keeps the whole frame legible.
- Focal length cues: “wide-angle” exaggerates depth and can distort edges, useful for environmental shots, less useful for product accuracy.
Lighting phrases work best when they name source, quality, direction, and temperature together, rather than one vague mood word. “Soft diffused window light from the left, cool blue temperature” gives the model four separate handles to pull. Material interaction matters too: “light catching the edge of brushed metal” behaves differently from “light on matte fabric,” and naming the material tells the model how to render the highlight.
Pro Tip: When a render looks flat, add one lighting direction and one material cue before you touch anything else. Flat lighting is usually a missing-direction problem, not a missing-detail problem.
A partner resource on translating traditional art lessons into digital wording, Brittany Clare Art, walks through composition and lighting fundamentals that carry over cleanly into prompt language for portraits.
Choosing and describing styles and mediums reliably
Naming the medium is the first and most reliable style lever: “photograph,” “watercolor painting,” “3D render,” “flat vector illustration” each set a different baseline before you add a single adjective. Once the medium is named, layer in technique cues: “visible brushwork” or “loose brushstrokes” for painting, “fine grain” or “shot on film” for photography, “clay-like matte material” for 3D render.
Artist references are common shorthand, but they carry real ambiguity: a name can mean different things to different models, and using a living artist’s name raises its own fairness questions. A safer, more reliable approach is to describe the qualities that made the style recognizable in the first place: “bold color blocking, thick outlines, high contrast” instead of a single artist name. This also tends to produce more consistent results across different tools, since medium and technique words are far better represented in training data than any one proper name.
- Name the medium first, then the technique, then the finishing detail.
- Prefer concrete material and texture cues (“rough canvas texture,” “glossy ceramic surface”) over mood words like “dreamy” or “epic,” which the model interprets inconsistently.
- Test a style phrase on a neutral subject before committing it to a brand asset, so you know what it does before it matters.
- Keep a short list of style phrases that have worked before, since consistent wording produces more consistent results across a campaign.
Settings that actually change your output
Quality tier is the setting most people skip, and it changes more than render time. Low quality suits fast drafts and concept checks, while medium or high quality matters for dense text, fine detail, or anything shipping as a final asset. The OpenAI Cookbook’s image generation guidance recommends choosing lower quality modes for throughput-sensitive drafts and reserving higher quality only for final, brand-sensitive work.
Size and format decisions follow the same drafts-versus-finals logic:
- Common sizes like 1024x1024 and 1024x1536 are the dependable defaults, with larger resolutions treated as an experimental threshold rather than a guaranteed setting.
- PNG or WebP are the formats to use when you need a transparent background, such as a product cutout for an e-commerce listing.
- Pixel constraints exist on the output side, so oversized requests can get resized or rejected depending on the tool.
Recent guidance recommends generating three to nine seeds per prompt to reveal how much variation a single wording produces. HCI experiments on structured prompting found this range of seed counts consistently improves reliability and helps surface stochastic variation you’d otherwise miss from a single render. That variation is information: if nine seeds all miss the same detail, the prompt is the problem, not the luck of the draw.
Cost and latency scale with quality tier and size, so a batch of 50 low-quality drafts is a different budget line than 50 high-quality finals, and most workflows should draft at low quality and upgrade only the assets that survive review.
Editing without drift: masks and change-only phrasing
Edits go wrong when a small request accidentally changes something you didn’t mention. The fix is a canonical pattern: state exactly what changes, then list everything that must stay the same, and repeat that preservation list on every follow-up turn rather than assuming the tool remembers it.
- State the single change. “Change only the background to a beach at sunset.”
- List what to preserve. “Keep the subject’s pose, outfit, and facial expression the same.”
- Repeat the list next turn. Each follow-up edit restates the preservation list, since treating it as implied is how drift creeps in.
- Re-verify after each render. Check the untouched elements actually stayed untouched before you approve the edit or move to the next change.
Masks need their own care: match the mask format and size to the source image, and if you need a transparent output, confirm the alpha channel survives the save step rather than getting flattened to a solid background. Developer guidance on iterative edits recommends exactly this pattern, using “change only X” phrasing and repeating preservation lists to avoid drift between turns, alongside masks for anything that needs to stay strictly local. AmmarAI’s image editor supports change-only edit phrasing directly, which keeps this workflow to a single tool rather than round-tripping through a separate masking app.
Pro Tip: Treat every edit turn like a fresh instruction. If the tool got something right last time by accident, restate it this time on purpose.
Combining multiple images into one result
When a prompt references more than one input image, index them explicitly rather than describing them loosely: “Image 1 = subject photo, Image 2 = style reference” removes any ambiguity about which attributes come from where. Then say exactly what to borrow from each: “use the pose from Image 1, the color palette from Image 2.”
Compositing instructions work best as direct commands with an explicit spatial relationship: “place the bird from Image 1 on the elephant in Image 2, preserve the lighting and scale of Image 2.” Without the scale and lighting instruction, a composited element often looks pasted on rather than integrated.
- Assign a role to every input image, since an unlabeled reference is a guess the model has to make for you.
- Name the exact attribute to borrow (pose, palette, texture, framing), not the whole image.
- State a spatial relationship (“on top of,” “behind,” “to the left of”) for anything being composited.
- Resolve conflicts explicitly: if two references disagree on lighting, say which one wins rather than letting the model average them.
- Protect identity by repeating distinguishing features (face shape, exact color, logo placement) in the constraints, since compositing is where identity drift happens most.
A disciplined way to iterate and fix what breaks
Generate three to nine seeds from your base prompt before judging it, since a single render tells you almost nothing about how stable your wording actually is. Each seed set should answer one question: does this prompt reliably produce the subject, the style, or the composition you asked for, or did it work once by chance.
Research on rephrasing the same prompt found that swapping word order or syntax rarely changes success consistently, so the fix for a weak result usually isn’t a synonym, it’s checking whether the correct attribute keywords are present at all.
Common failure modes and their fixes:
- Attribute binding failures (the wrong object gets the wrong color or feature): name the attribute directly next to its subject instead of listing attributes separately.
- Spatial contradictions (two instructions that can’t both be true): remove one instruction rather than hoping the model picks the right one.
- Buried subjects (the main subject gets lost in background detail): move the subject earlier in the prompt and trim competing description.
- Leftover attributes (an edit keeps something from an earlier turn that should have changed): restate the full preservation list and the single change together.
- Text legibility problems: increase quality tier and spell unusual words letter by letter, since dense or small text is where most models still fall short.
After every render, run a short check: does the required text match exactly, did the constraints get respected, and does the subject’s identity match the reference. AmmarAI’s guide to writing better prompts walks through this kind of diagnostic pass in more detail for readers refining a recurring prompt.
Pro Tip: Keep the seed that almost worked. It usually tells you which single word to change next, rather than starting the prompt over.
Ready-to-adapt templates for common production tasks
A short template covers quick concepts: “[Subject], [style], [lighting].” A medium template adds composition and color: “[Subject] in [setting], [style], [lighting], [composition], [color palette].” A long template locks everything down for brand work: labeled segments covering subject, setting, style, lighting, composition, color, quality, and exact constraints, including any text that must render verbatim in quotes.
- Product shot: “A [product] on a plain white background, studio lighting from the front-left, product photography style, sharp focus, transparent background.”
- Hero image: “[Subject] in [setting], cinematic lighting, wide shot with negative space on the right third for text overlay, warm color palette.”
- UI mockup: “A mobile app screen showing [feature], flat design, clean vector illustration, high contrast, exact text ‘Get Started’ on the primary button.”
- Infographic element: “A simple icon representing [concept], flat vector style, single accent color, no background, sharp edges.”
- Style-transfer edit: “Change only the art style to watercolor, keep the subject’s pose, framing, and color palette the same.”
Two quick iteration examples show the one-change rule in practice. First, a product shot that came out too dark: adding “soft fill light from the right” alone fixed it, without touching the subject or background description. Second, a hero image with text crammed into busy space: adding “negative space on the right third” alone opened up room for the overlay, no other line needed to change.
For campaigns that need many variants, keep the underlying structure stable across the batch and vary only one slot at a time (color, setting, or a single detail) so the set reads as a consistent family rather than a scattered pile. A curated library of these tested templates, tagged by task and by which slot varies, saves the most time on repeat campaigns. AmmarAI’s guide to batch AI image generation covers this kind of library approach for teams producing four to six on-brand images at once.

Turning a reference image into a working prompt
Reverse-engineering a prompt from an image you like follows a short loop: observe, extract, map, test. Look at the image and list its concrete attributes: the subject, the dominant palette, the materials and textures visible, the composition and framing, and any camera cues the shot implies (shallow depth of field, wide angle, natural light).
- Observe the image without judgment first: what’s actually there, not what mood it evokes.
- Extract the attributes into short phrases, one per formula slot.
- Map each phrase onto Subject, Setting, Style, Lighting, Composition, and Color.
- Test the resulting base prompt, then adjust one slot if the render misses something.
This workflow earns its keep most clearly in batch and localization work, where a single approved reference image becomes the base prompt for a dozen regional variants, each changing only the language in the constraints or a single cultural detail in the setting, while the rest of the formula stays locked.
Tools that speed up the whole workflow
Running this formula by hand across dozens of assets is where most creative workflows slow down, and it’s exactly where a unified toolset pays off. AmmarAI’s AI Image Generator supports the six-part formula directly, with a paired image editor for change-only edits and mask-based touch-ups without switching tools.
- AI Image Generator and Editor: build, generate, and edit images with change-only phrasing in one place.
- Brand voice: lock a consistent tone and description style across every prompt a team writes.
- Bulk generation: run a stable base prompt across many variants for a campaign or localization batch.
- Shared workspaces: keep a team’s prompt history and templates in one place instead of scattered chat threads.
For teams that want worked examples rather than a blank prompt box, AmmarAI’s blog post on batch image generation and its companion piece on writing better prompts both walk through templates built on this same formula. The practical benefit for a team isn’t a smarter model, it’s fewer rewritten prompts and faster sign-off once everyone is working from the same reusable phrasing.
When to move fast and when to slow down
Prototyping calls for low quality, small batches, and quick judgment calls. Finalizing a brand asset calls for the opposite: higher quality tier, a locked color and composition, and a preservation list you repeat on every edit turn without exception.
Organize a prompt library by task, not by mood: name entries “product shot, white background” rather than “cool moody thing,” so a teammate can find and reuse them. For anything brand-sensitive, err on the side of over-specifying constraints and re-verifying identity after each render rather than trusting a single good result to repeat itself.
— Ahmed
Get your prompt formula into a workflow that keeps up
Writing a strong prompt is one skill. Running that same formula across a week of campaign assets, in a consistent brand voice, without twenty browser tabs open, is a different problem entirely.
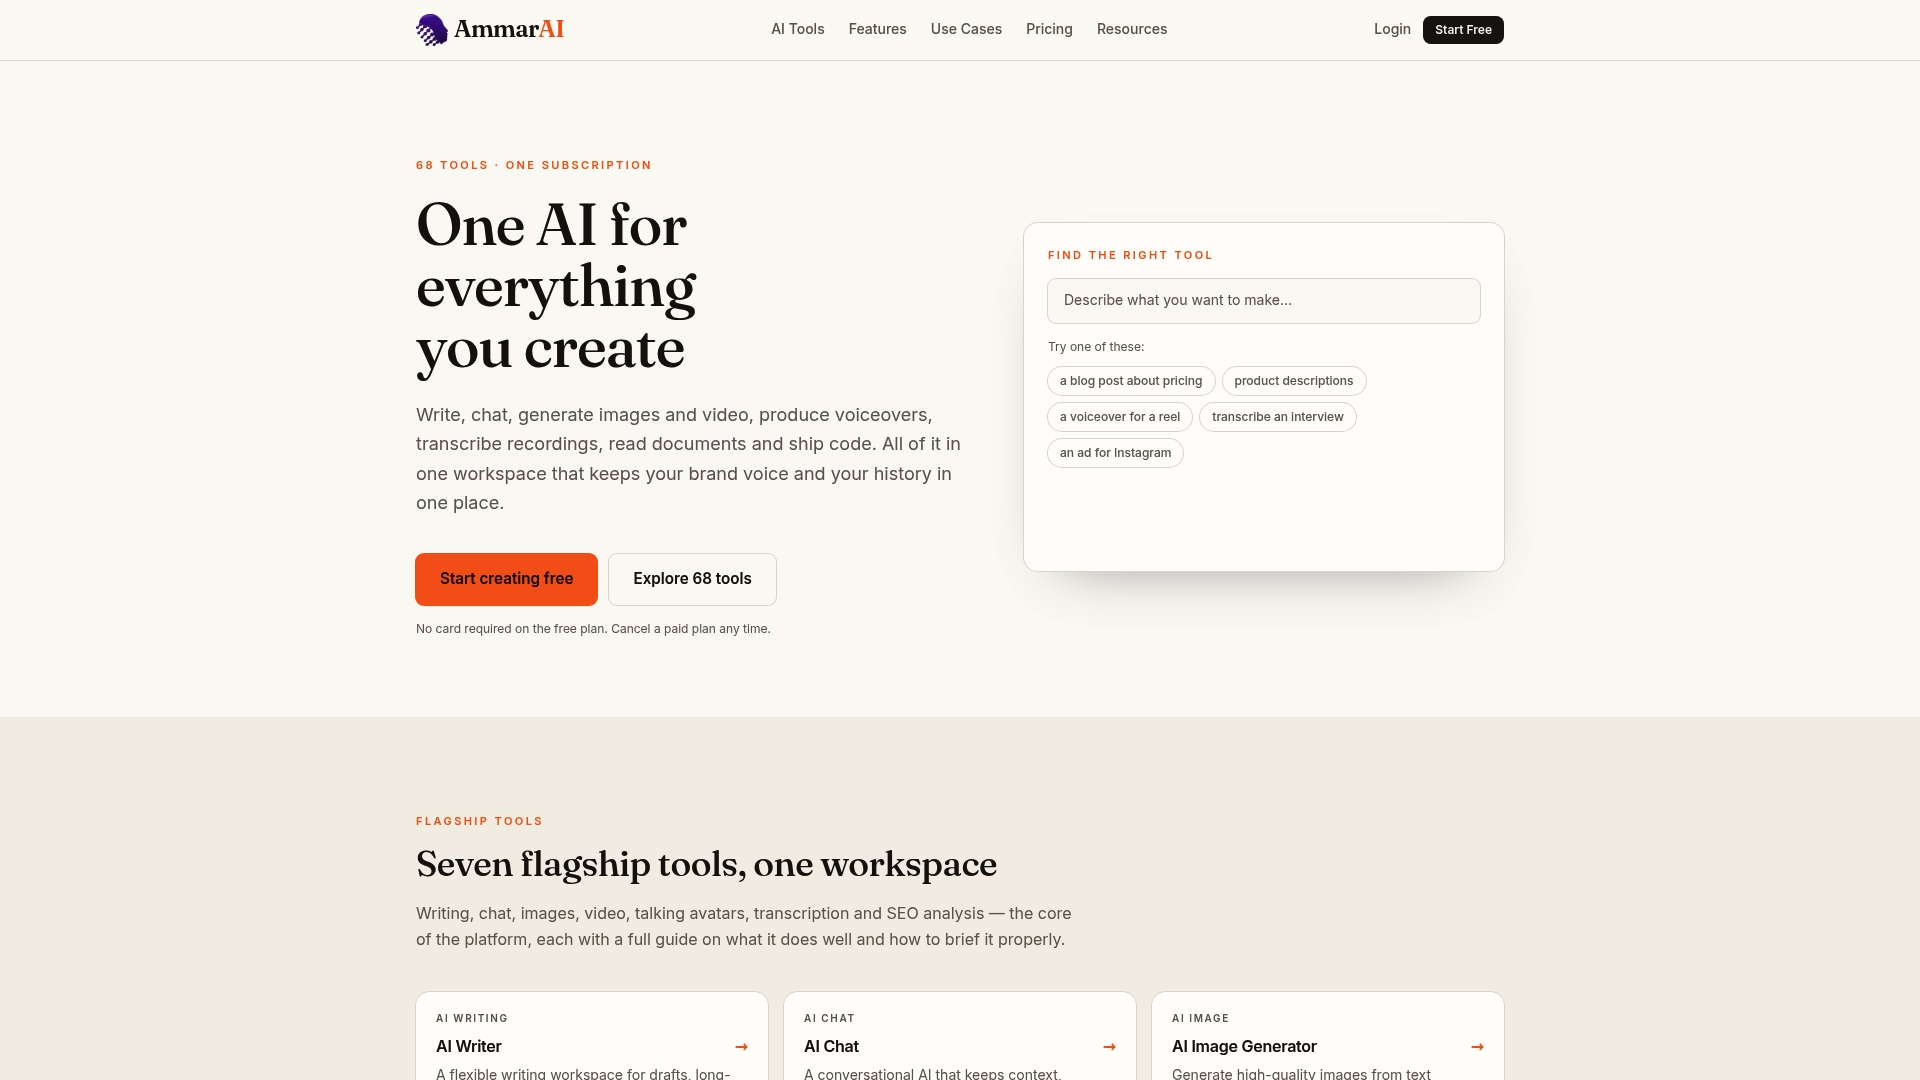
The platform offers an AI Image Generator with an editor built for change-only edits and bulk generation in a unified workspace.
- Bulk generation turns one approved base prompt into a full campaign set without rebuilding it each time.
- Brand voice keeps color, tone, and description style consistent across every image a team generates.
- Built-in image editor applies change-only edits and masks without exporting to a separate tool.
If the six-part formula in this guide is one you’ll use again next week, it’s worth running it inside a workspace built to repeat it. Check the AmmarAI pricing page for the Free, Starter, Professional, and Ultimate plans and find the tier that matches how much you generate.
Sources
The OpenAI image prompting guide and its companion Cookbook notebook cover official structure, sizing, and mask handling in more detail than fits here. The HCI research on structured prompting backs the seed-count and structure recommendations used throughout this guide. For ready-made prompt fragments organized by category, the Stable Diffusion prompt dataset on Hugging Face is a practical starting library.
- Image prompting | OpenAI API
- Design Guidelines for Prompt Engineering Text-to-Image Generative Models (HCI experiments)
FAQ
How do you properly prompt for images?
Follow the order Subject, Setting, Style, Lighting, Composition, Constraints, putting the subject and intended use first since earlier words carry more weight. Generate a small batch of seeds from that base prompt before judging it, then change one element per turn based on what the structured prompting research recommends.
What are some good image prompt examples?
A product shot works well as “a [product] on a plain white background, studio lighting from the front-left, sharp focus, transparent background.” A hero image works as “[subject] in [setting], cinematic lighting, wide shot with negative space on the right third.” Both follow the same subject-first, constraints-last structure.
What are good image prompts to try in ChatGPT?
The same six-part formula applies: name the subject and setting first, then style, lighting, composition, and any exact text in quotes. For text-heavy images, spell unusual words letter by letter and increase the quality tier, since dense text is where models still fall short on small-font fidelity.
How can you create an image prompt from scratch?
Start with intended use, then write one short phrase for each formula slot: subject, setting, style, lighting, composition, constraints. Test it as a base prompt across a few seeds, then adjust a single slot at a time rather than rewriting the whole prompt after each render.
Recommended
Recommended for you
- Best AI Marketing Tools by Job: 2026 Guide
Compare the best AI marketing tools by job, pricing model, pros, cons, and ideal user across planning, ads, social, email, and analytics.
- 4–6 Week Pilot to Prove AI for Agencies and Map It to Roles
Run a 4–6 week AI pilot pairing agentic automation with brand content and map results to account, creative, and operations to prove value.
- Ad Copy Generator for Video, Audio, and Social
Use an ad copy generator to turn one product brief into focused video, audio, and social scripts with AmmarAI’s practical workflow.
Tools to try next
- AI Marketing Bot
Broadcast marketing messages to your WhatsApp and Telegram audiences — written by AI, segmented, scheduled and measured.
- Brand Voice
Define how your brand sounds once, and have every writing tool follow it.
- AI Agent Builder
Build agents that run real workflows on a schedule or trigger — reading, deciding and acting without you.