
Automation
How to build an AI agent
AI Agent Builder turns a plain-language job description into a workflow that can run on demand, on a schedule or when a message arrives. Each step can use the result from the step before it.
This guide covers the regular-user workflow for creating and monitoring an agent. Workspace installation, provider credentials and plan controls are intentionally excluded.
When to use this
- A repeated task requires several decisions or tools, not one generated answer.
- You want the workflow to run on a schedule or react to incoming messages.
- You need a visible run history before trusting an automation.
Start from the Agent Builder
Open the agent dashboard
Open AI Agent Builder. Start with the plain-language description box, open the visual builder, or choose a featured starting point such as a daily report, weekly summary or morning briefing.
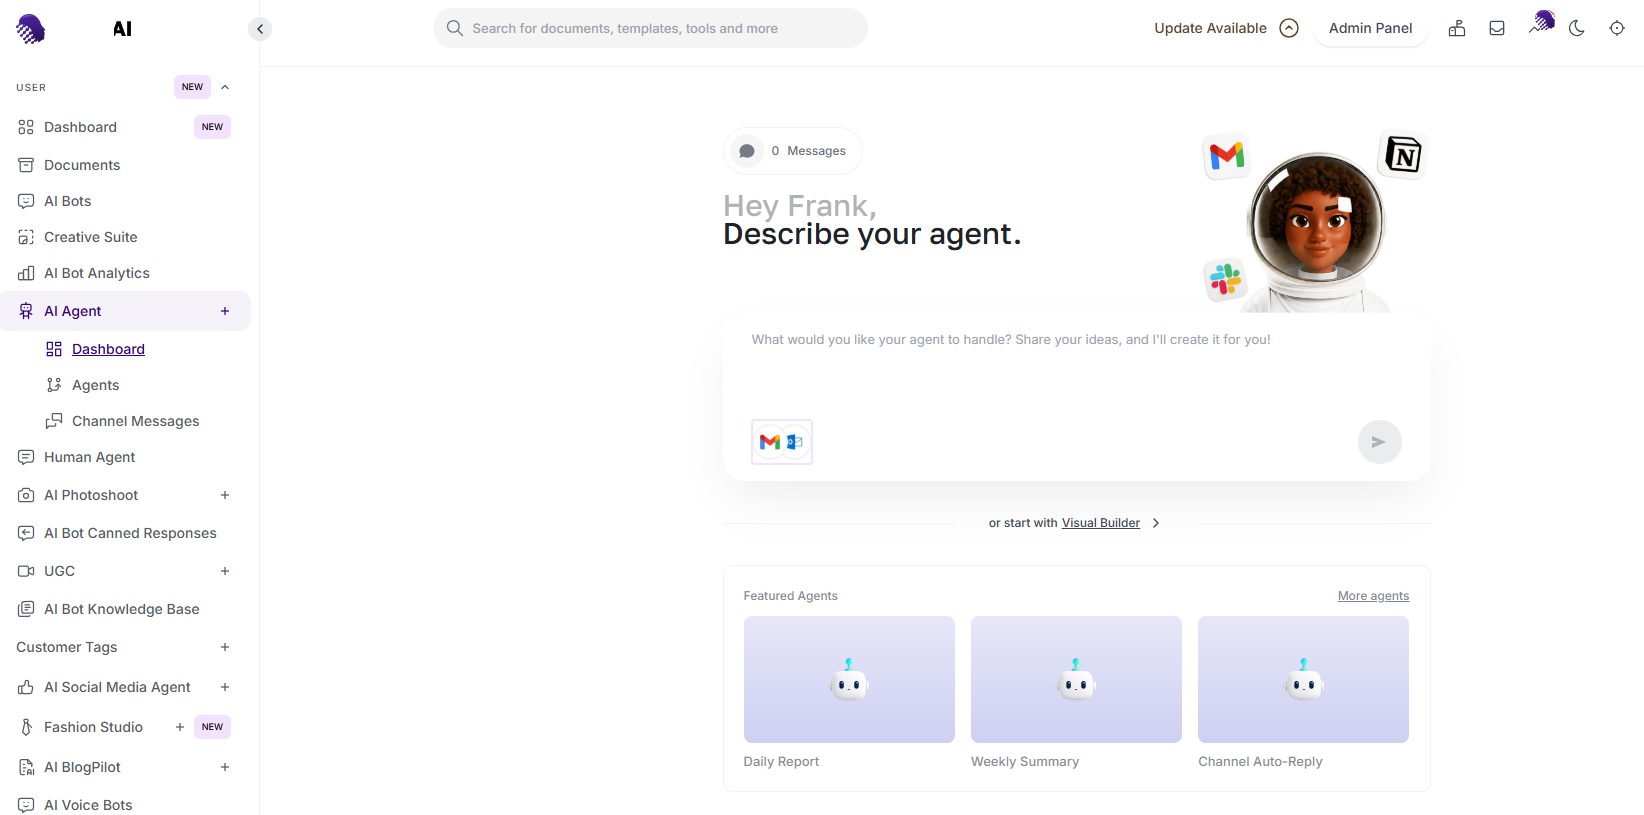
Choose a starting point for the workflow. Connect only the services the job needs
Open Manage Connectors, select Add Connector and link the account needed by this workflow. Keep access narrow: an email workflow needs its mailbox, while an unrelated service can remain disconnected.
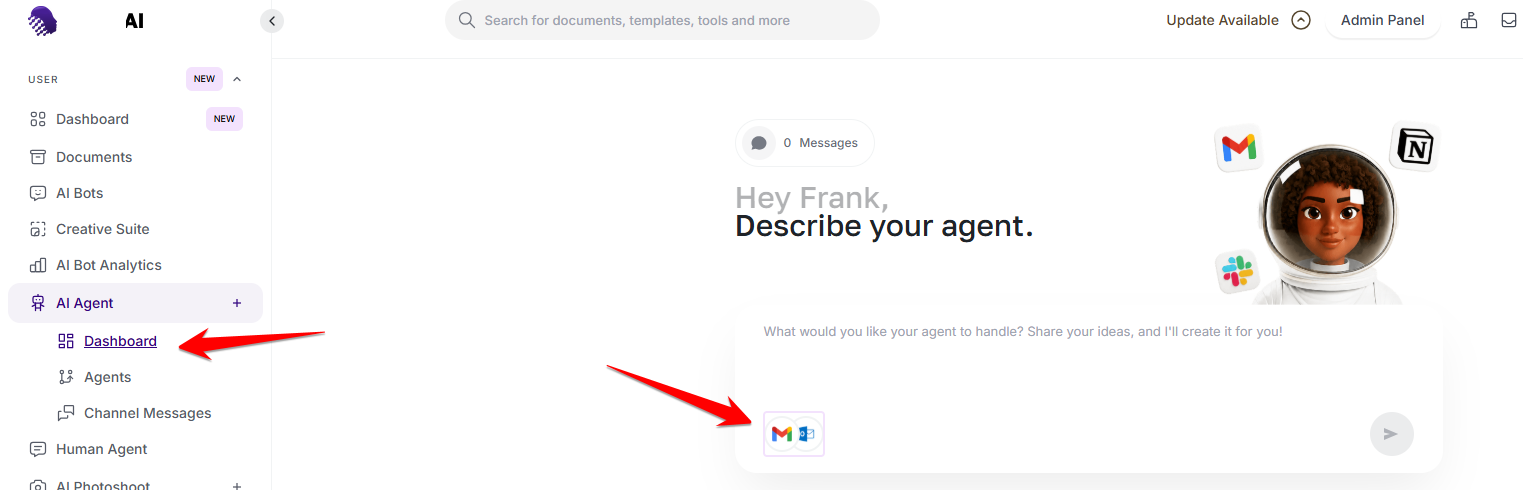
Open the connector manager from the agent dashboard. Choose the relevant connector
Select the service the agent should use. The available actions shown for each connector make it clear whether the agent can read messages, create drafts, send mail, manage contacts or update a calendar.
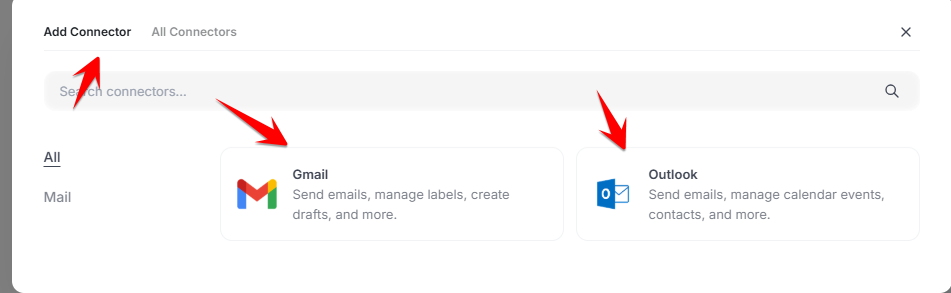
Choose a connector by the actions your workflow requires.
Describe and refine the workflow
Describe the complete job
State what should happen, when it should run and where the result belongs. For example: every weekday morning, summarize yesterday’s messages and send the briefing to a chosen channel. Continue the conversation to refine the workflow.
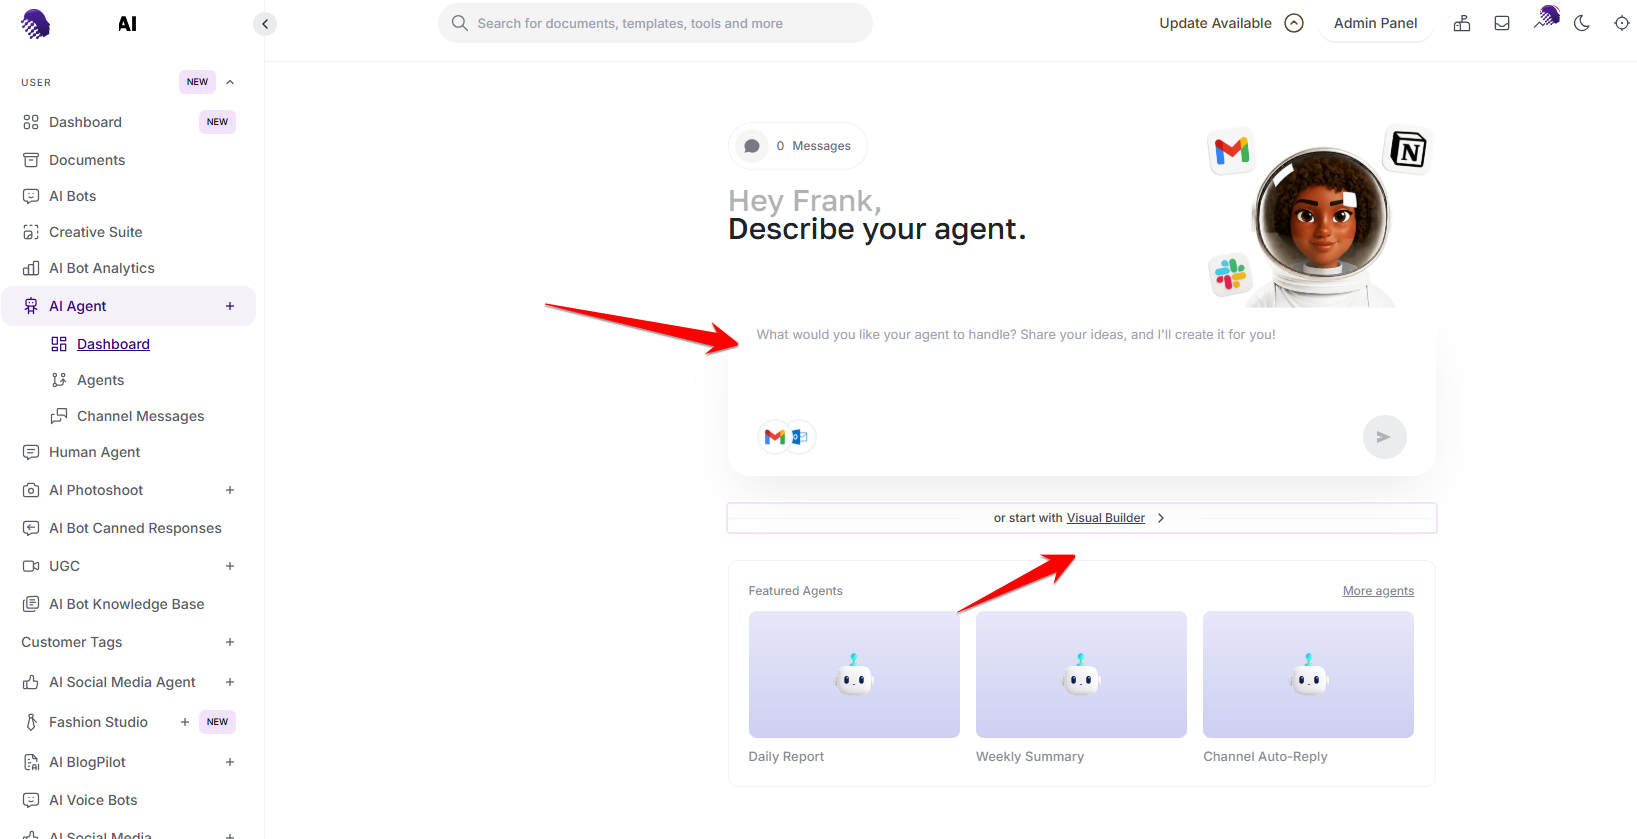
Describe the goal, timing and destination in one clear brief. Set the trigger and chain the actions
Choose a schedule or an incoming channel message as the trigger. Add the required actions in order and pass useful output forward, such as reading messages, summarizing them and sending the final report.
Test, save and activate
Run a test, inspect the result and correct any vague instruction. Save the agent only when the test follows the intended path, then switch it to Active. You can pause it at any time.
Monitor agents and conversations
Review every agent from one list
Open Agents to compare statuses and last-run times. Use the options menu to edit, pause or remove a workflow, or start a conversation with an agent directly.
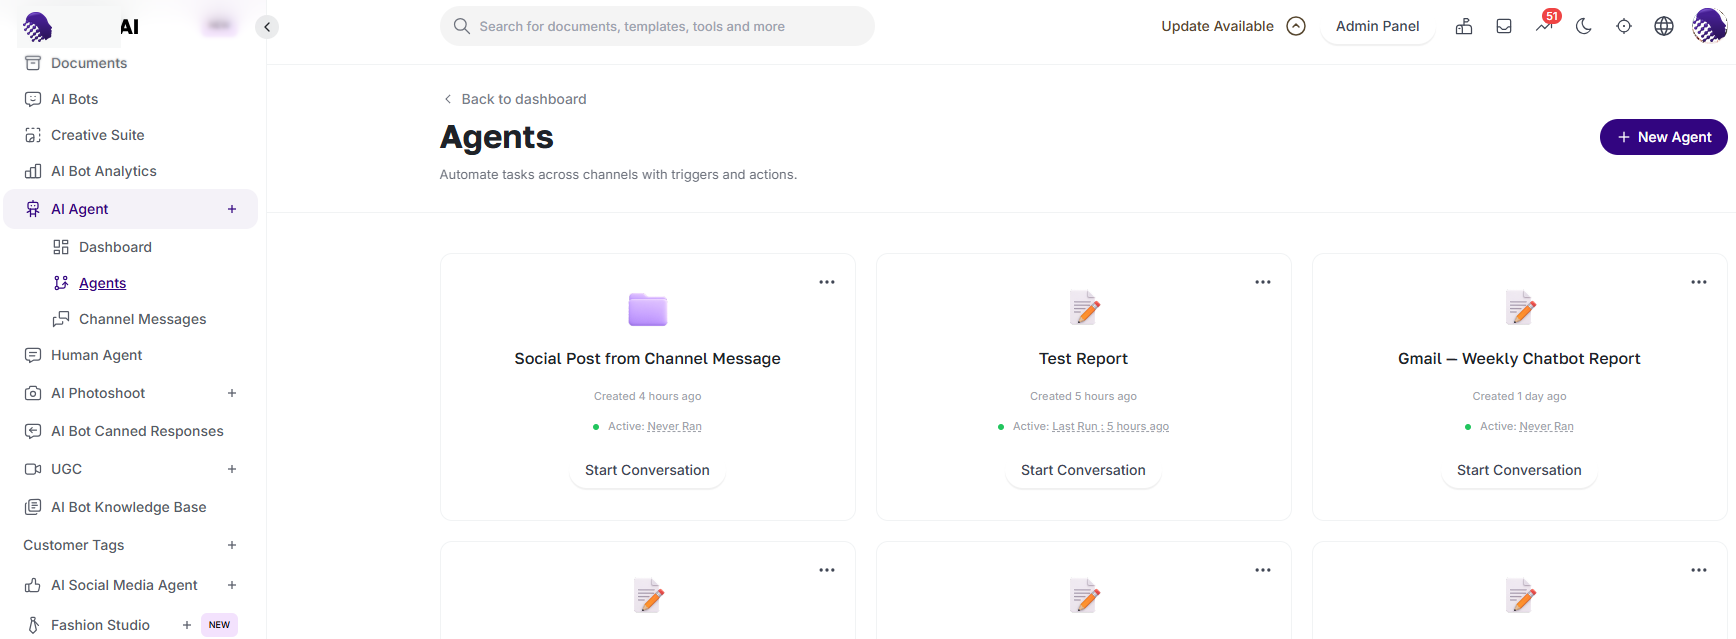
Check status and recent activity across all agents. Inspect messages and run details
Open Channel Messages, select a conversation and read the full history. Use Details and Logs to verify what the agent received, which steps ran and what it produced before expanding the workflow’s responsibility.
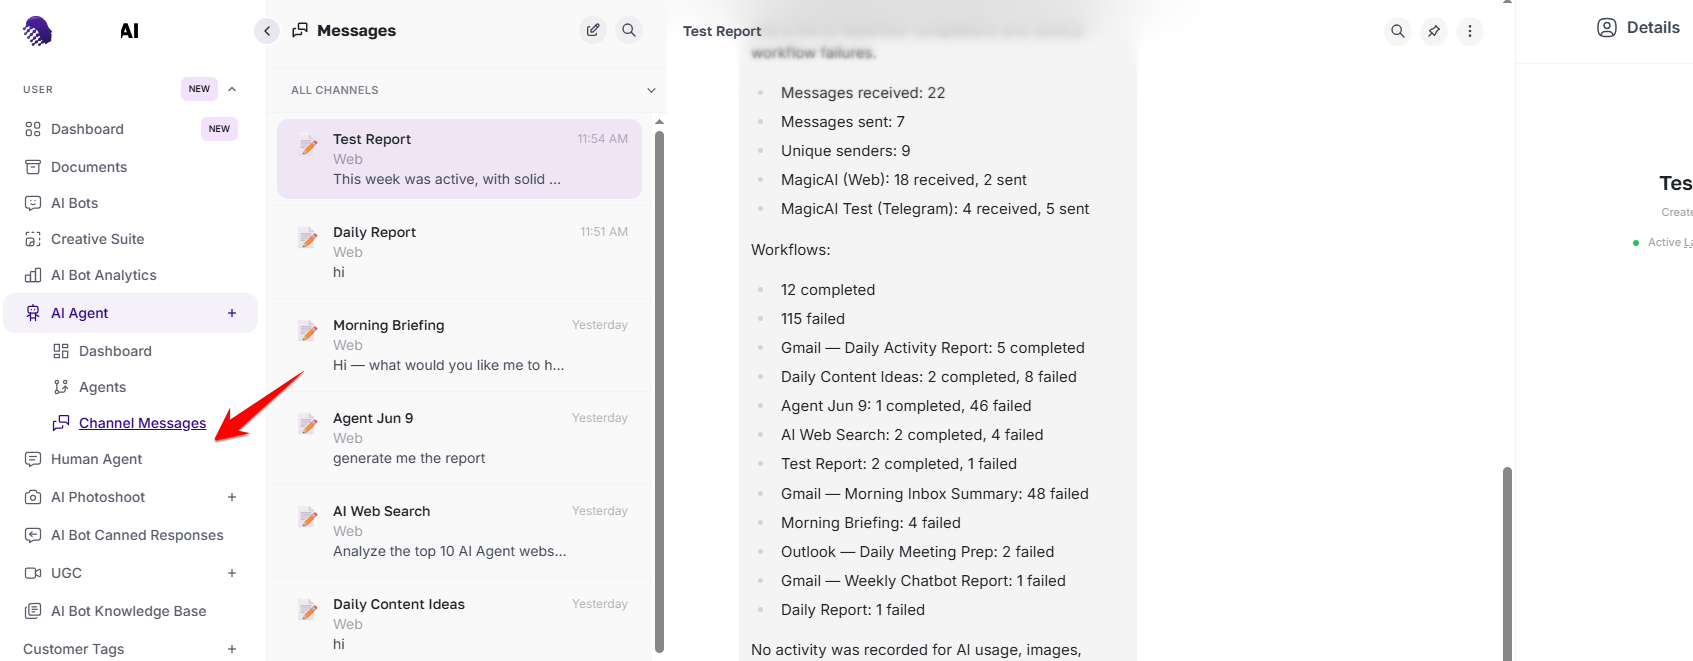
Use the conversation history and logs to audit each run.
Ready to try it?
Try AI Agent Builder in AmmarAI