
Automation
How to use AI Blogger Agent
AI Blogger Agent organizes recurring content around a defined topic, format and schedule. Its dashboard brings drafts, scheduled posts, the calendar and recent activity into one working view.
This guide follows the complete regular-user workflow from creating an agent to reviewing posts, calendar activity and performance.
When to use this
- You want a consistent publishing rhythm instead of creating every post manually.
- Different topics or brands need separate content instructions.
- You want drafts and scheduled work visible in one calendar and post library.
Read the content dashboard
Check the current queue
Use the opening dashboard to review new drafts, scheduled work and the next item requiring attention.
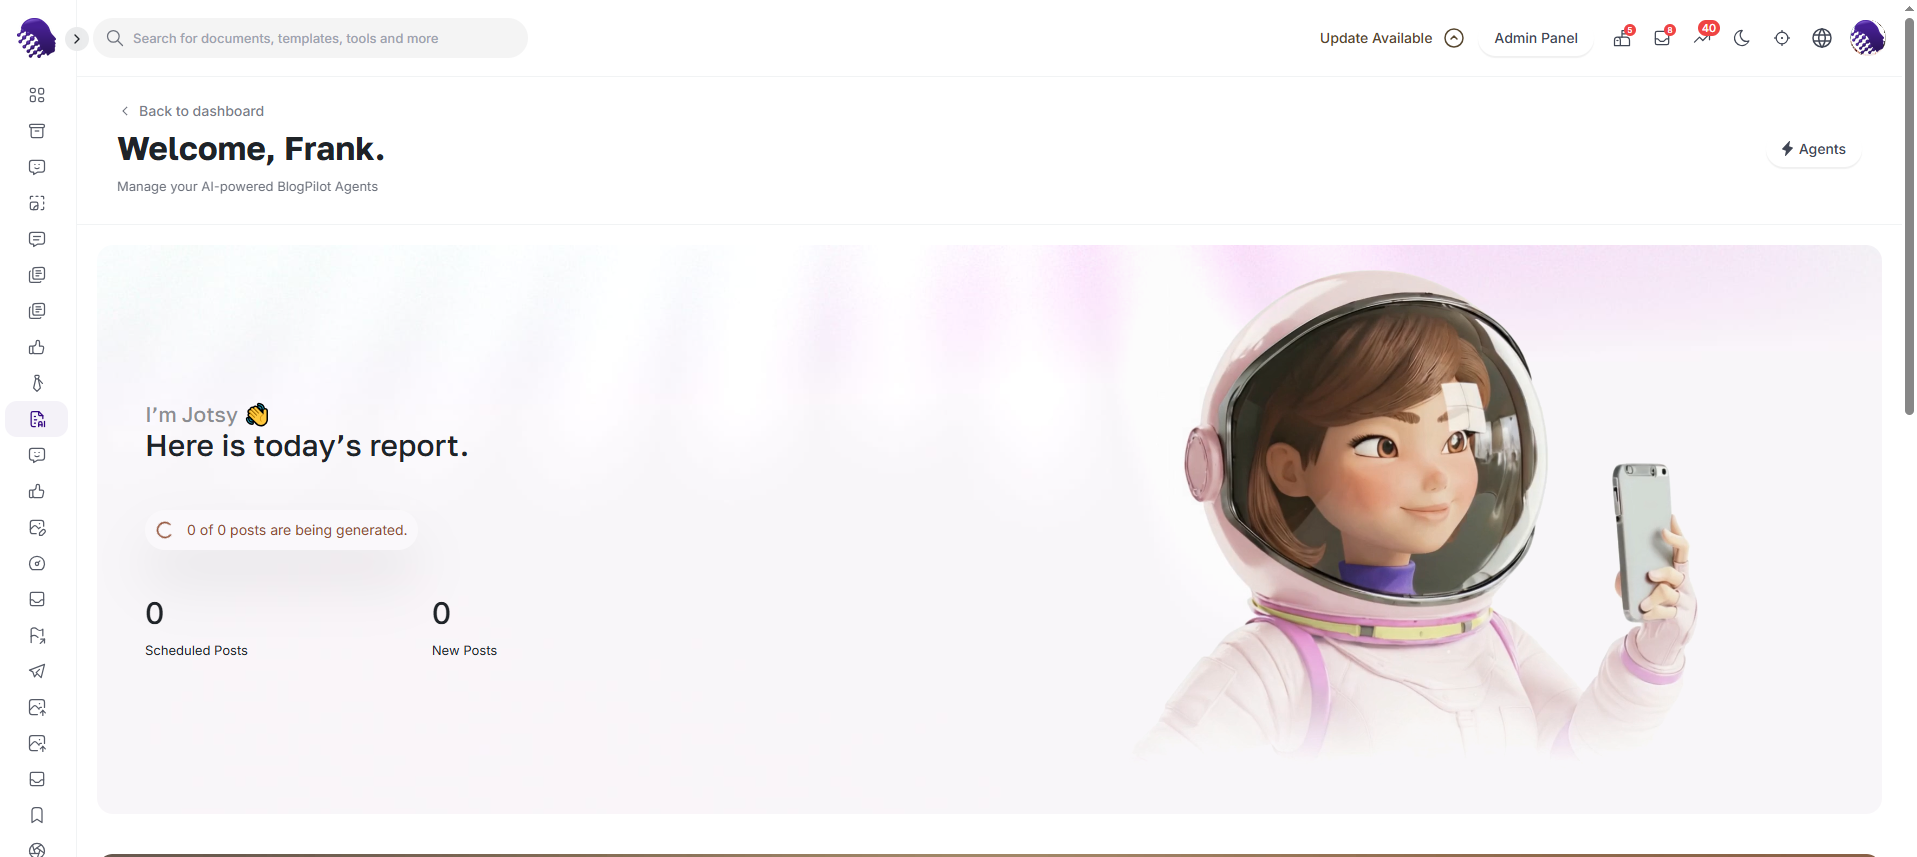
The dashboard summarizes the active content queue. Review the calendar and latest posts
Scan the calendar for published and scheduled items, then review the latest-post cards to spot gaps or open a draft that needs editing.
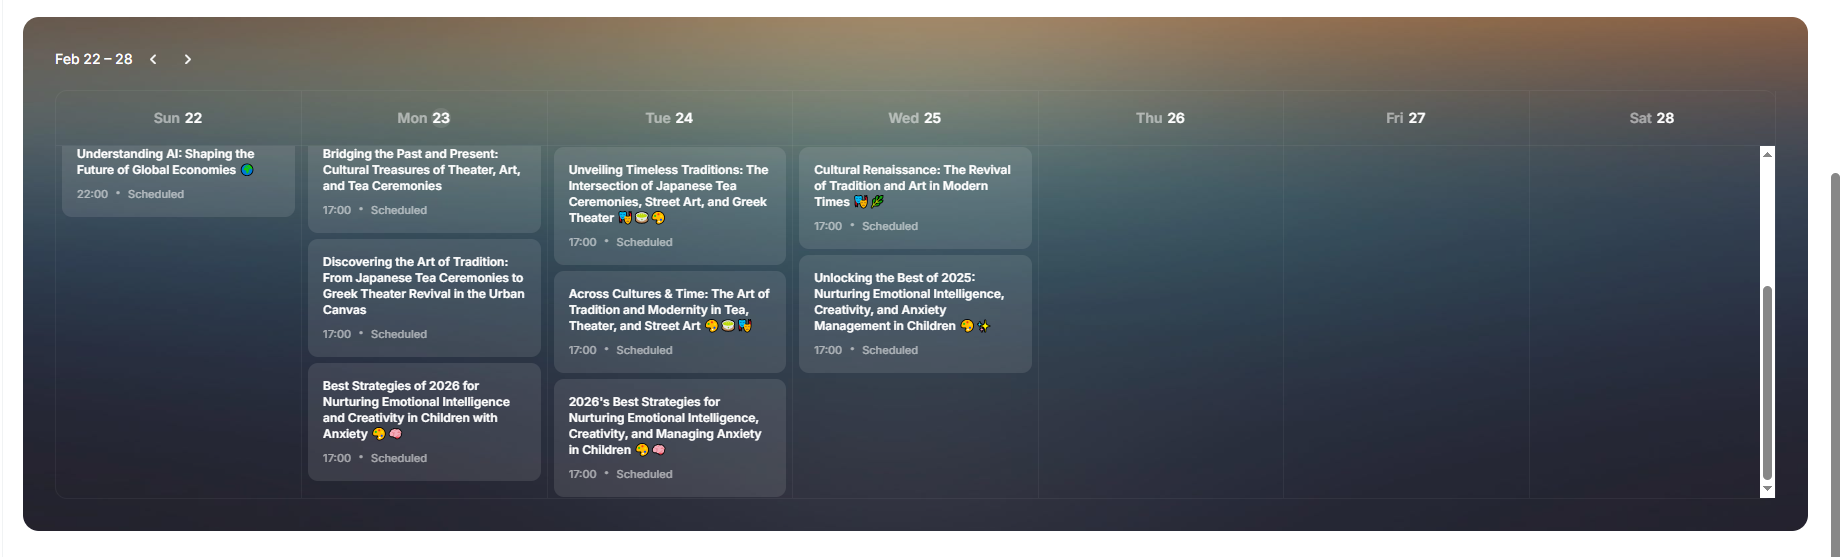
Use the calendar to see coverage over time. Open a recent post
Use the latest-post area to inspect a draft or published item without losing the wider schedule view.
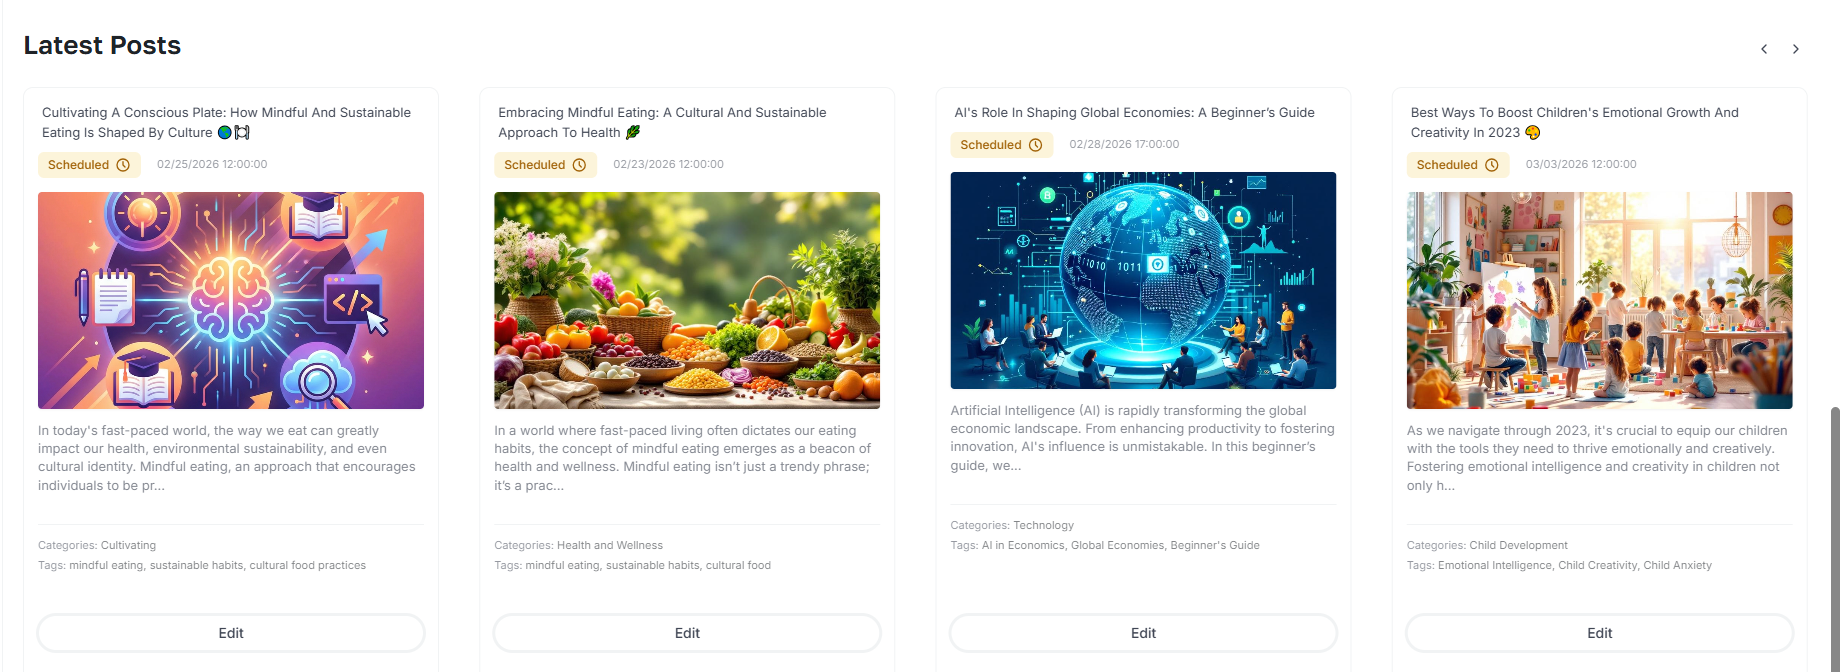
Recent items remain available for quick review.
Create a focused blogger agent
Start a new agent
Open Agents and select Add Agent. Keep one clear niche or publishing purpose per agent so its drafts remain consistent.
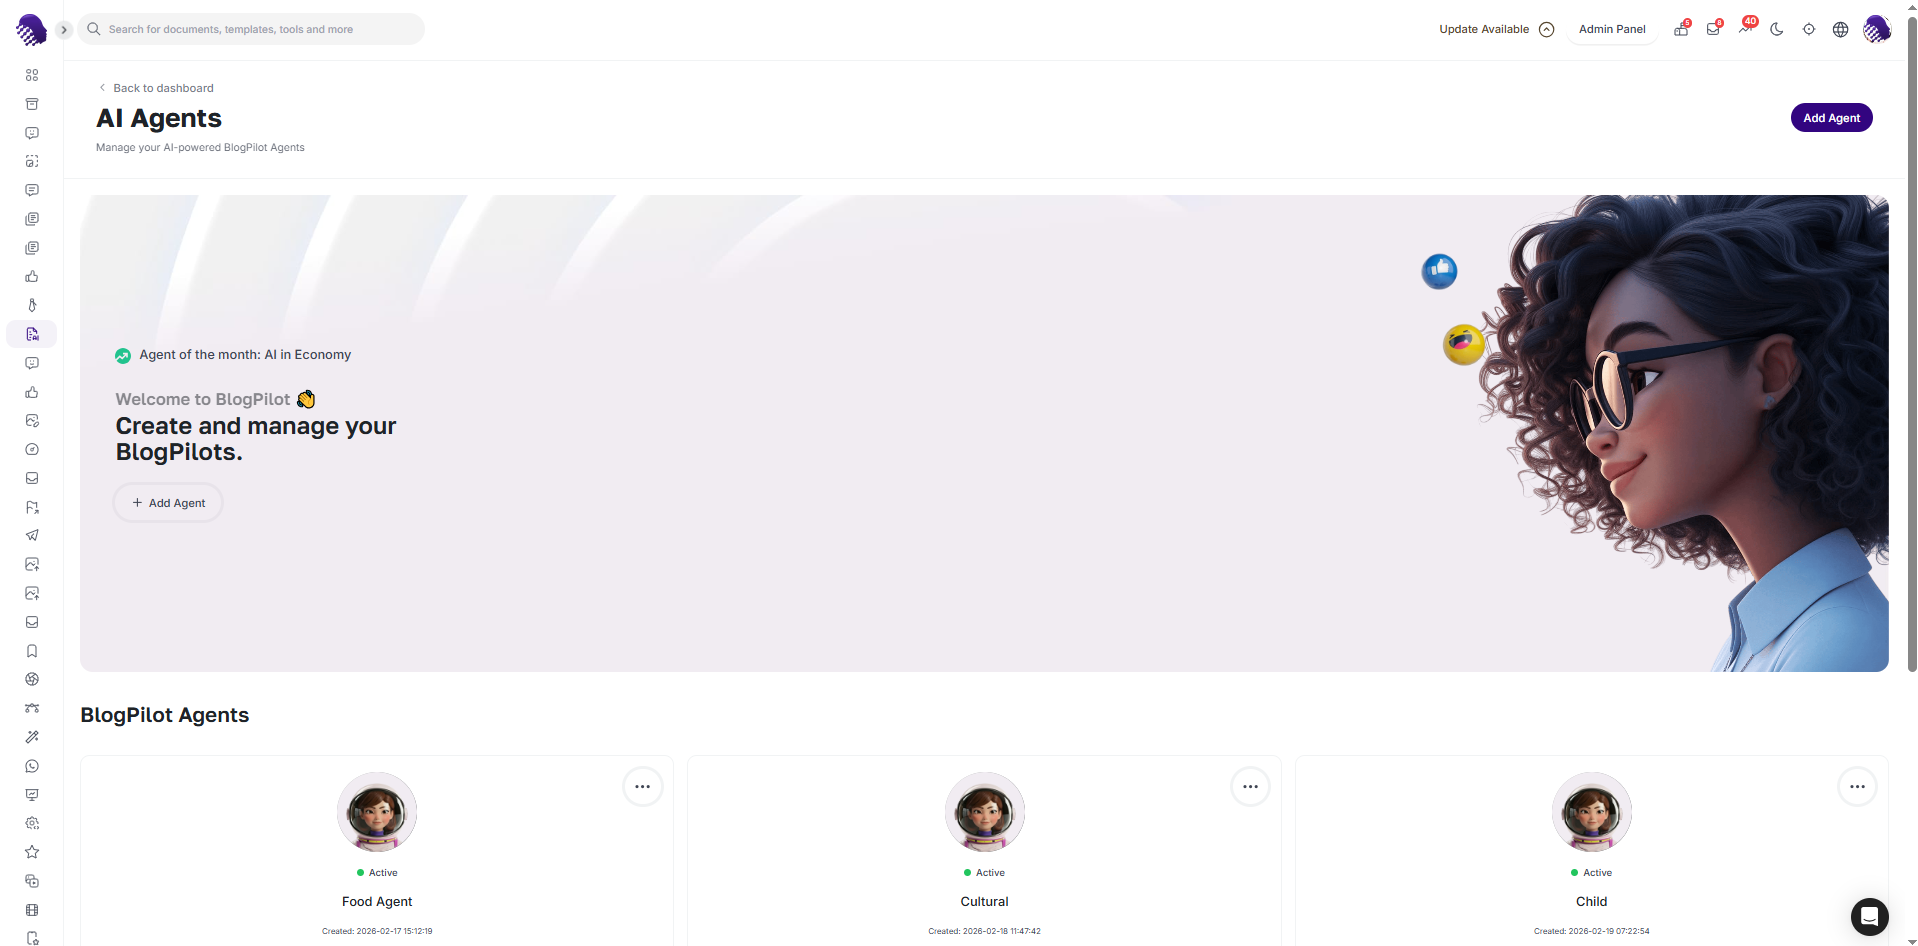
Create a separate agent for each distinct content strategy. Define the niche and article type
Enter the main subject, then choose the article format that best fits the audience and publishing destination.
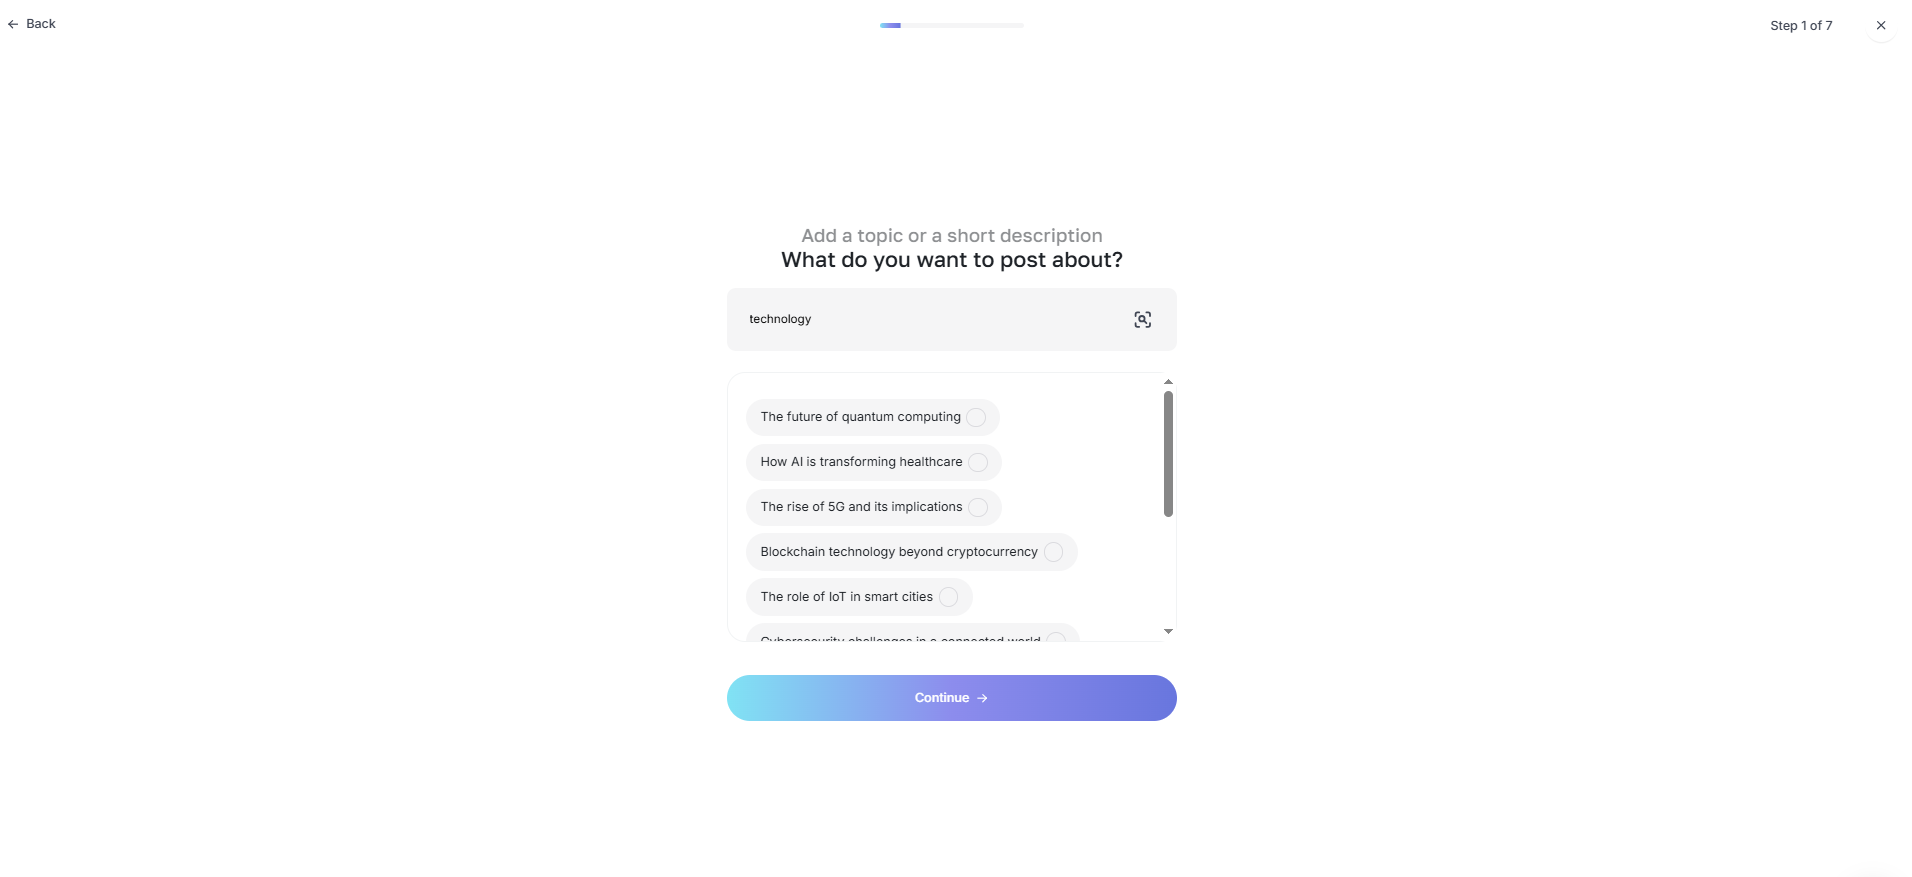
Begin with one specific subject area. Set the content preferences
Choose whether posts should include images, emojis or current web research, and set the language and tone required for this agent.
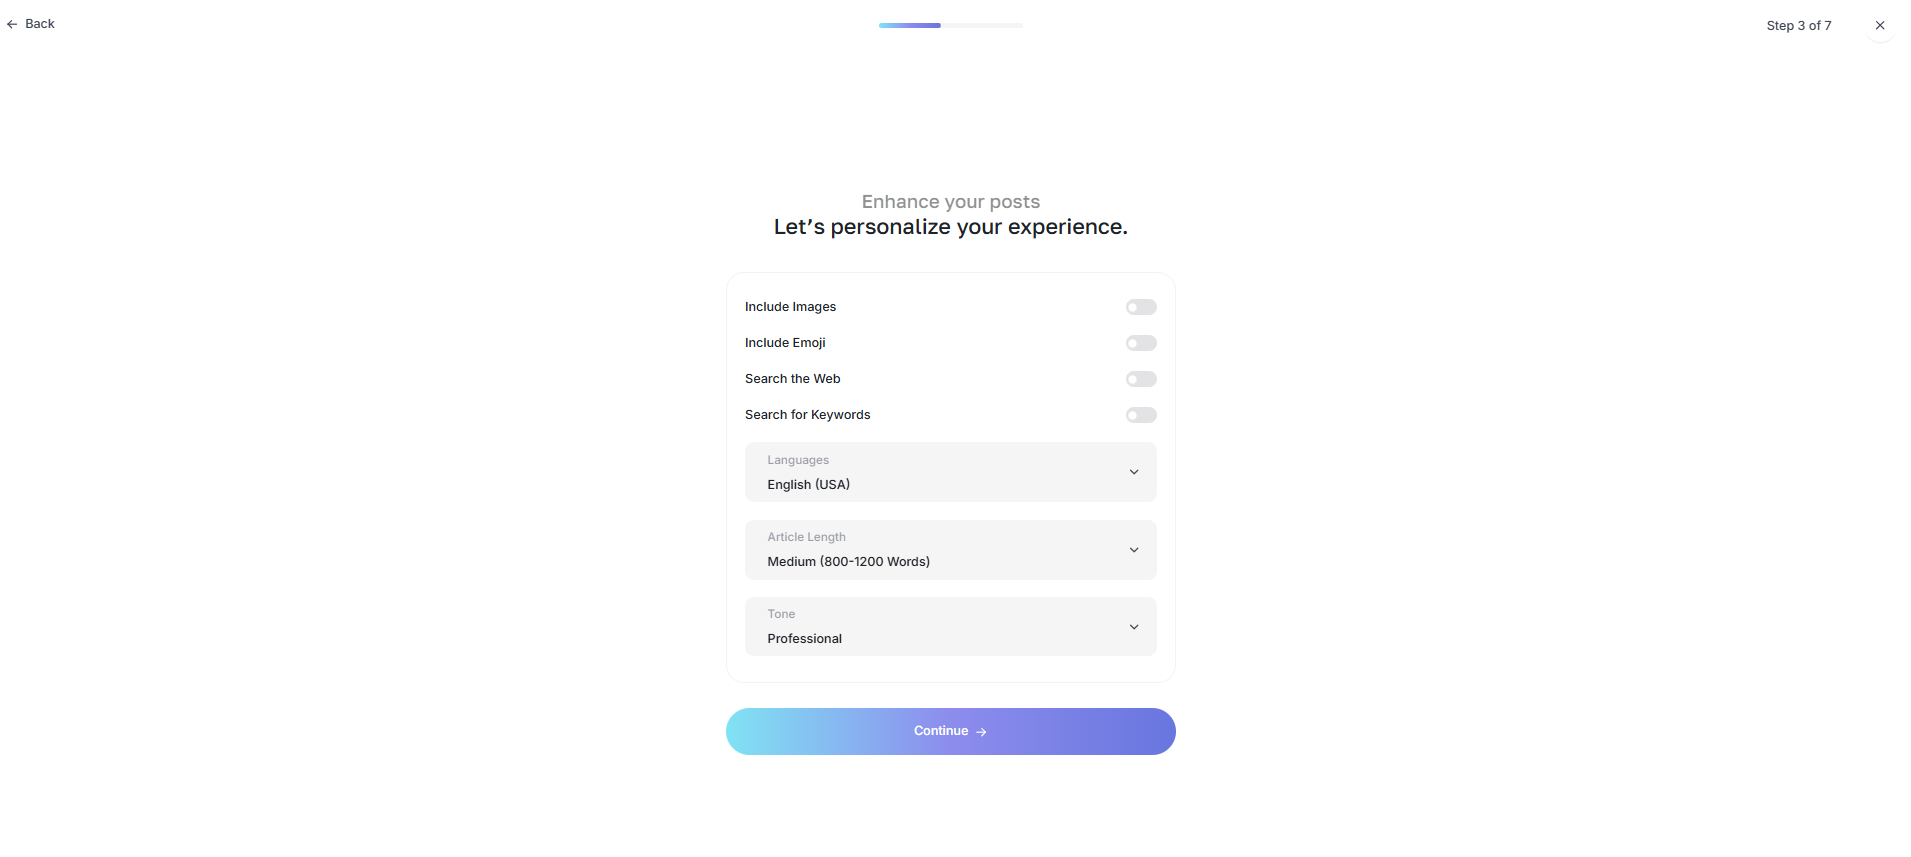
Set the output rules before scheduling posts. Choose the schedule
Select the posting days, time and frequency. Use a sustainable cadence that leaves enough time to review early drafts.
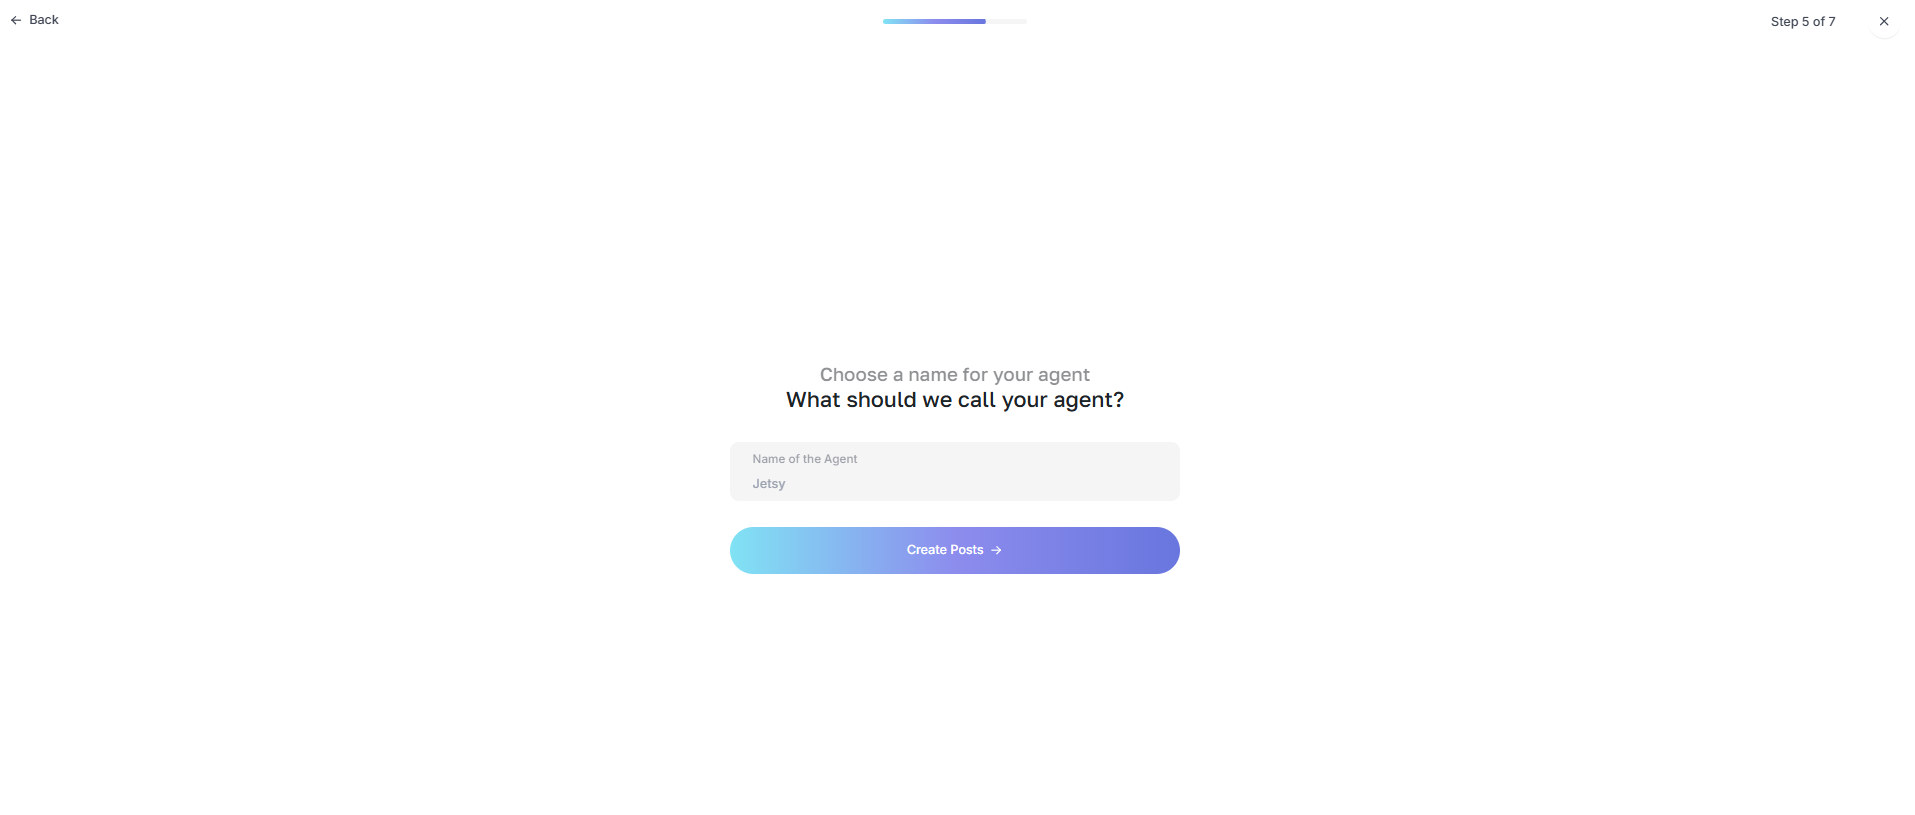
Choose when and how often the agent should prepare content. Name and create the agent
Give the agent a recognizable name, check the summary and create it. The name will identify its work in the post library and reports.
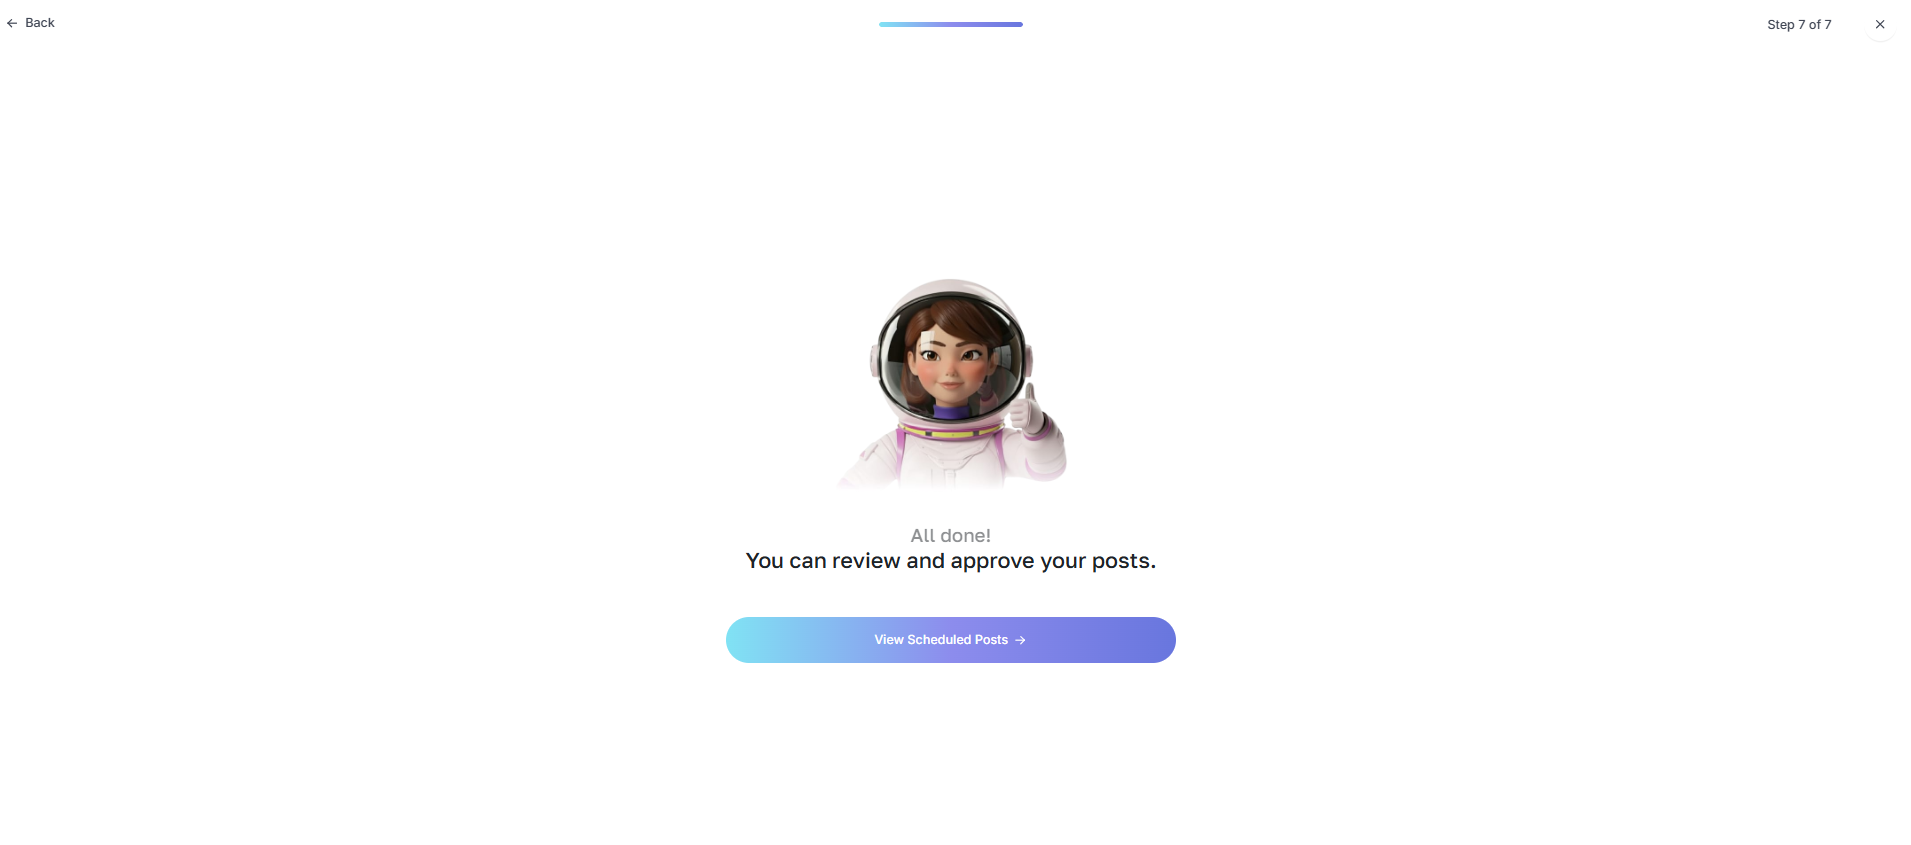
Name the agent so its posts are easy to trace.
Manage posts, dates and results
Filter the post library
Open Posts and sort or filter by date, status or title. Drafts remain editable, while scheduled and published items provide a clear record of the queue.
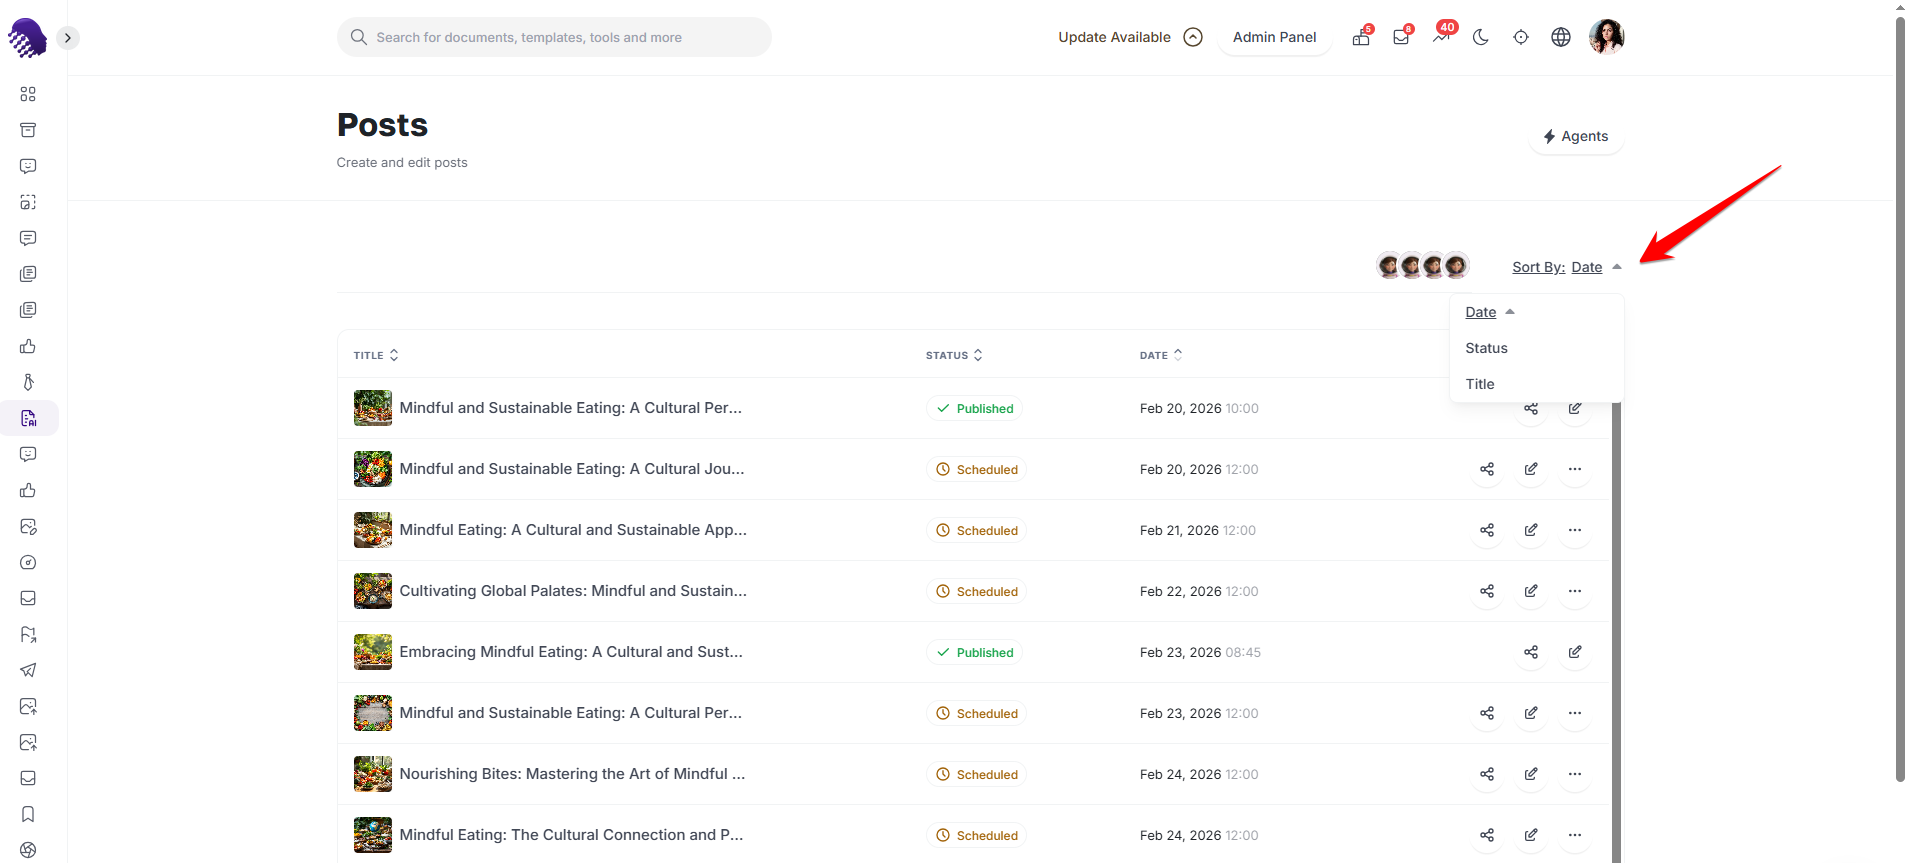
Use the post library to find drafts and scheduled work quickly. Use the full calendar
Open Calendar for a month-level view of every scheduled and published item. Check for empty stretches and crowded publishing days before changing the cadence.
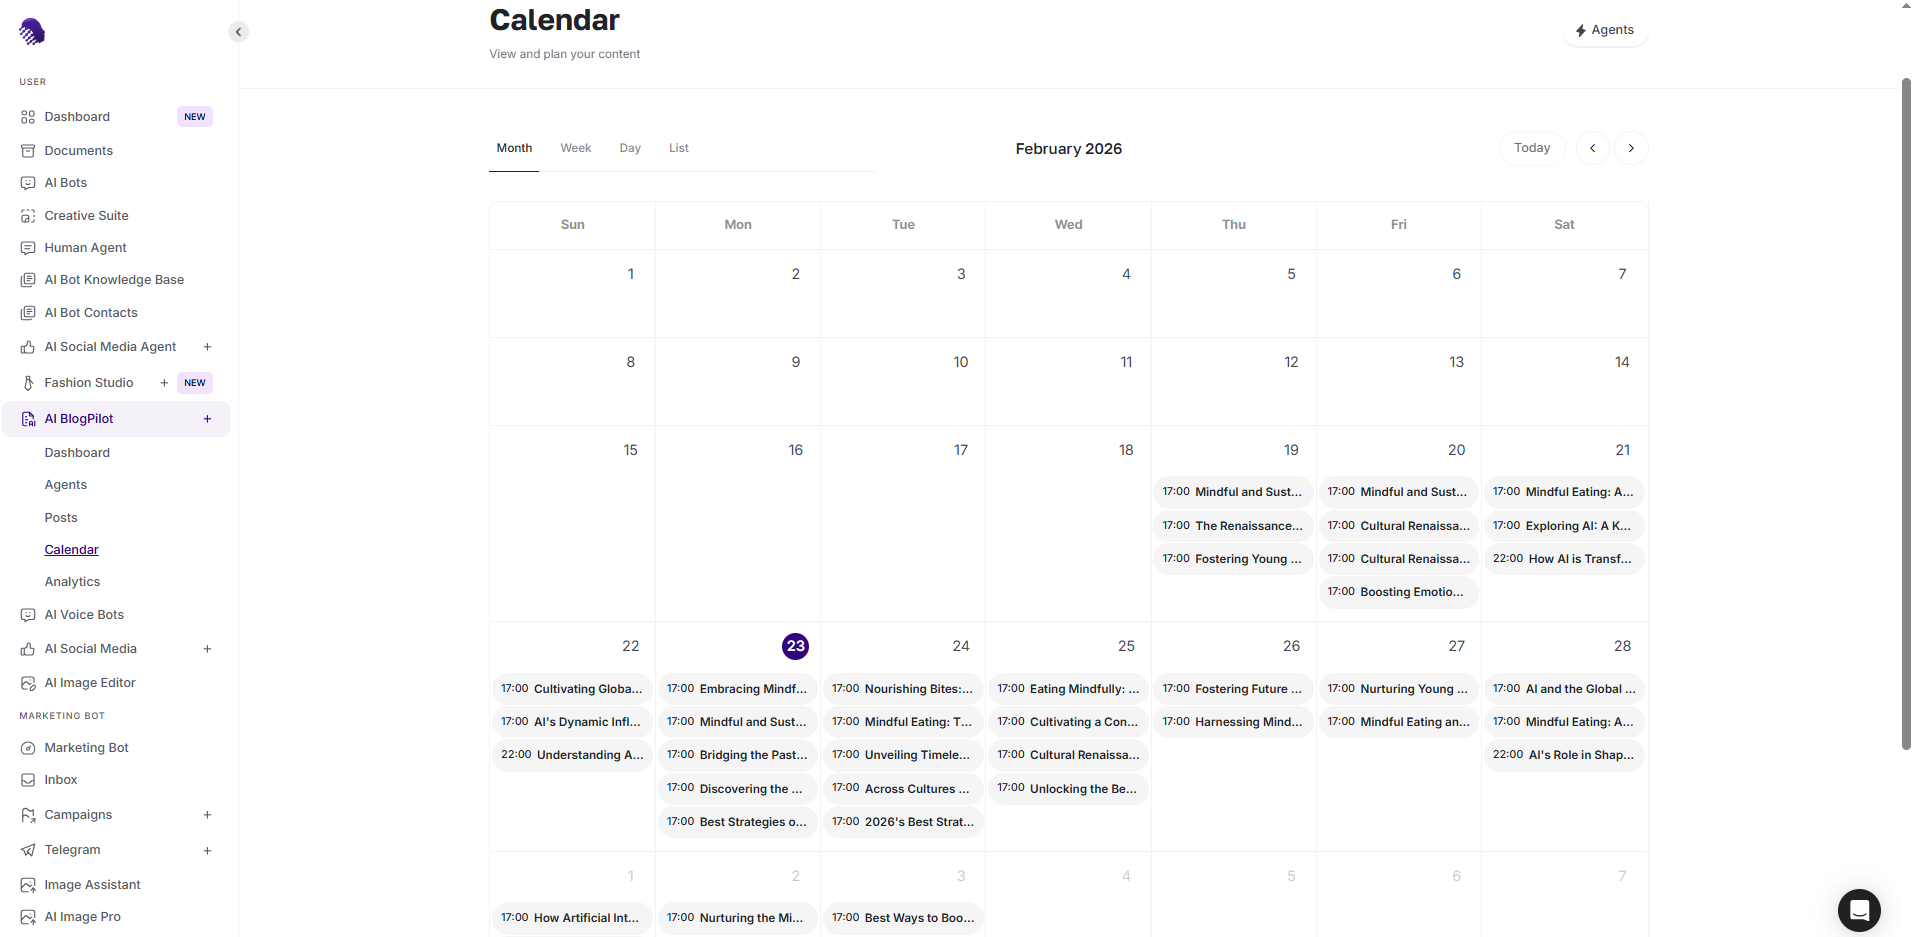
The calendar shows the complete publishing rhythm. Review reports and analytics
Use Reports and Analytics to compare posting volume and activity by agent. Use what you learn to adjust future topics, formats and frequency.
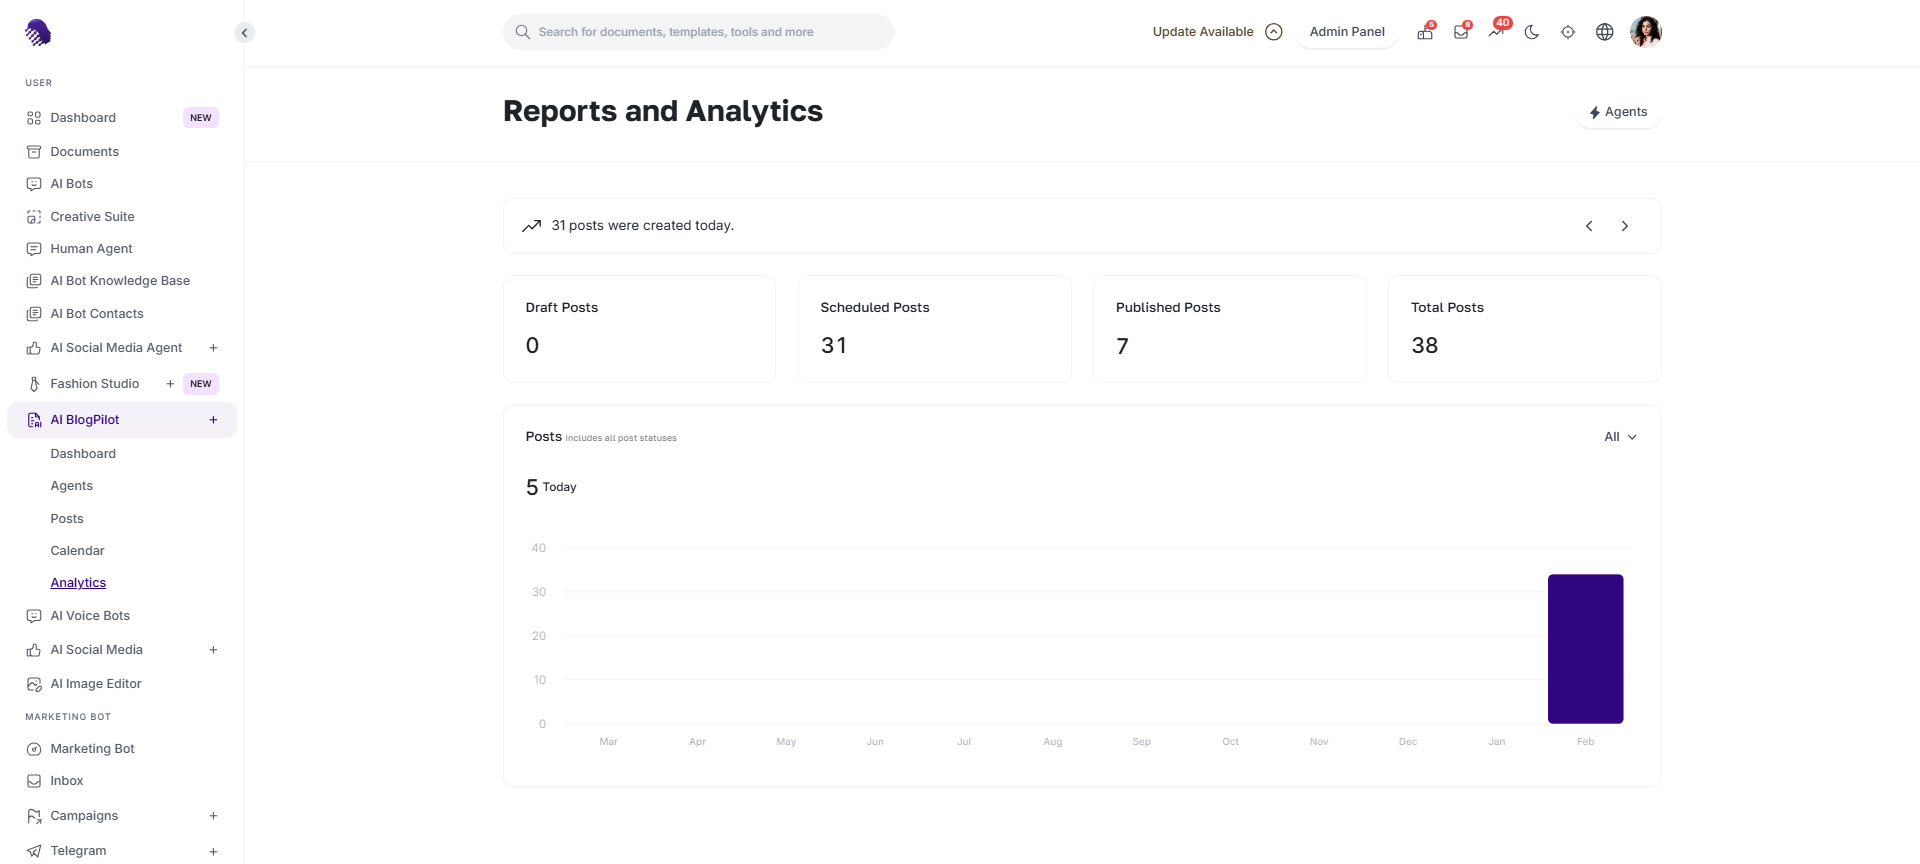
Measure activity before revising the content plan.
Ready to try it?
Try AI Blogger Agent in AmmarAI