
Automation
How to run an AI social media agent
A social media agent takes the repetitive part of posting off your hands. You describe the brand, the accounts and the kind of posts you want, and it drafts a schedule you can review before anything goes out.
This guide walks through the dashboard, creating an agent step by step, and the places you review, schedule and measure the work it produces.
When to use this
- You want to post consistently without writing every caption yourself.
- You manage several accounts and keep losing the thread between them.
- You would rather approve a plan than start from a blank page each week.
Get your bearings
Open the social media dashboard
Open AI Social Media from the workspace menu and start at the dashboard. It gives you today's summary in one screen, with the agent's report at the top and the week's activity below.
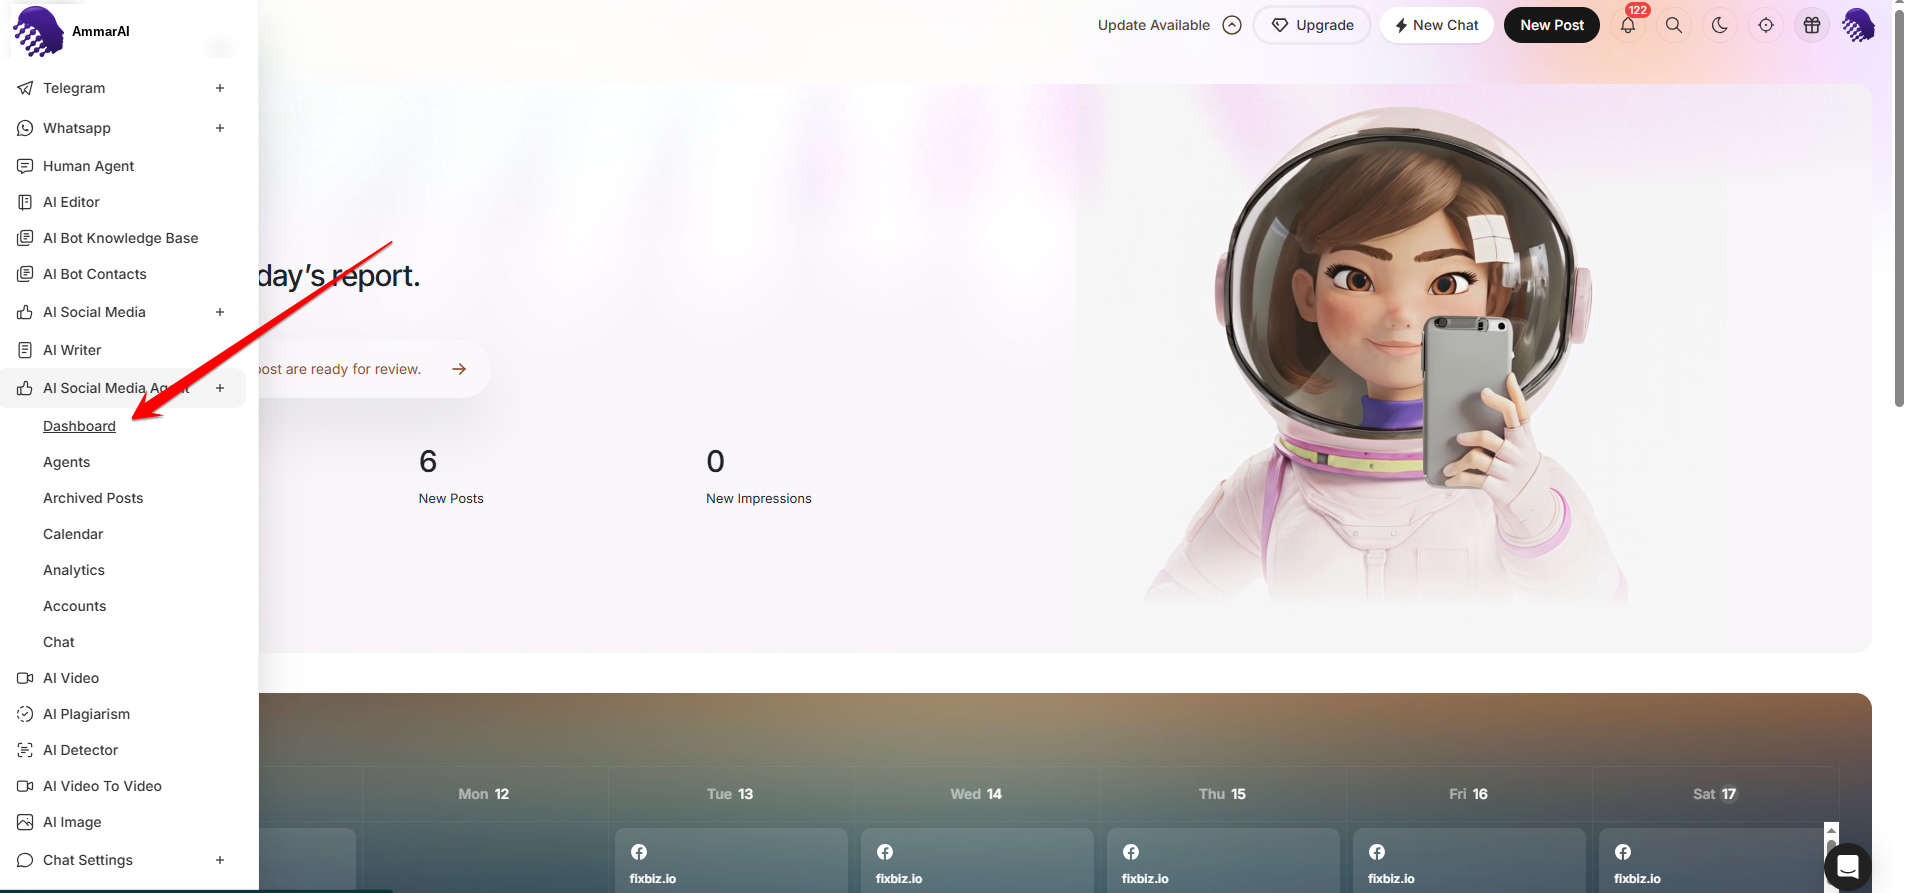
The dashboard is the daily starting point. Read the numbers at a glance
The counters show scheduled posts, new posts and new impressions, so you can tell in a second whether the pipeline is full or running dry.
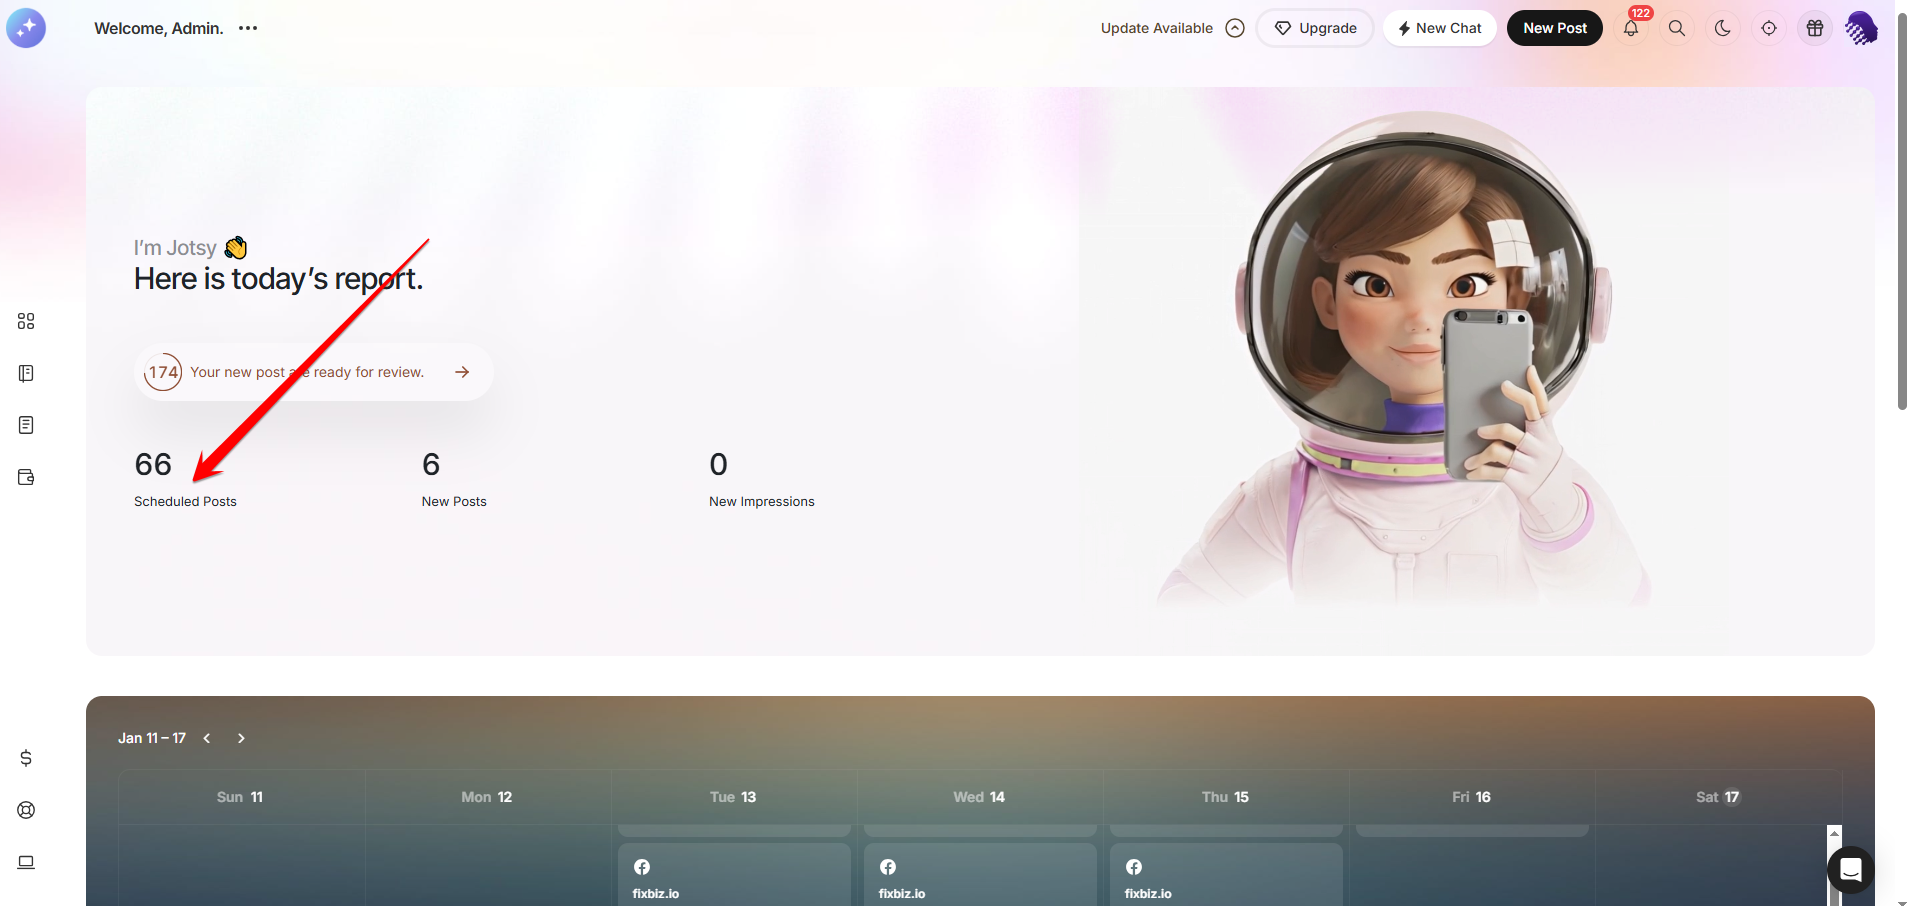
Scheduled posts is the number to watch. Open the posts waiting for review
When posts are ready for you, the report links straight to them. Approving or editing here is what keeps the schedule moving.
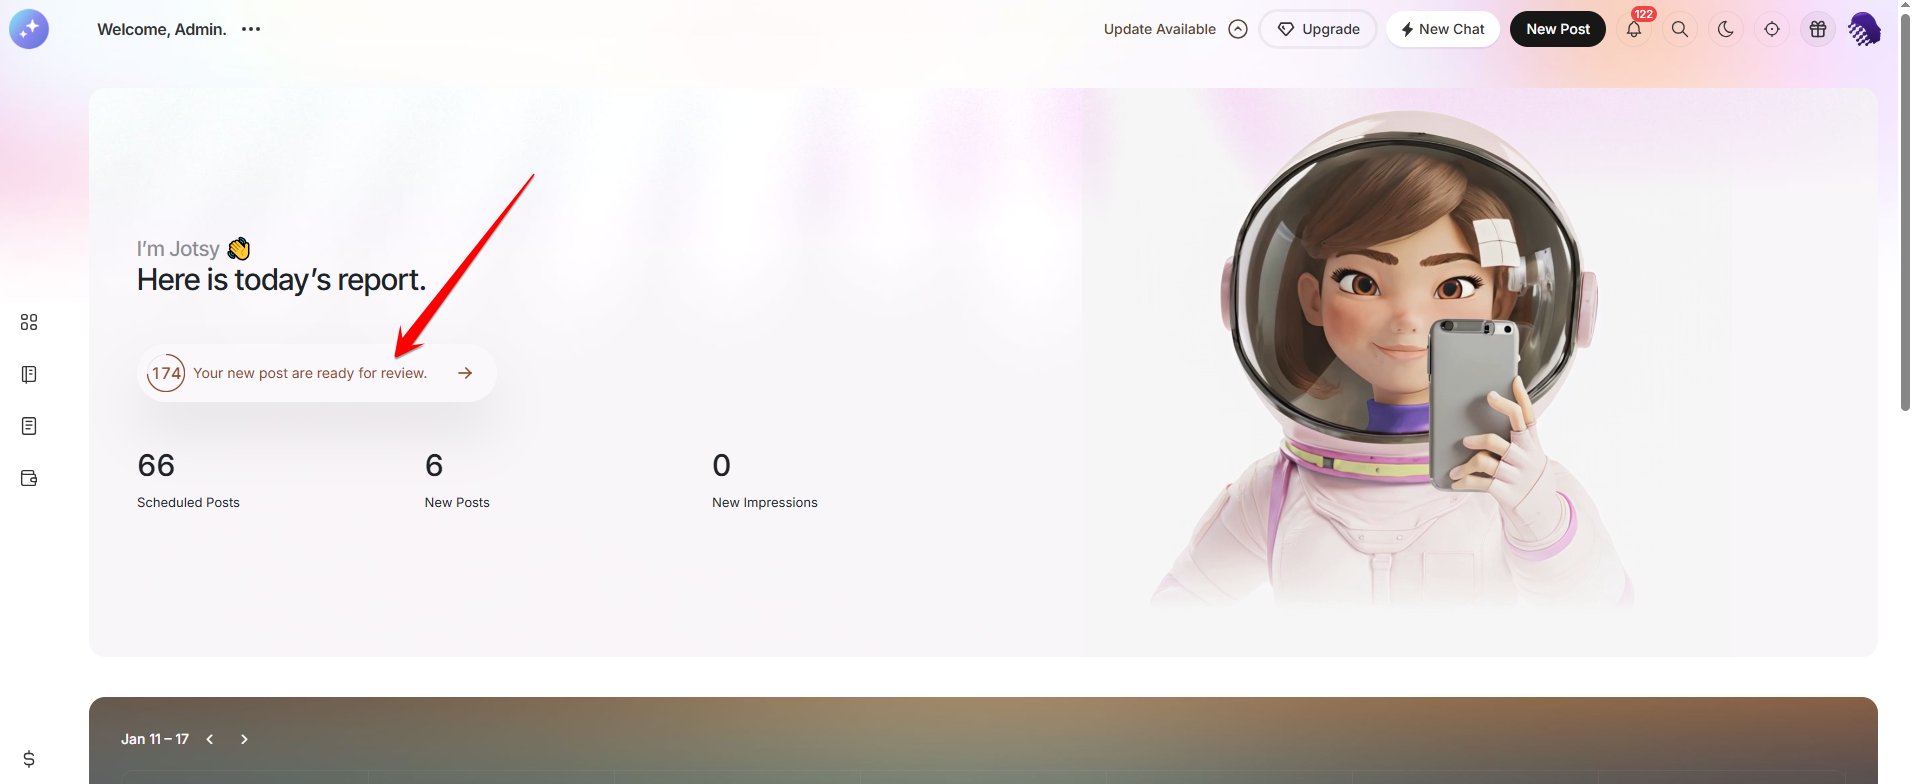
The report links to whatever needs your attention. Review a single post
Open a post to see its image, the account it will go to, the date and time, and the full caption. Change any of these before it publishes, then move to the next post.
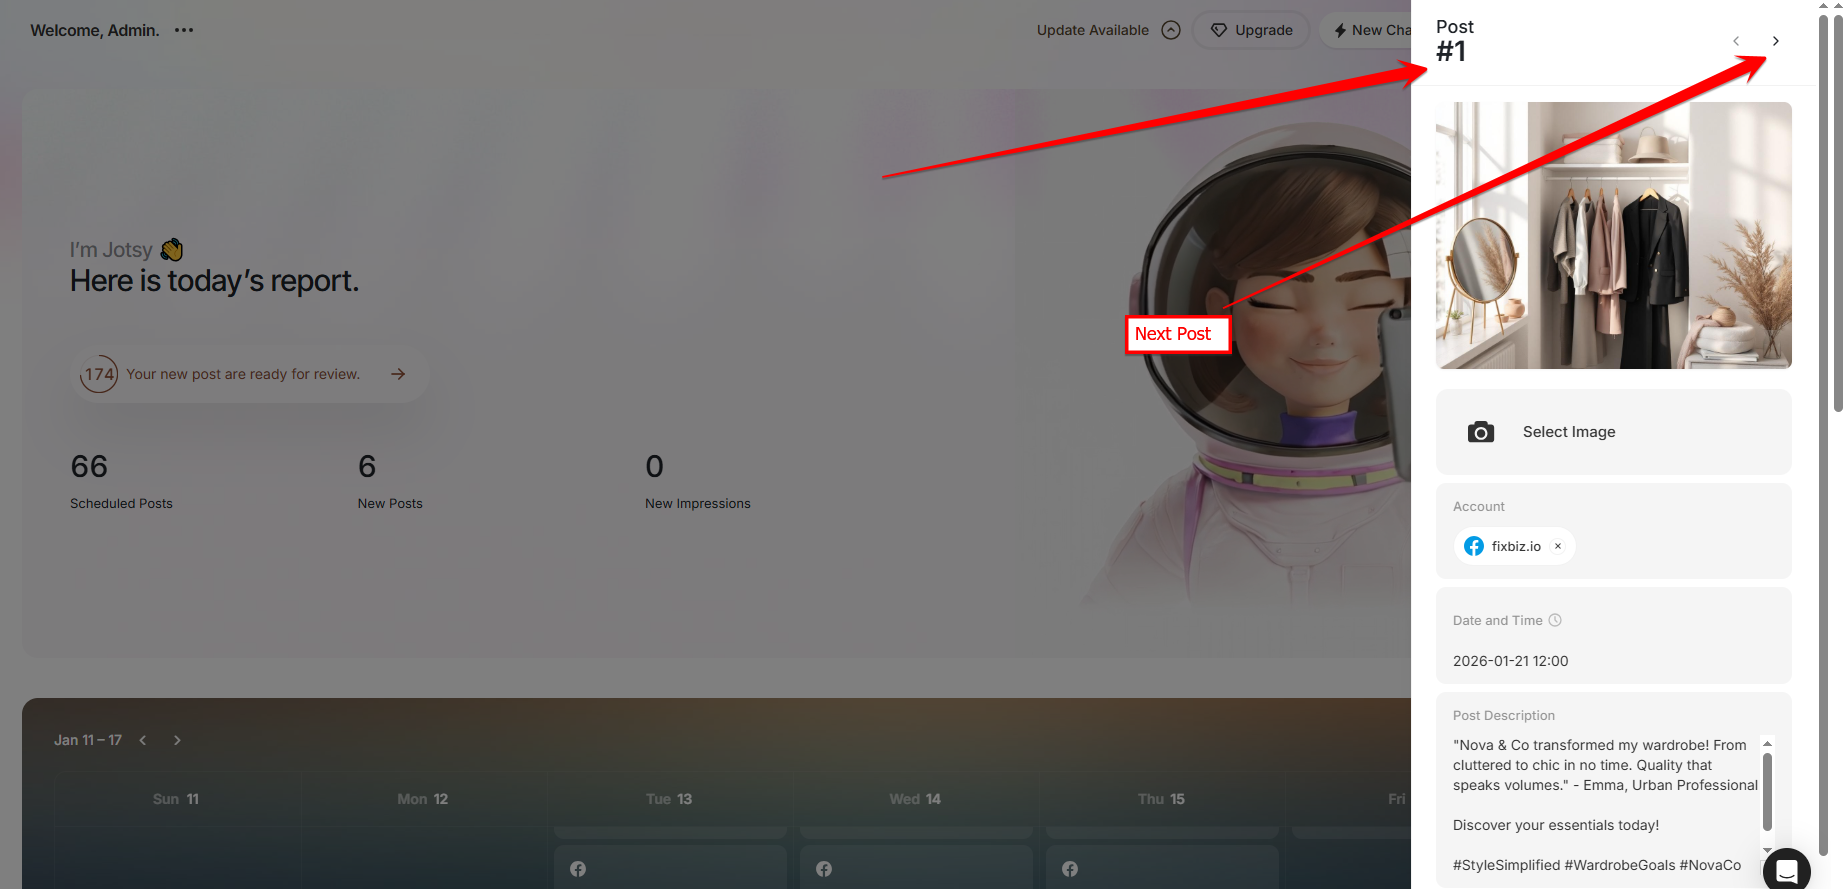
Every field in the draft can be edited before it goes out. Scan the latest posts
The latest posts strip shows recent drafts and published posts side by side with their impressions and engagement, and each card has an Edit button if you want to change something.
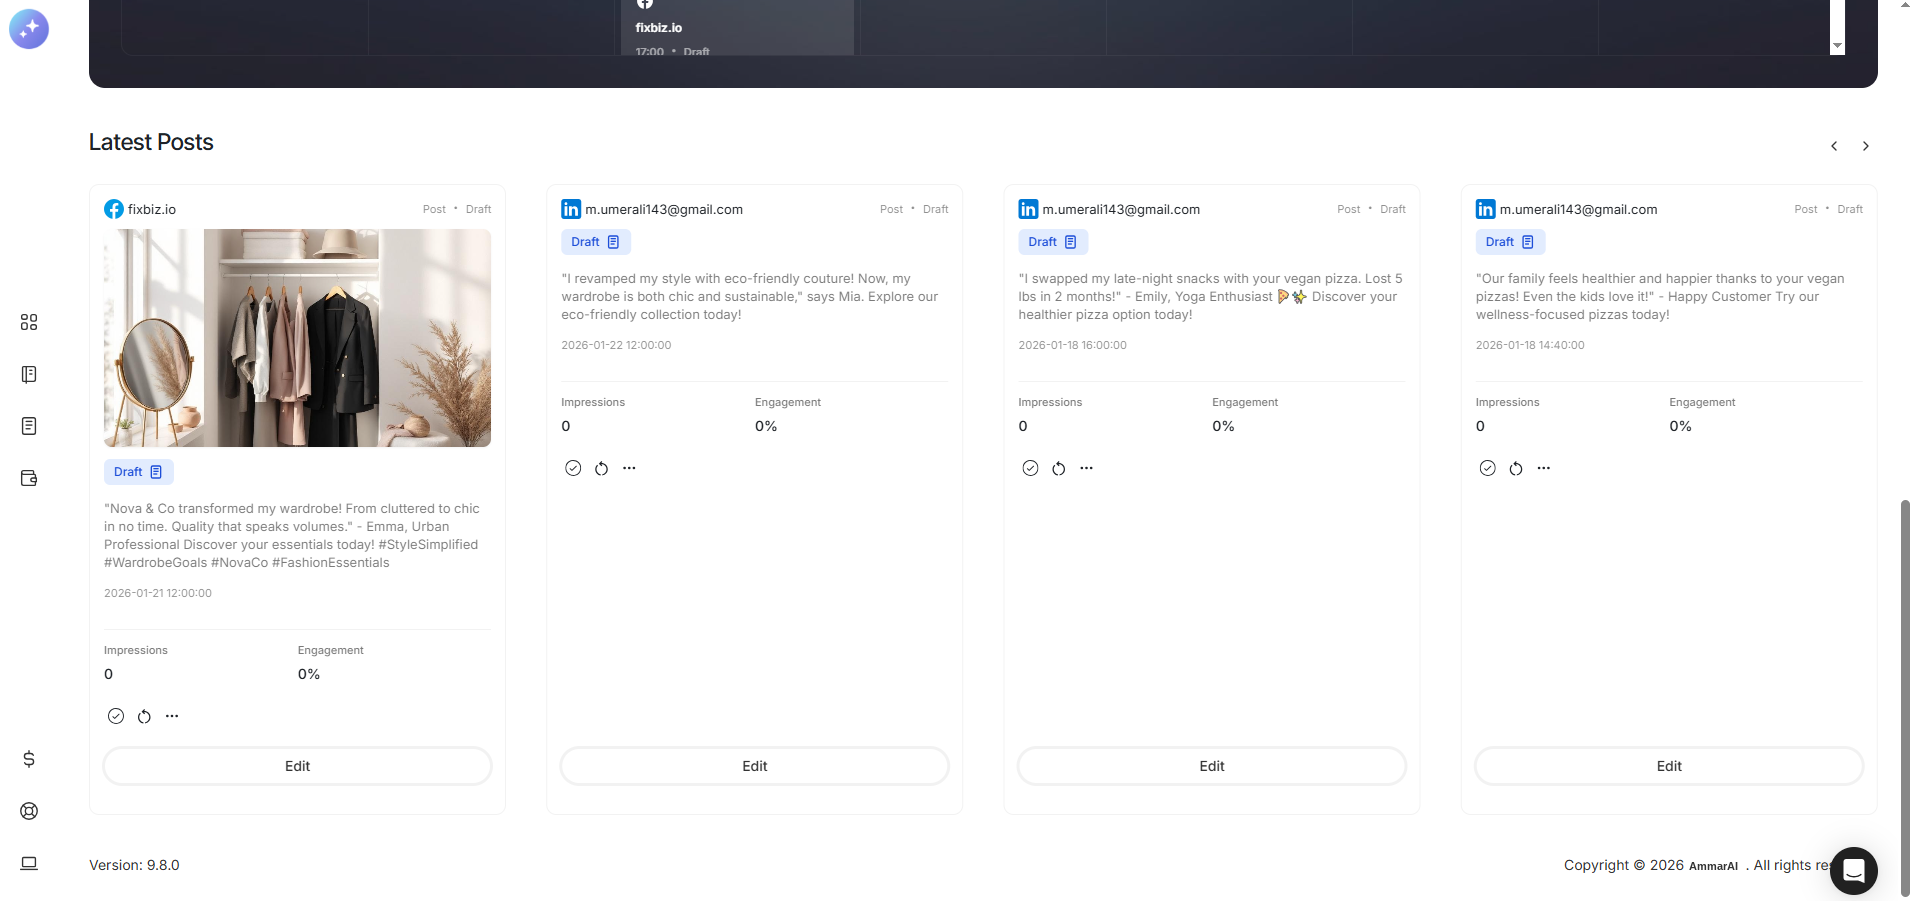
Recent work and its results in one row.
Create an agent
Open Agents and add one
Go to Agents to see the agents you already have, with their status and creation date, and choose Add Agent to build a new one.
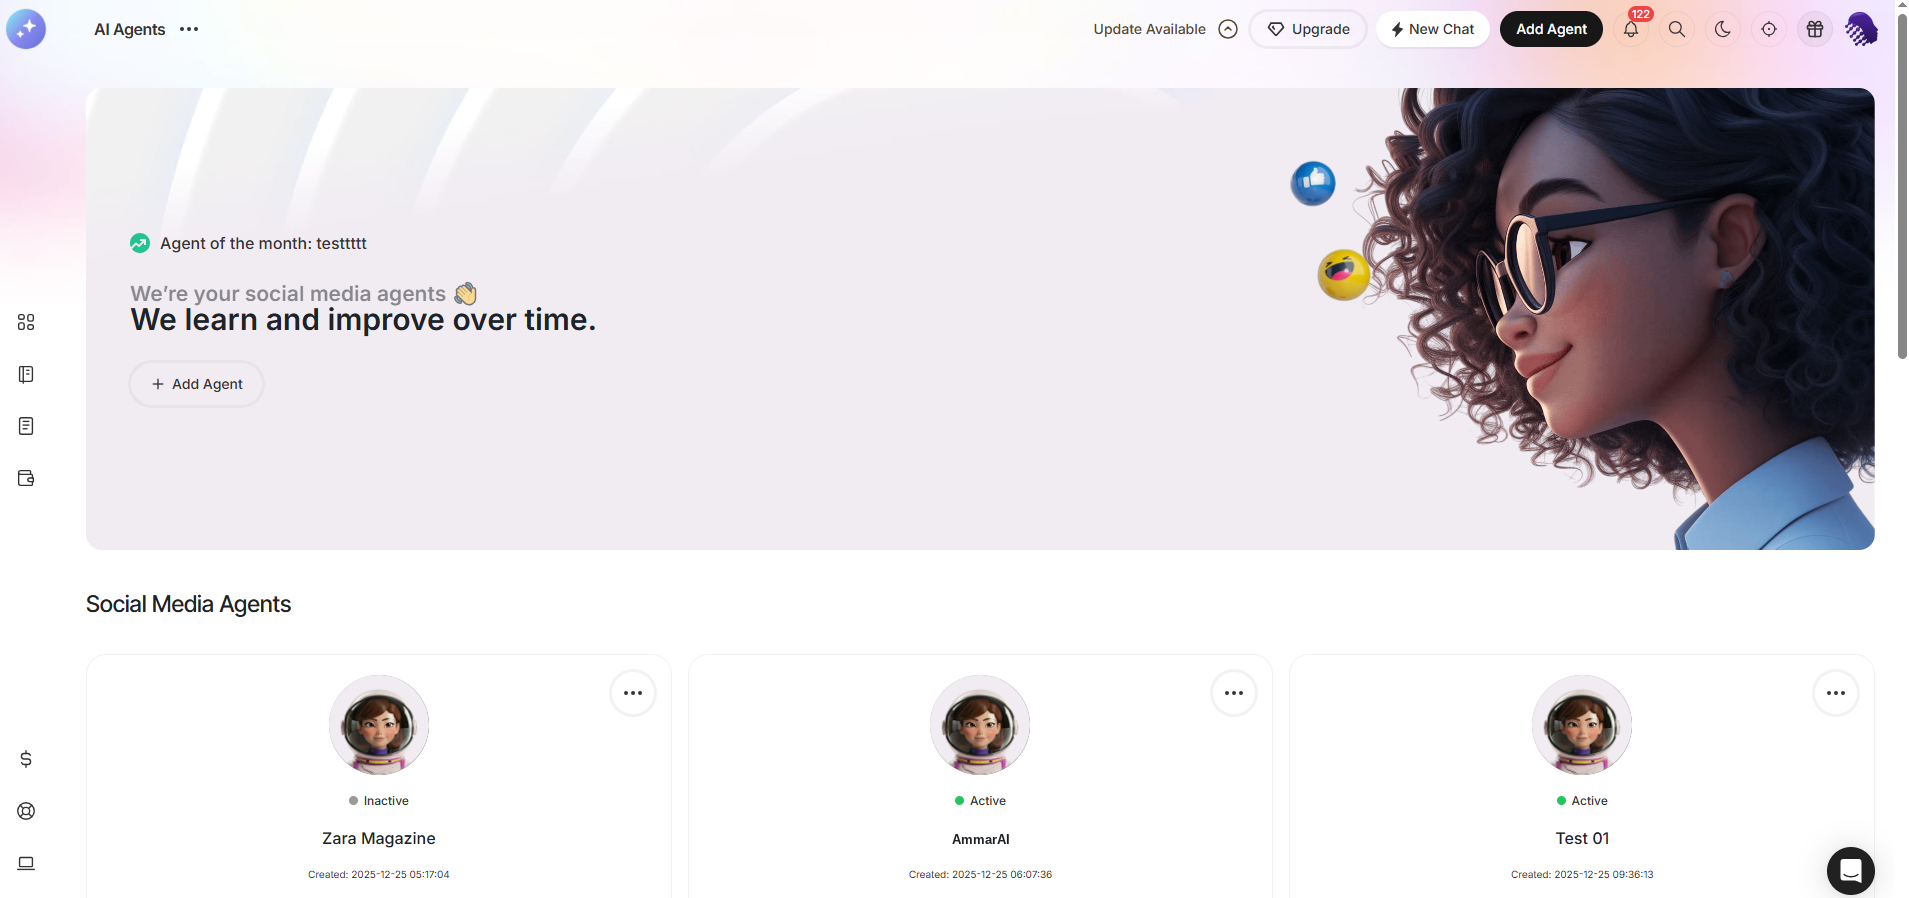
Each agent can cover a different brand or account set. Start the setup
The agent introduces itself and explains that it will plan, publish and optimise posts for you. Choose Let's Get Started to begin the seven short steps.

Setup is seven short steps, not a long form. Choose where it publishes
Pick one or more connected accounts. If the account you want is missing, link it here before you continue.
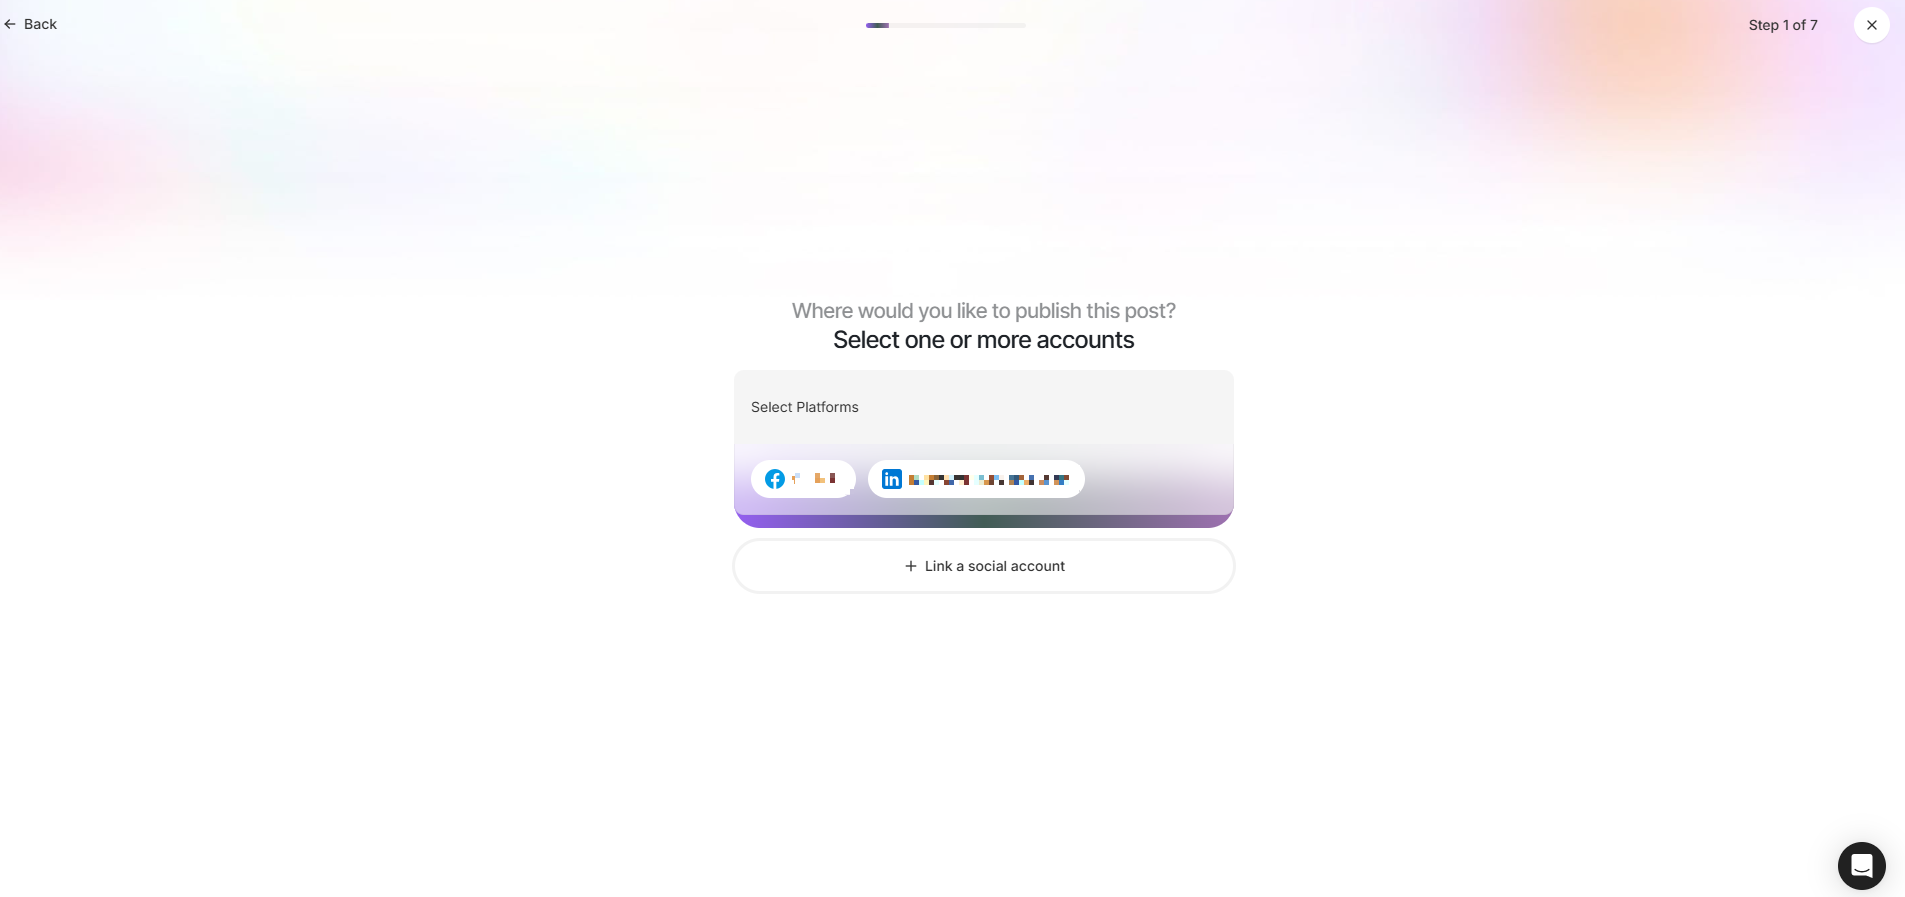
An agent can cover one platform or several. Tell it about your business
Add your website address so the agent can read your brand for itself, or write a short description instead. The more accurate this is, the less editing you will do later.
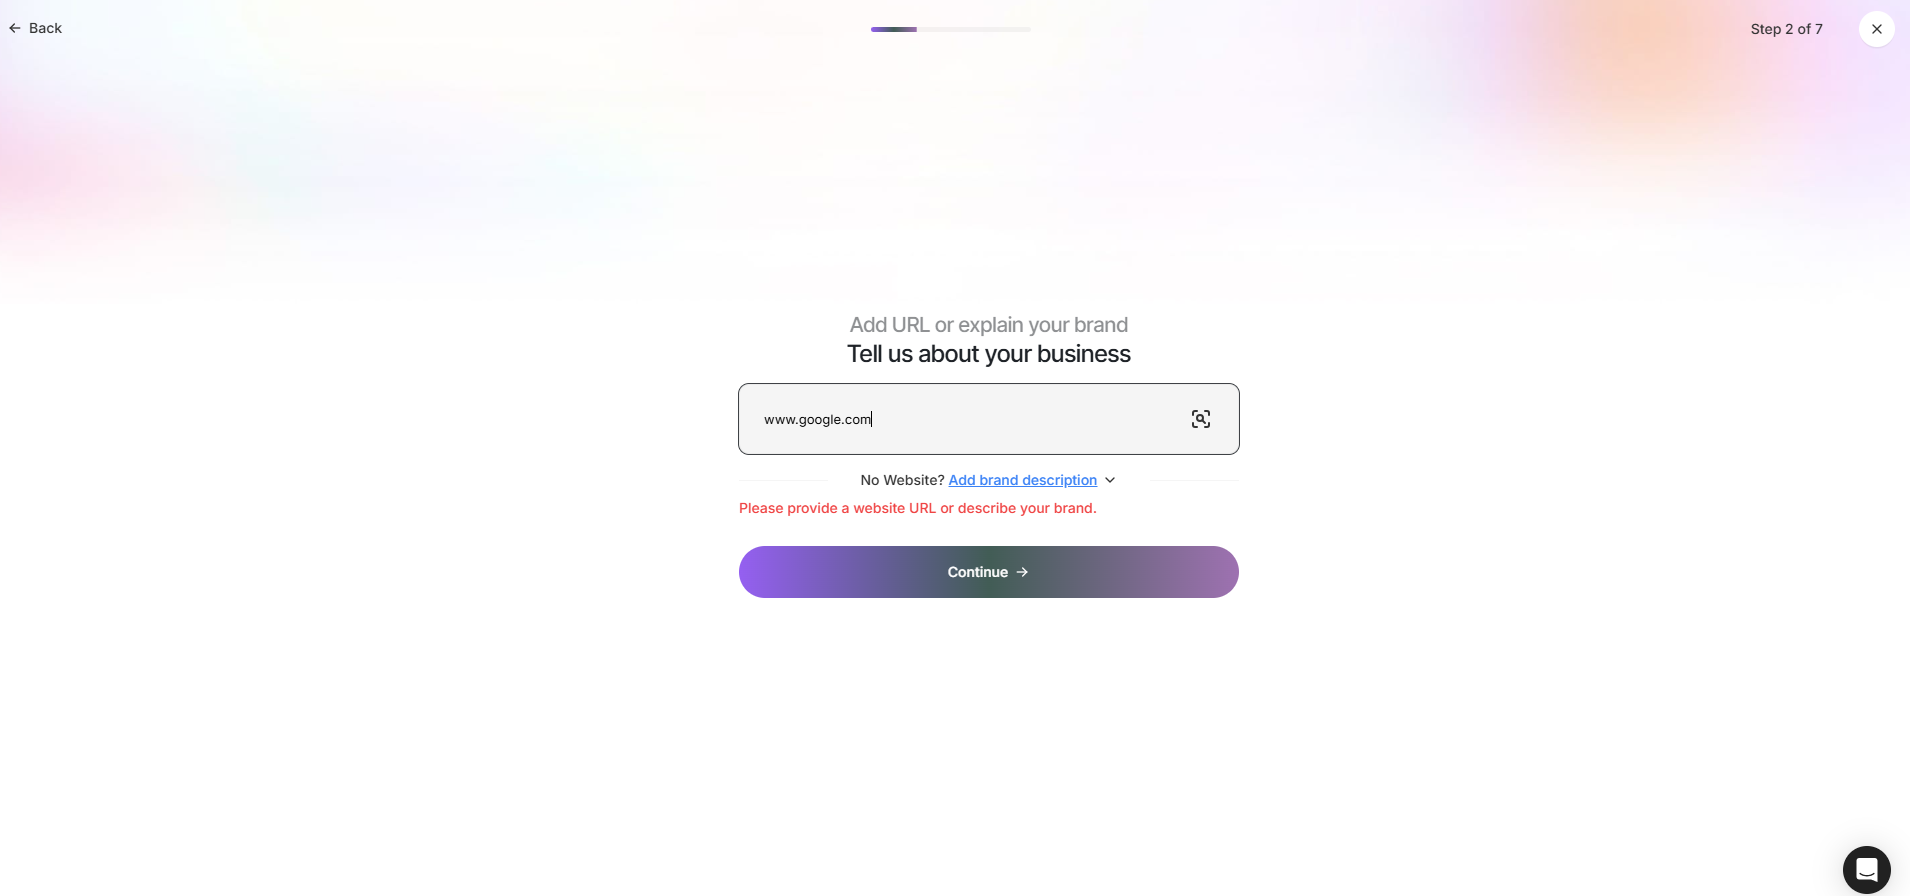
Your website is the fastest way to give it context. Describe who you are talking to
Choose the audiences that match your customers, or leave the agent to decide automatically. You can regenerate the suggestions if none of them fit.
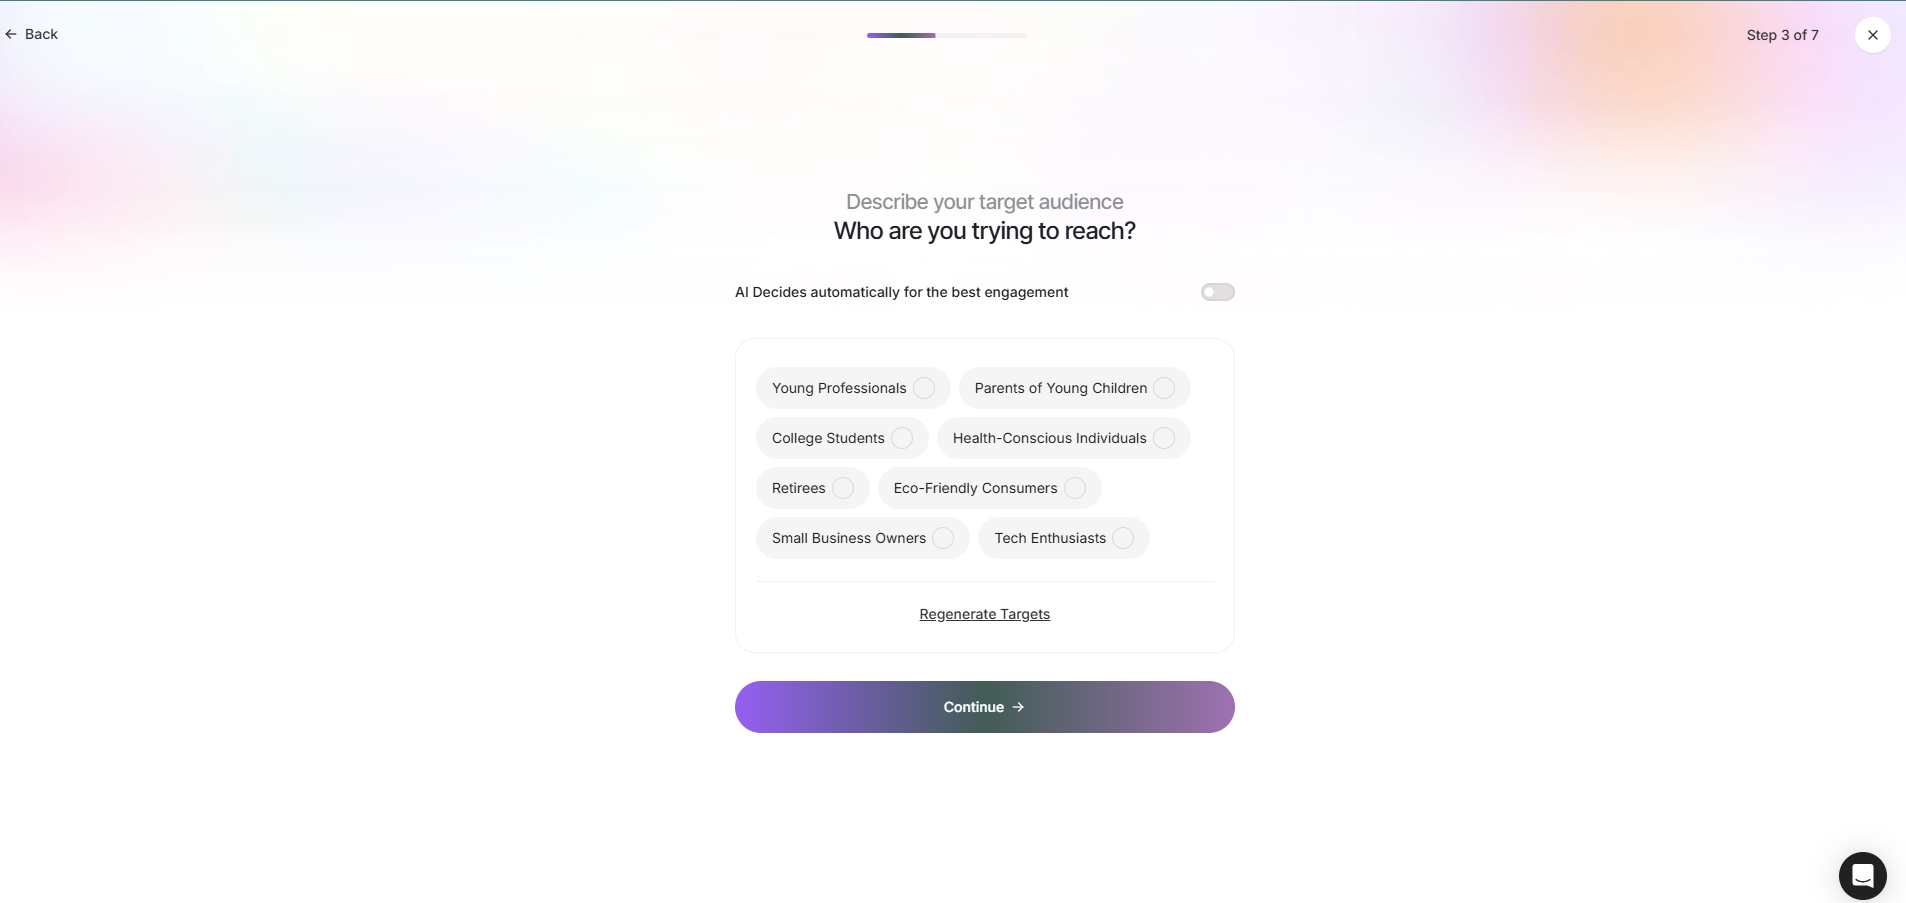
Audience choice changes the tone of every caption. Pick the content mix
Select the kinds of posts you want — announcements, product promotions, informative posts, customer stories, tips and so on. A mix keeps the feed from reading like an advert.
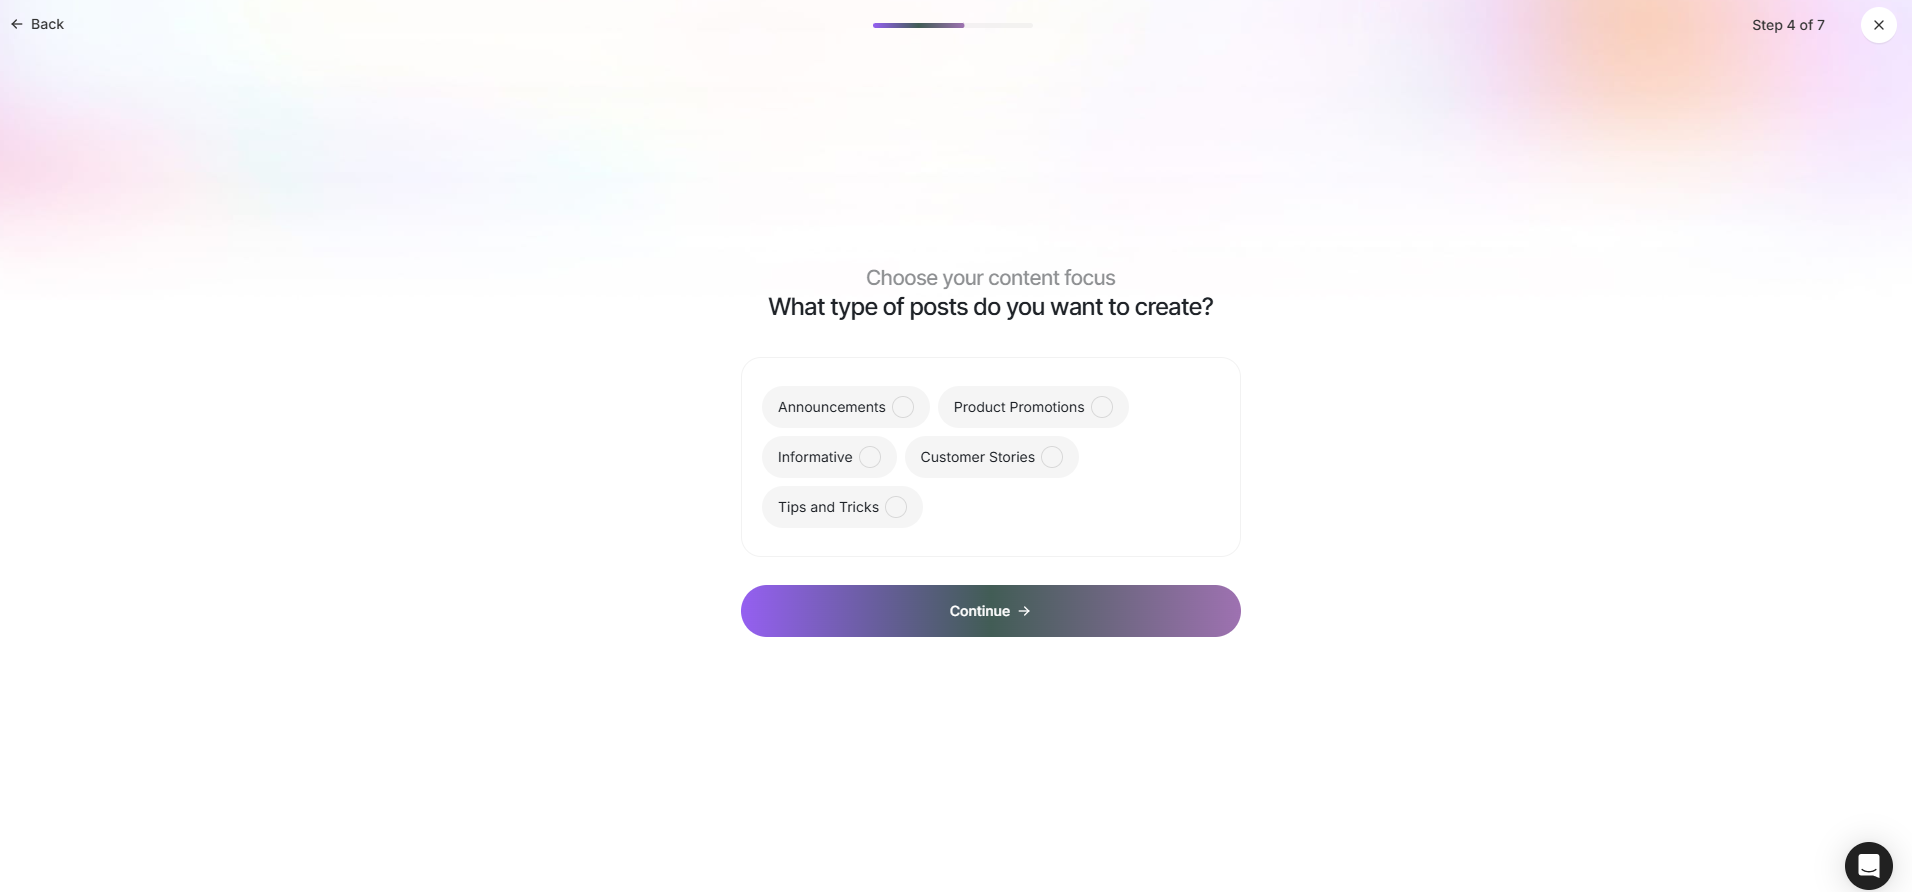
Choose several types so the feed stays varied. Fine-tune the style
Decide whether posts include images, whether hashtags and emoji are used, and set the language, how often it posts and the tone of voice.
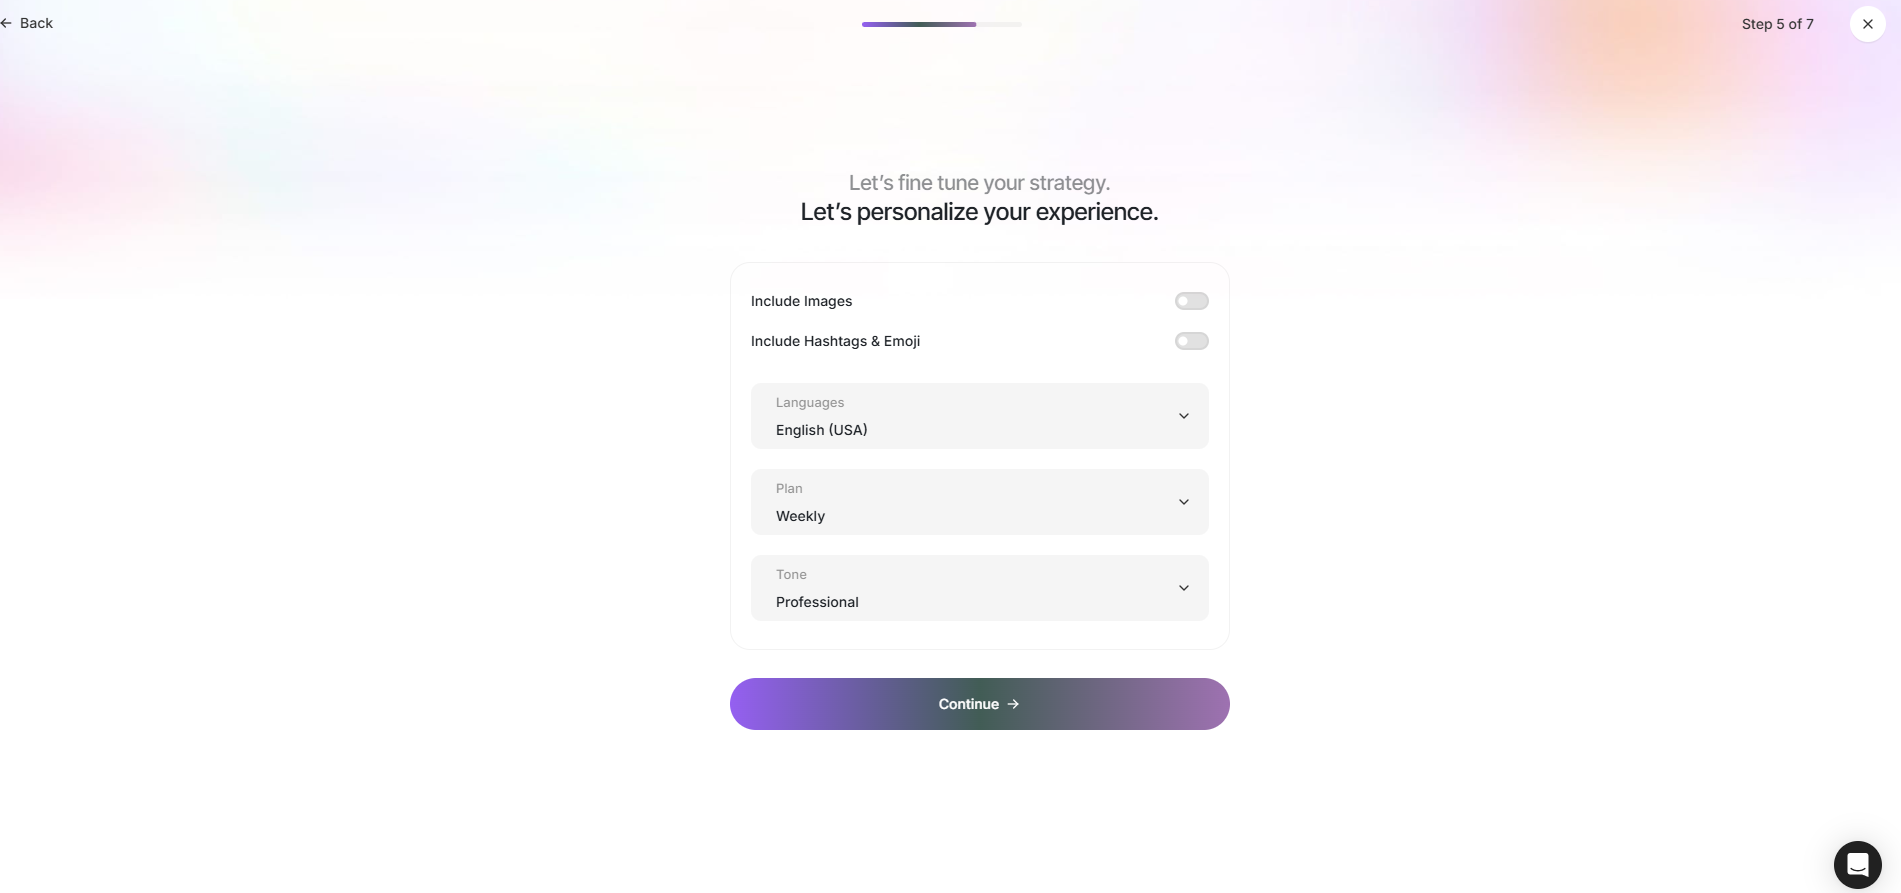
Tone and frequency are the two settings people change most. Set the posting schedule
Choose your own posting times or let the agent decide when engagement is likely to be highest, then finish setup. The agent starts drafting from there.
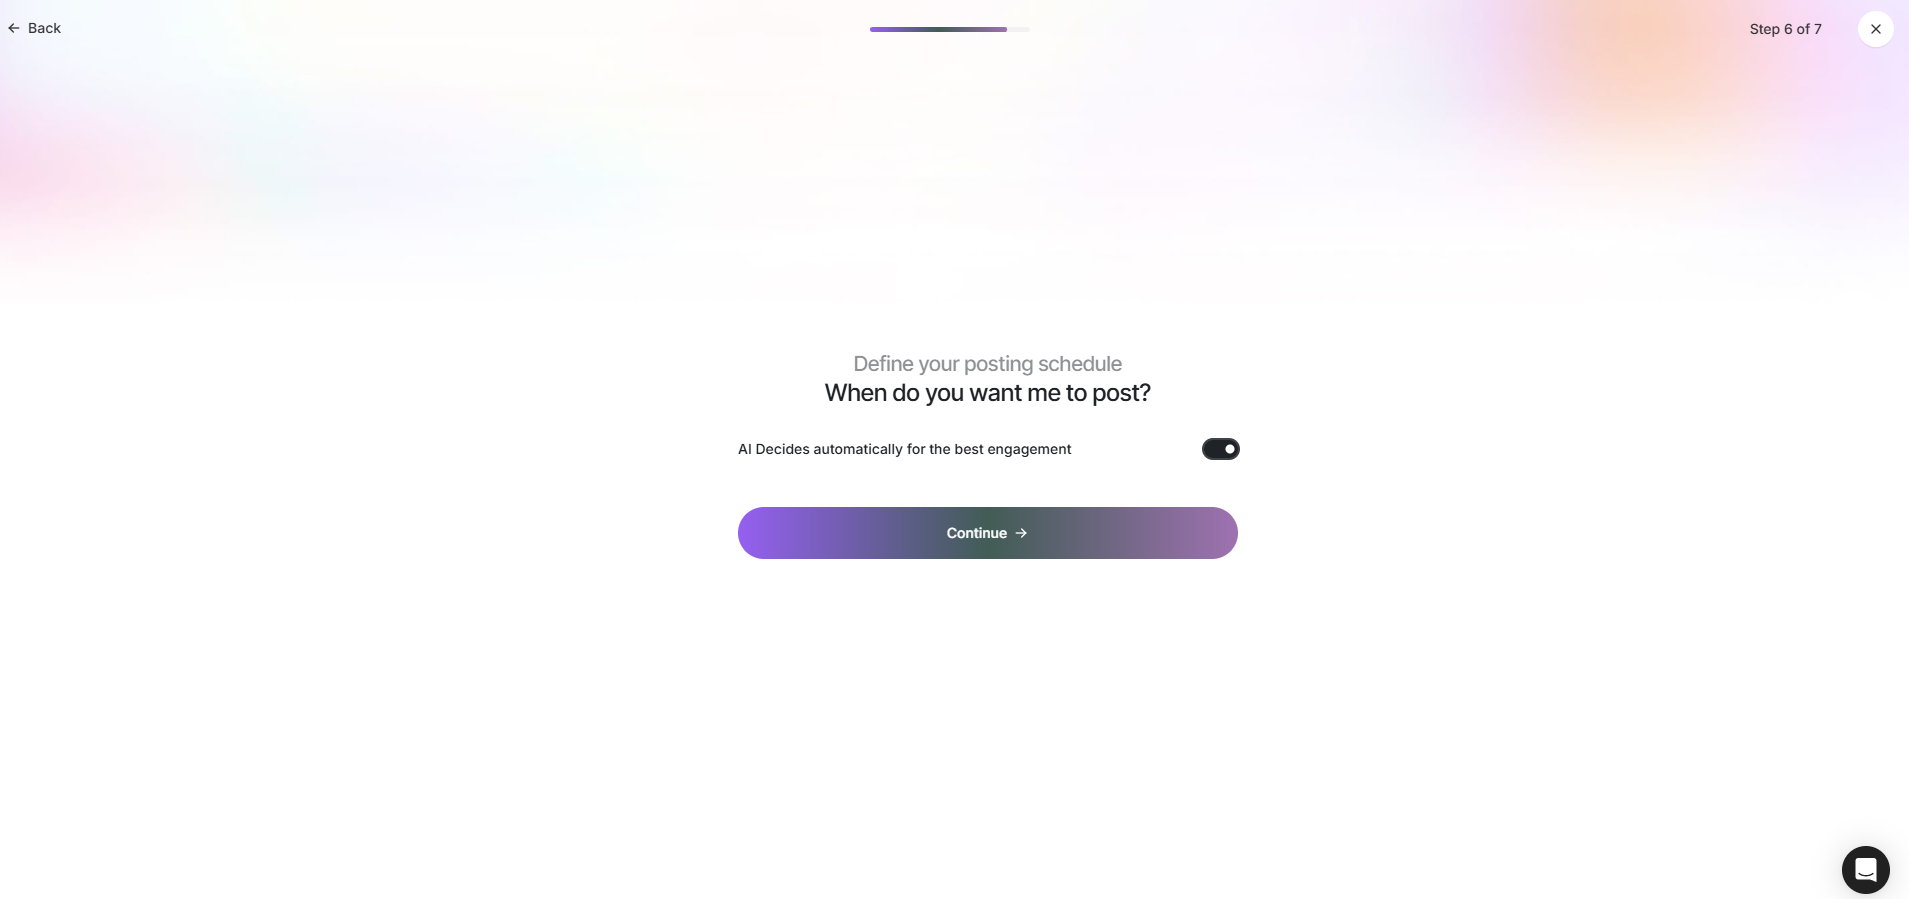
Automatic timing is a sensible default to begin with.
Run it week to week
Work through the posts archive
The archive lists every post by account, with drafts and published posts together. Filter by platform, sort by date and edit anything before its slot comes round.
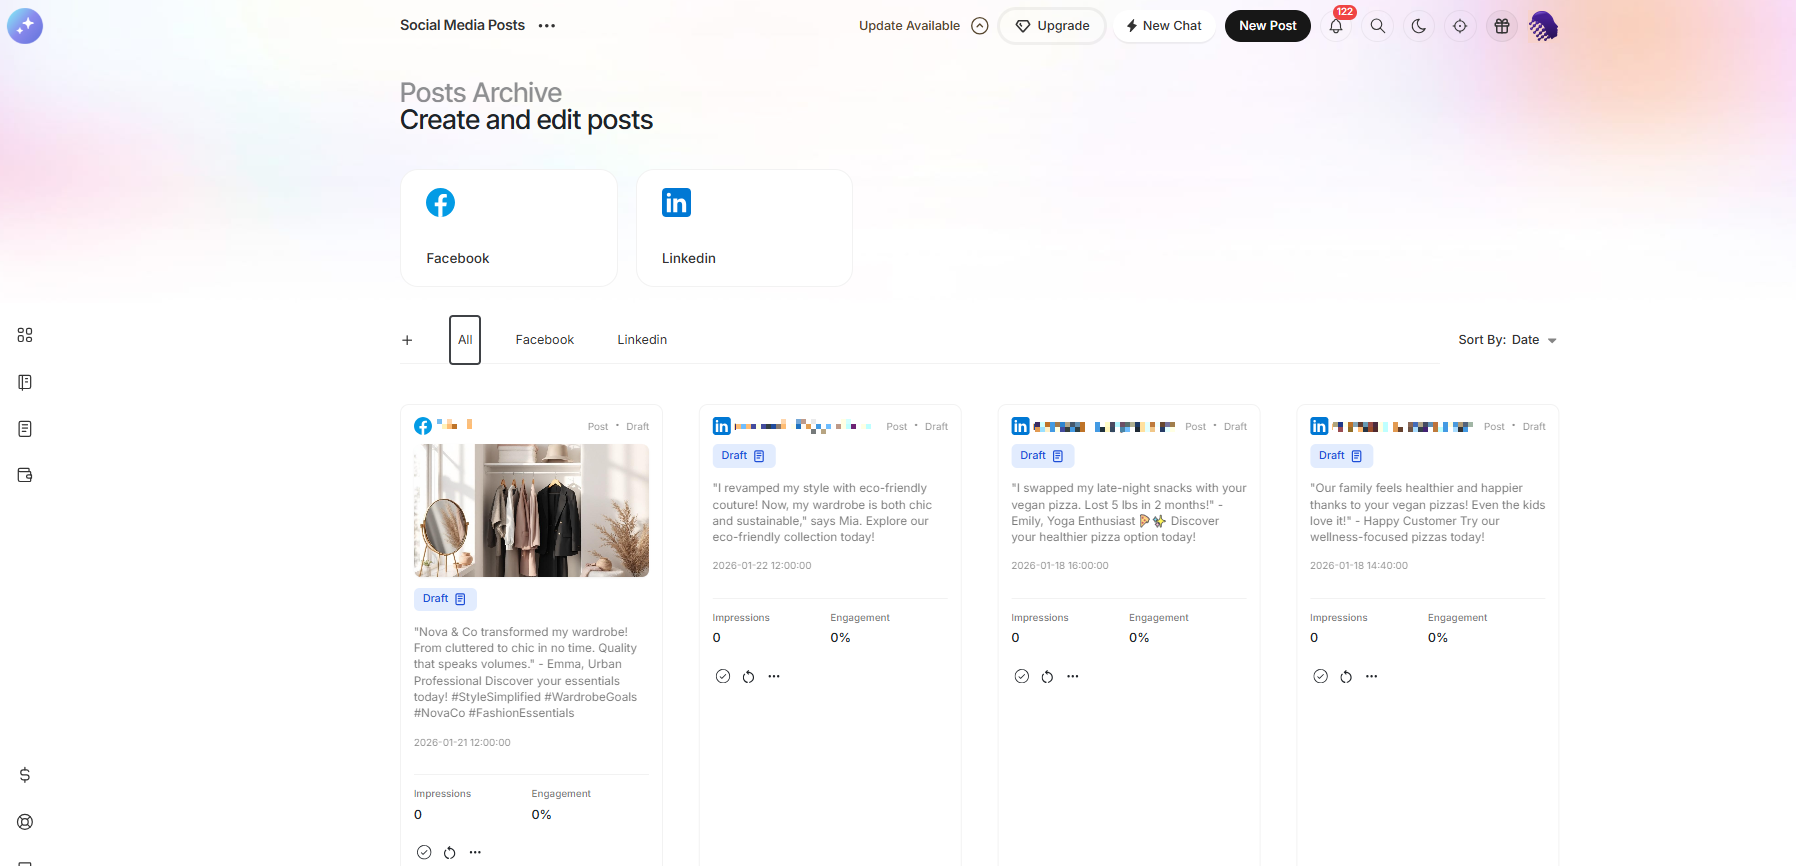
The archive is where bulk editing happens. Plan on the calendar
The calendar shows the month laid out by day so you can spot gaps, clashes and days where you have scheduled too much. Move posts around until the rhythm looks right.
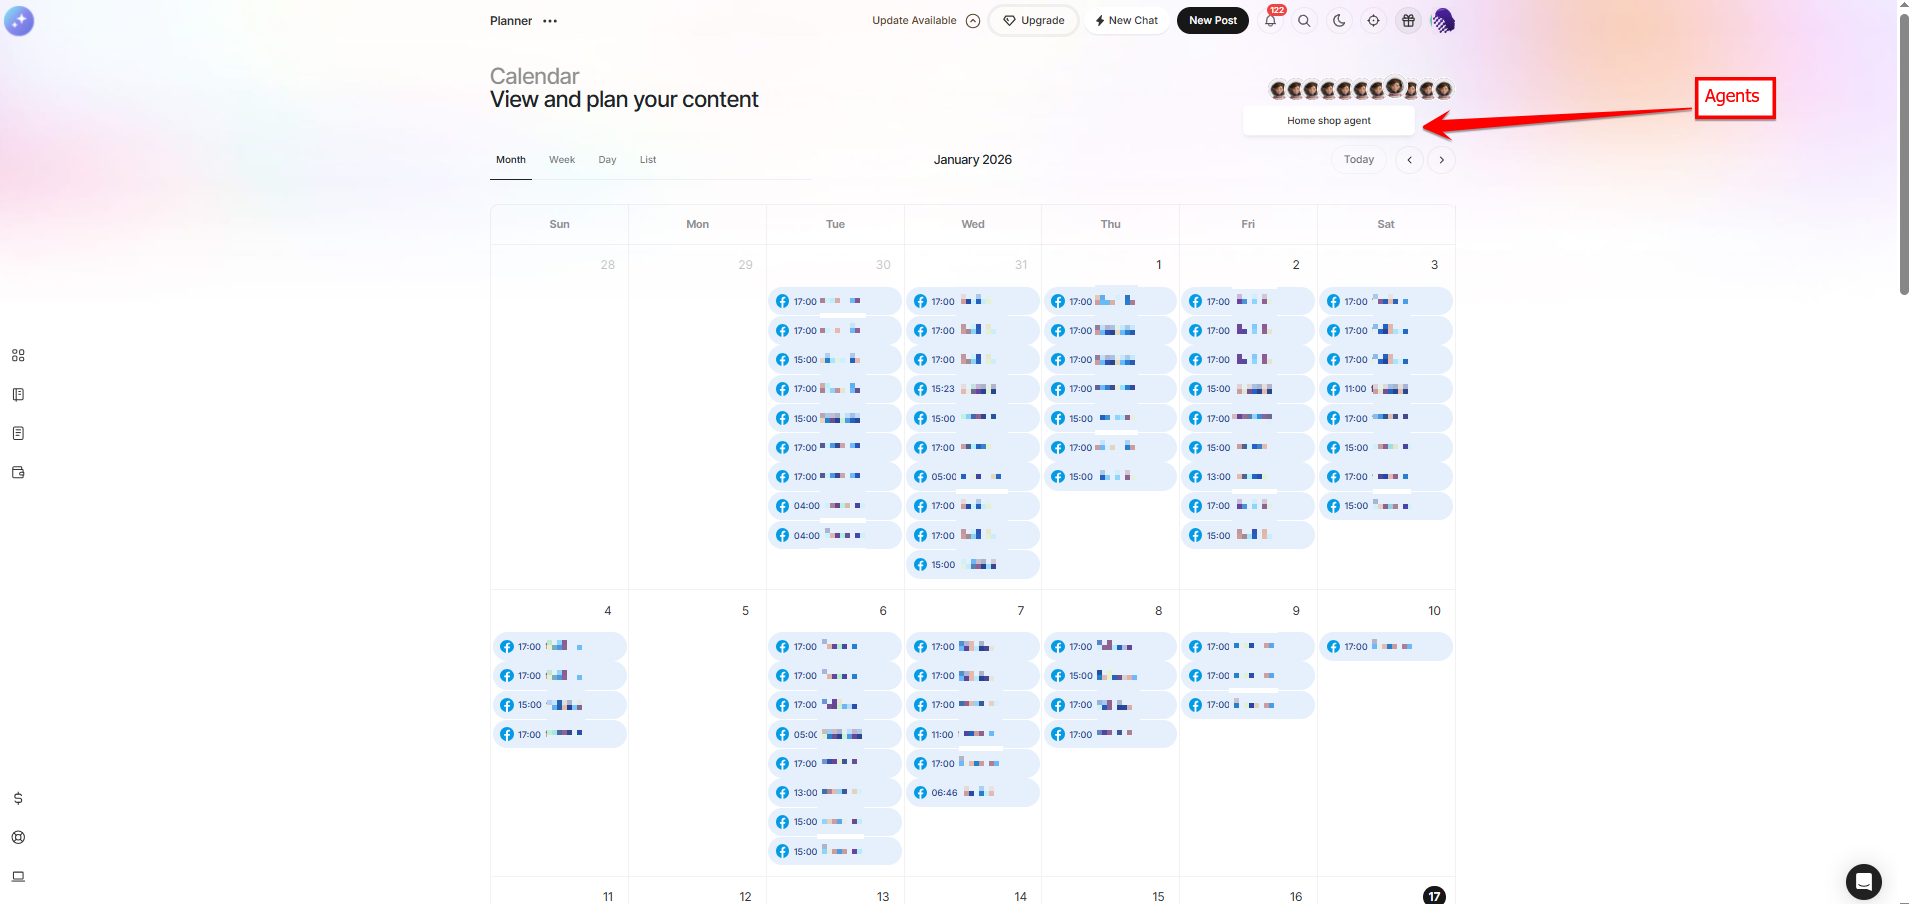
Gaps and pile-ups are obvious in the month view. Check what actually worked
Analytics covers engagement, followers, published posts and impressions over time. Use it to decide what the agent should do more of, then change the content mix or tone in the agent's settings.
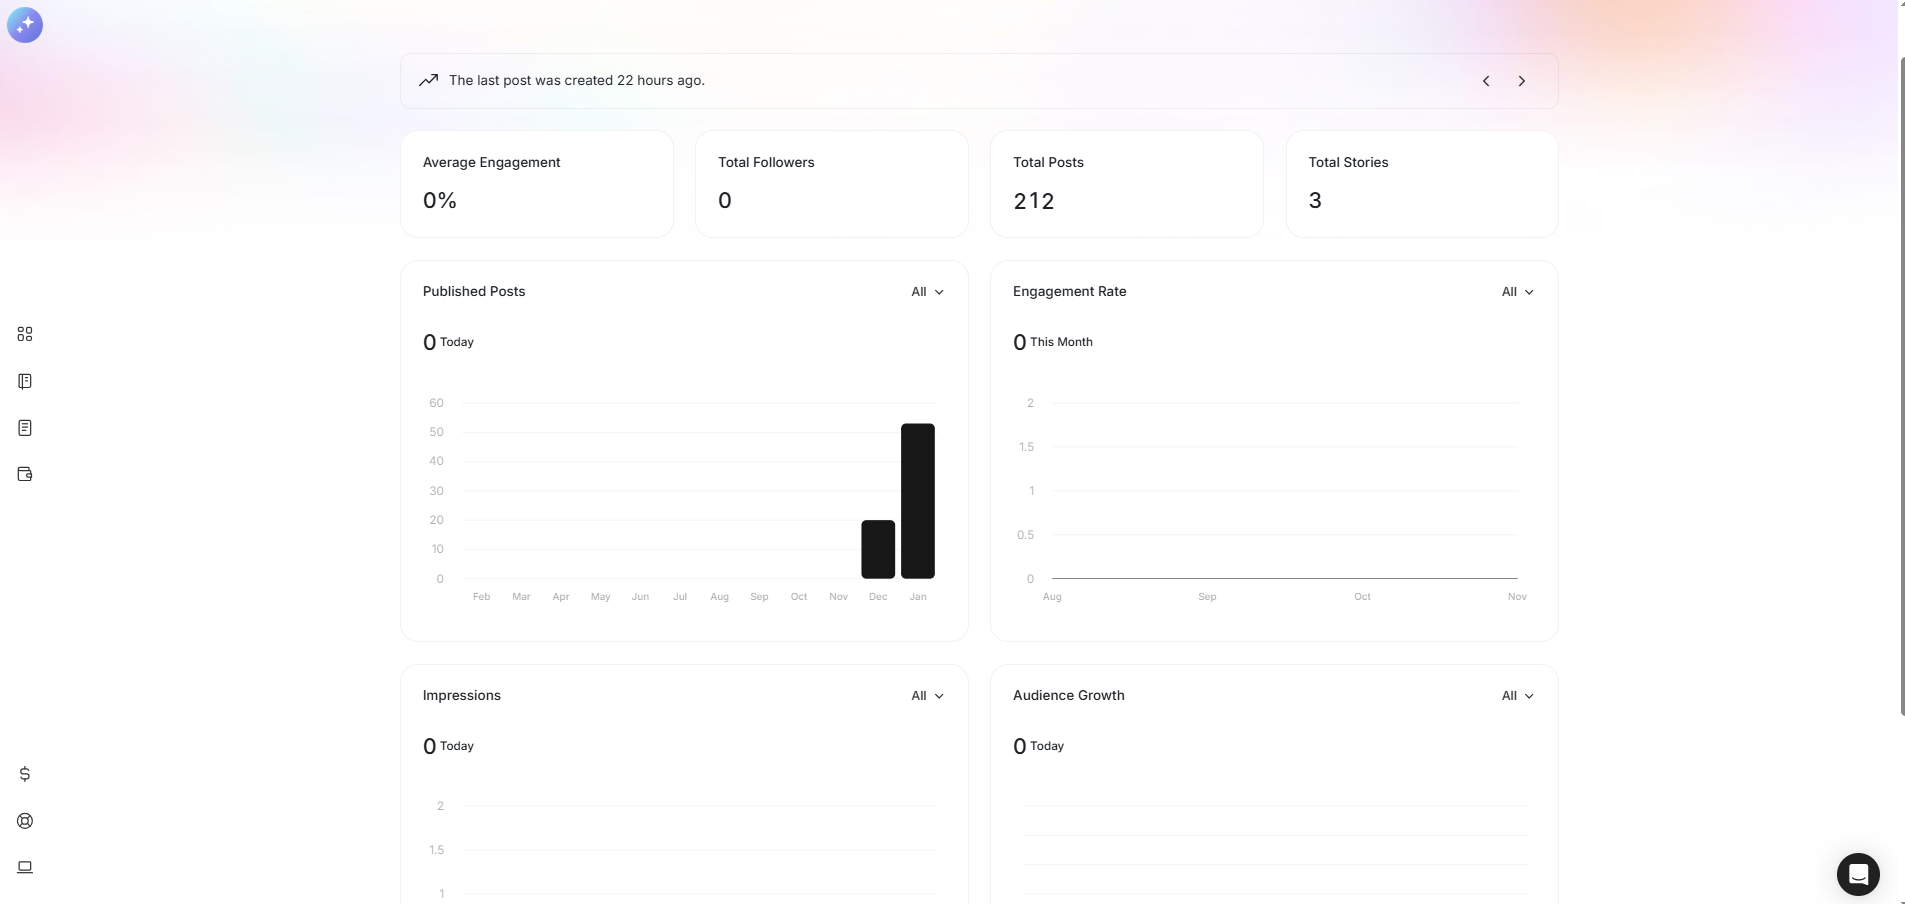
Feed the results back into the agent's settings. Manage connected accounts
The accounts page is where you link, review and remove the profiles the agent posts to, with the status of each connection listed underneath.
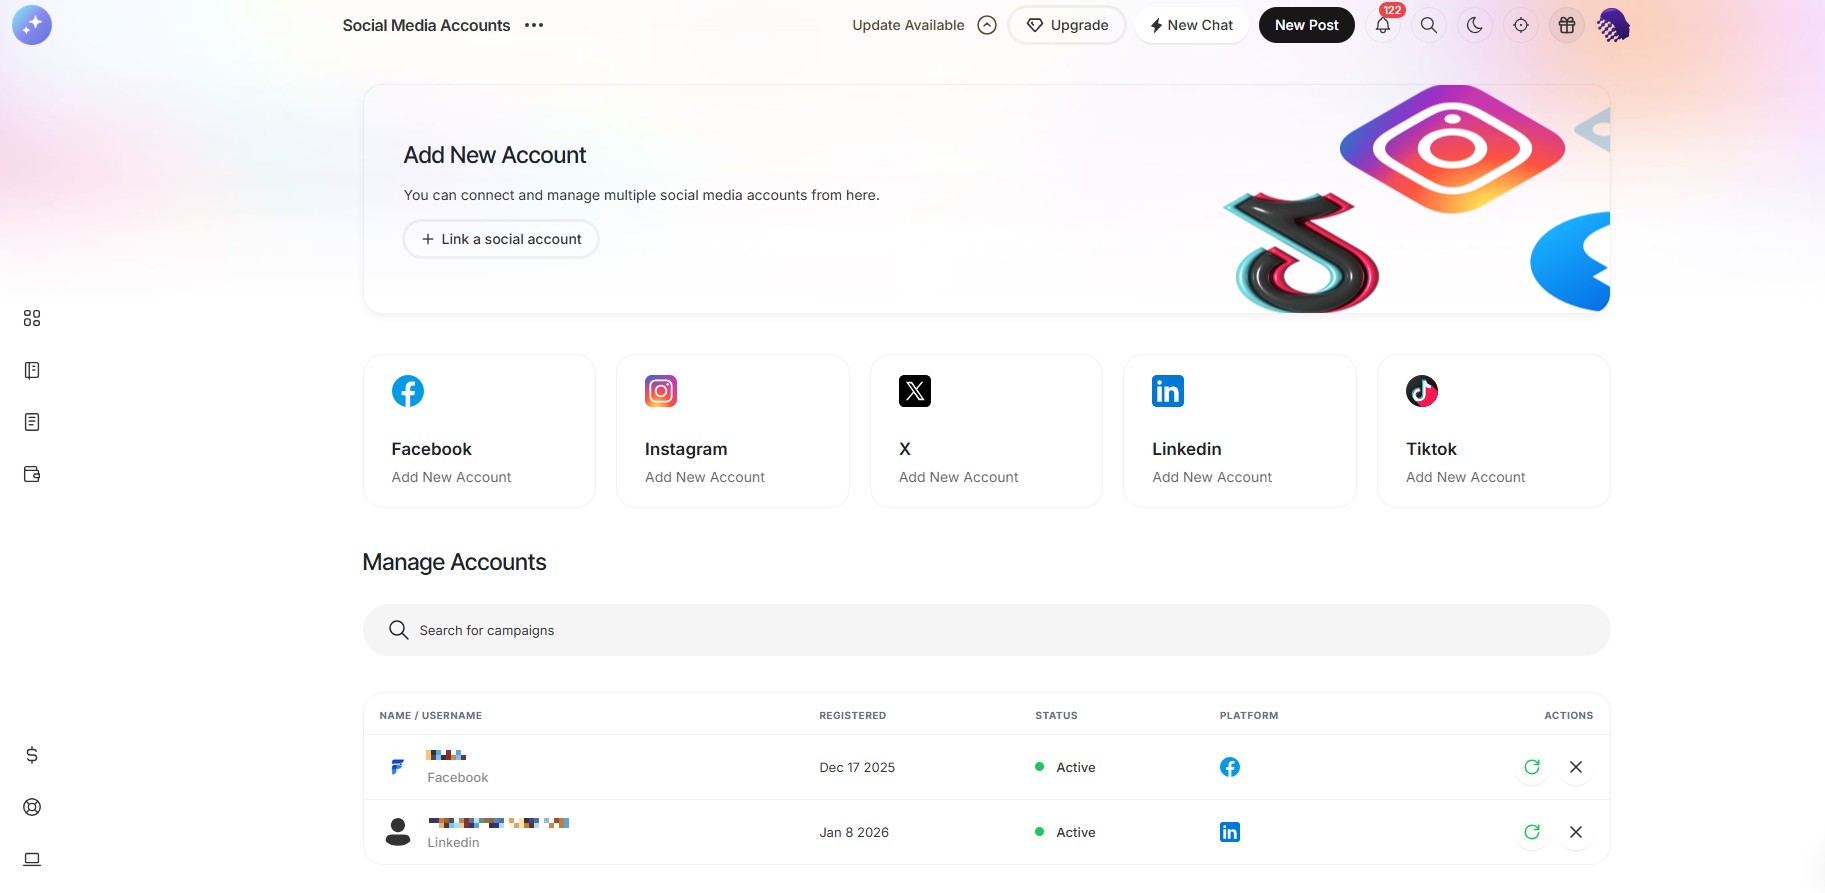
Reconnect an account here if posting stops working. Ask for something specific
The chat is there for one-off requests: a launch plan, a trend check, a set of captions or a campaign idea. Anything you agree there can be turned into scheduled posts.
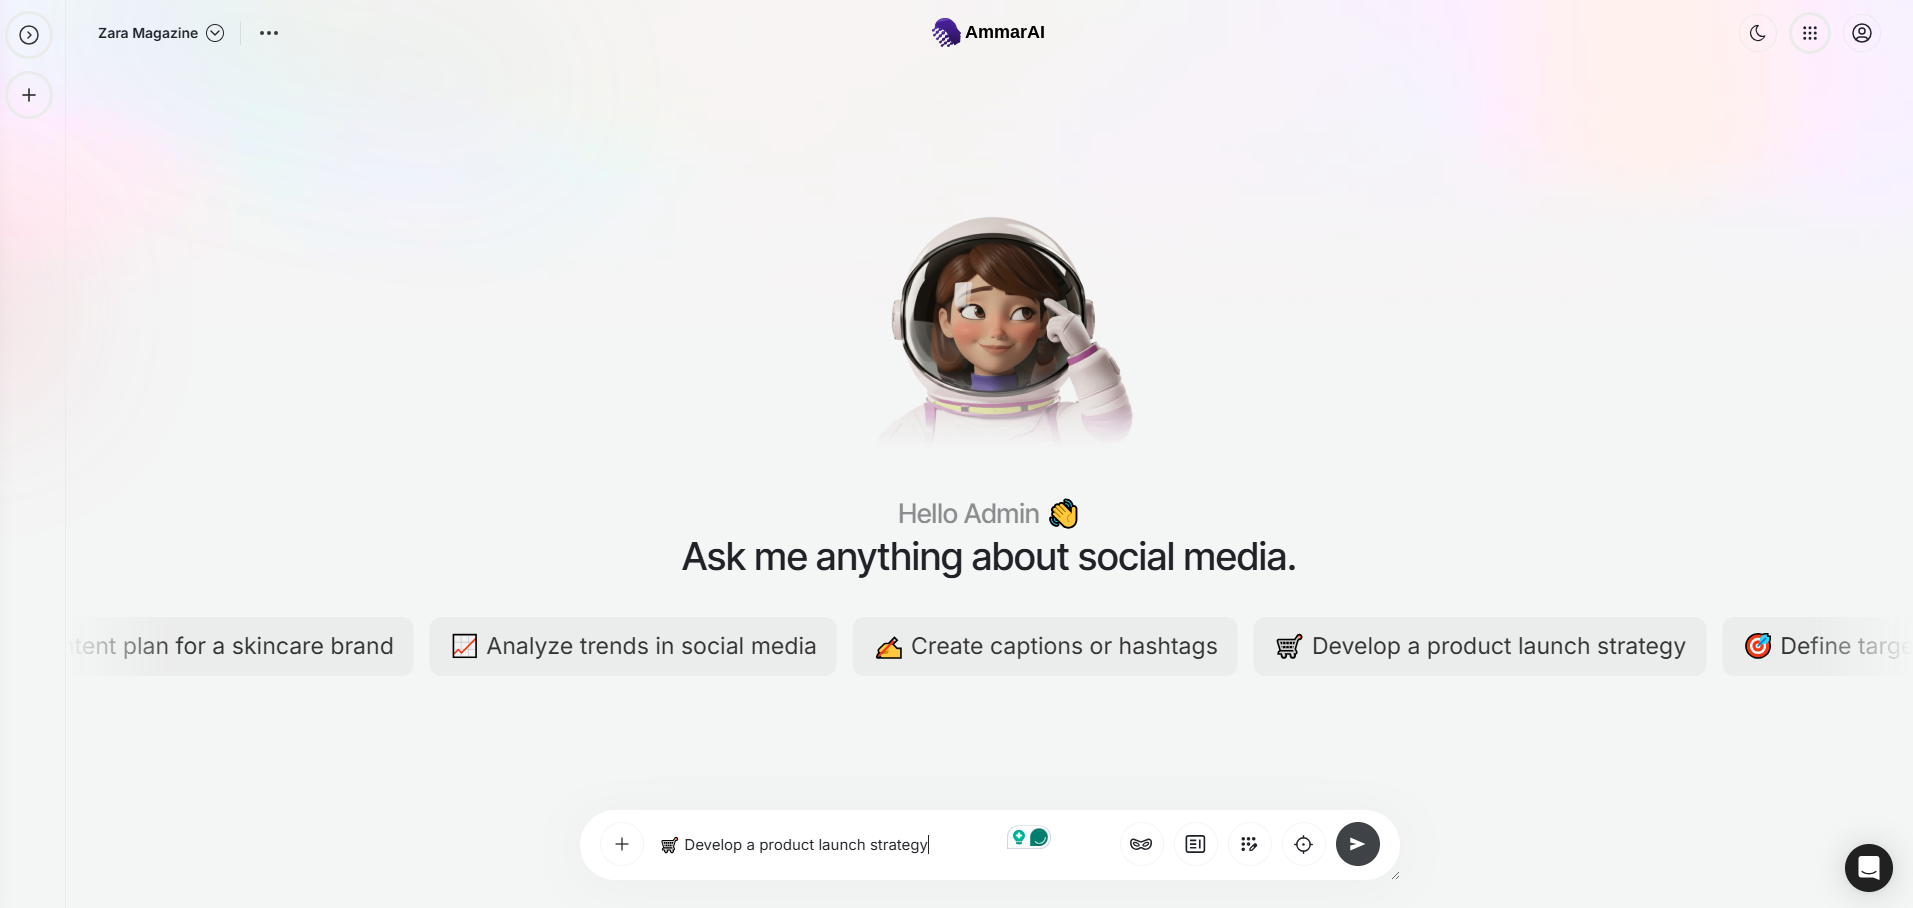
Use the chat for the work that falls outside the routine.
Before you publish
- Read the first week of drafts in full; corrections early save you correcting the same thing all month.
- Check claims, prices and dates yourself — the agent writes from what you told it, not from your systems.
- Keep the approval step on until the tone is consistently right.
- Follow each platform's rules on disclosure, promotions and competitions.
Ready to try it?
Try AI Social Media Agent in AmmarAI