
Video
How to edit videos with the AI Video Editor
The AI Video Editor is a timeline editor built into AmmarAI. You create a project, bring in footage, arrange it across video, audio and text tracks, and export the result without moving between separate applications.
Alongside the standard editing tools, side panels let you generate new clips, voiceovers and background music directly onto the timeline. This guide follows that end-user flow only.
When to use this
- You need to assemble or trim footage rather than generate a single clip.
- A video needs narration or background music added to the same timeline.
- The same footage has to be delivered in different aspect ratios for different platforms.
Start a project
Open the AI Video Editor and create a project
Open AI Video Editor from the workspace menu. The page lists every existing project with its aspect ratio, name and creation date. Select New Project, give the project a name, then choose the aspect ratio that matches where the video will be published.
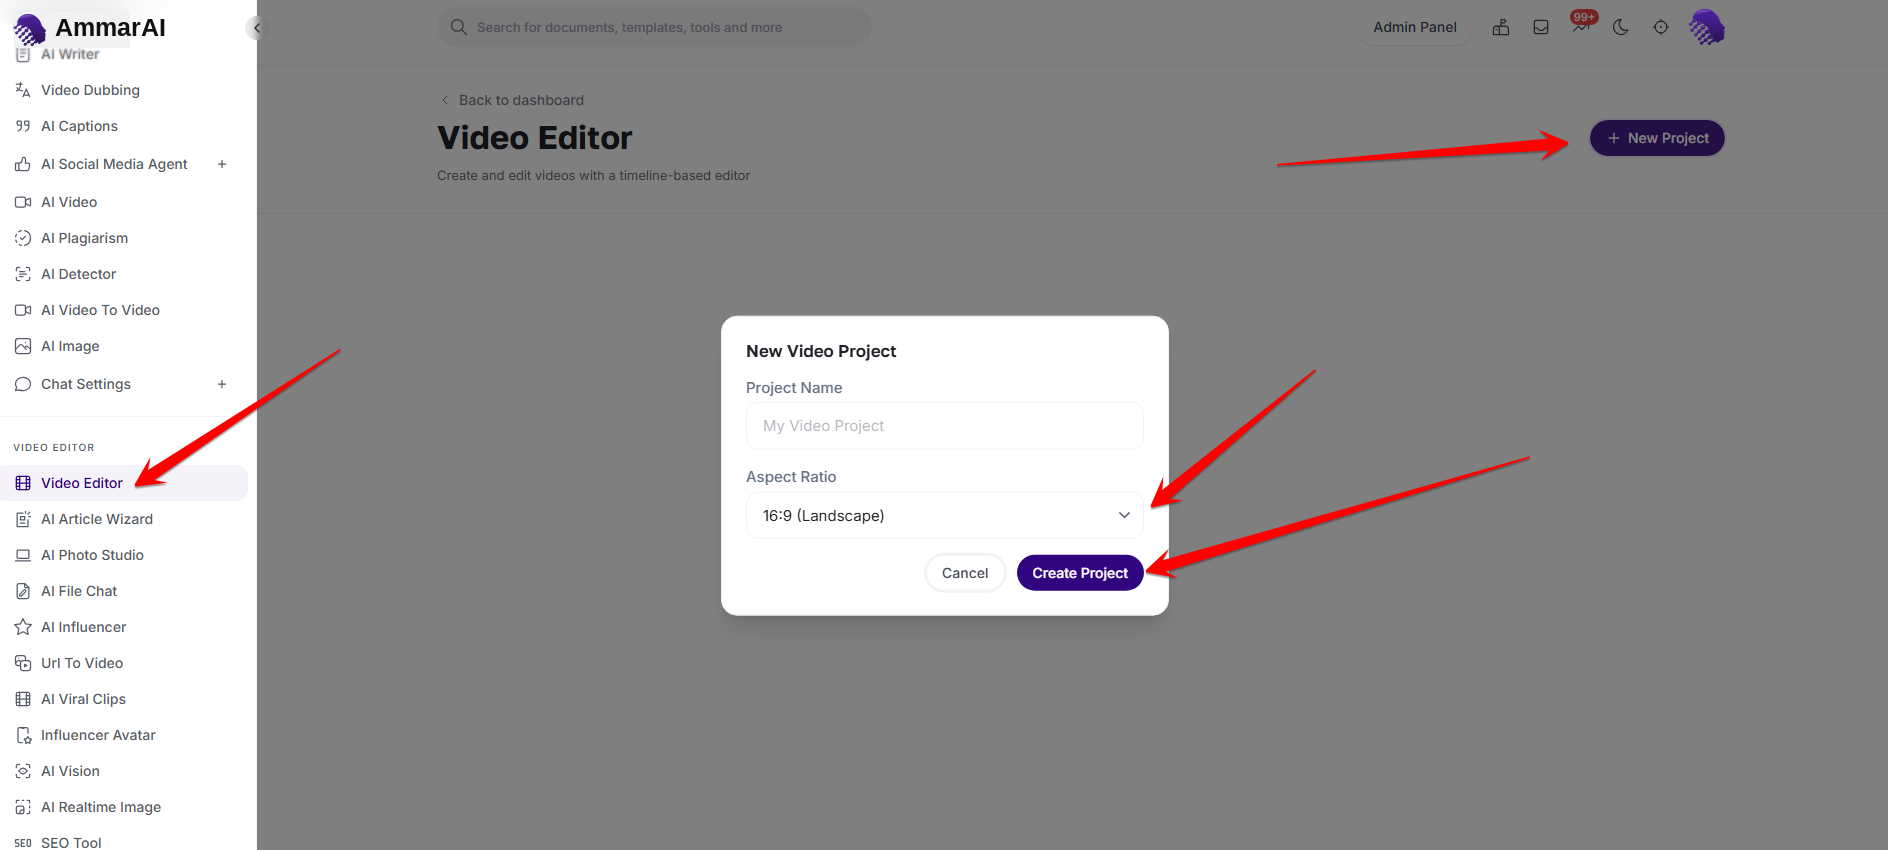
Name the project and set the aspect ratio before opening the timeline. Choose the right aspect ratio
1:1 suits square social feeds, 16:9 suits YouTube and presentations, and 9:16 suits vertical formats such as Reels and Shorts. Setting this at the start avoids recomposing shots later.
| Aspect ratio | Shape | Best for |
|---|---|---|
| 1:1 | Square | Instagram and Facebook feed posts |
| 16:9 | Landscape | YouTube, websites and presentations |
| 9:16 | Portrait | Reels, TikTok and YouTube Shorts |
Build the timeline
Add media from the library
Open the Library panel and upload your footage, images and audio, or pick from what is already stored. Filter by video, image or audio to find assets quickly, then drop them onto the timeline in the order the story should play.
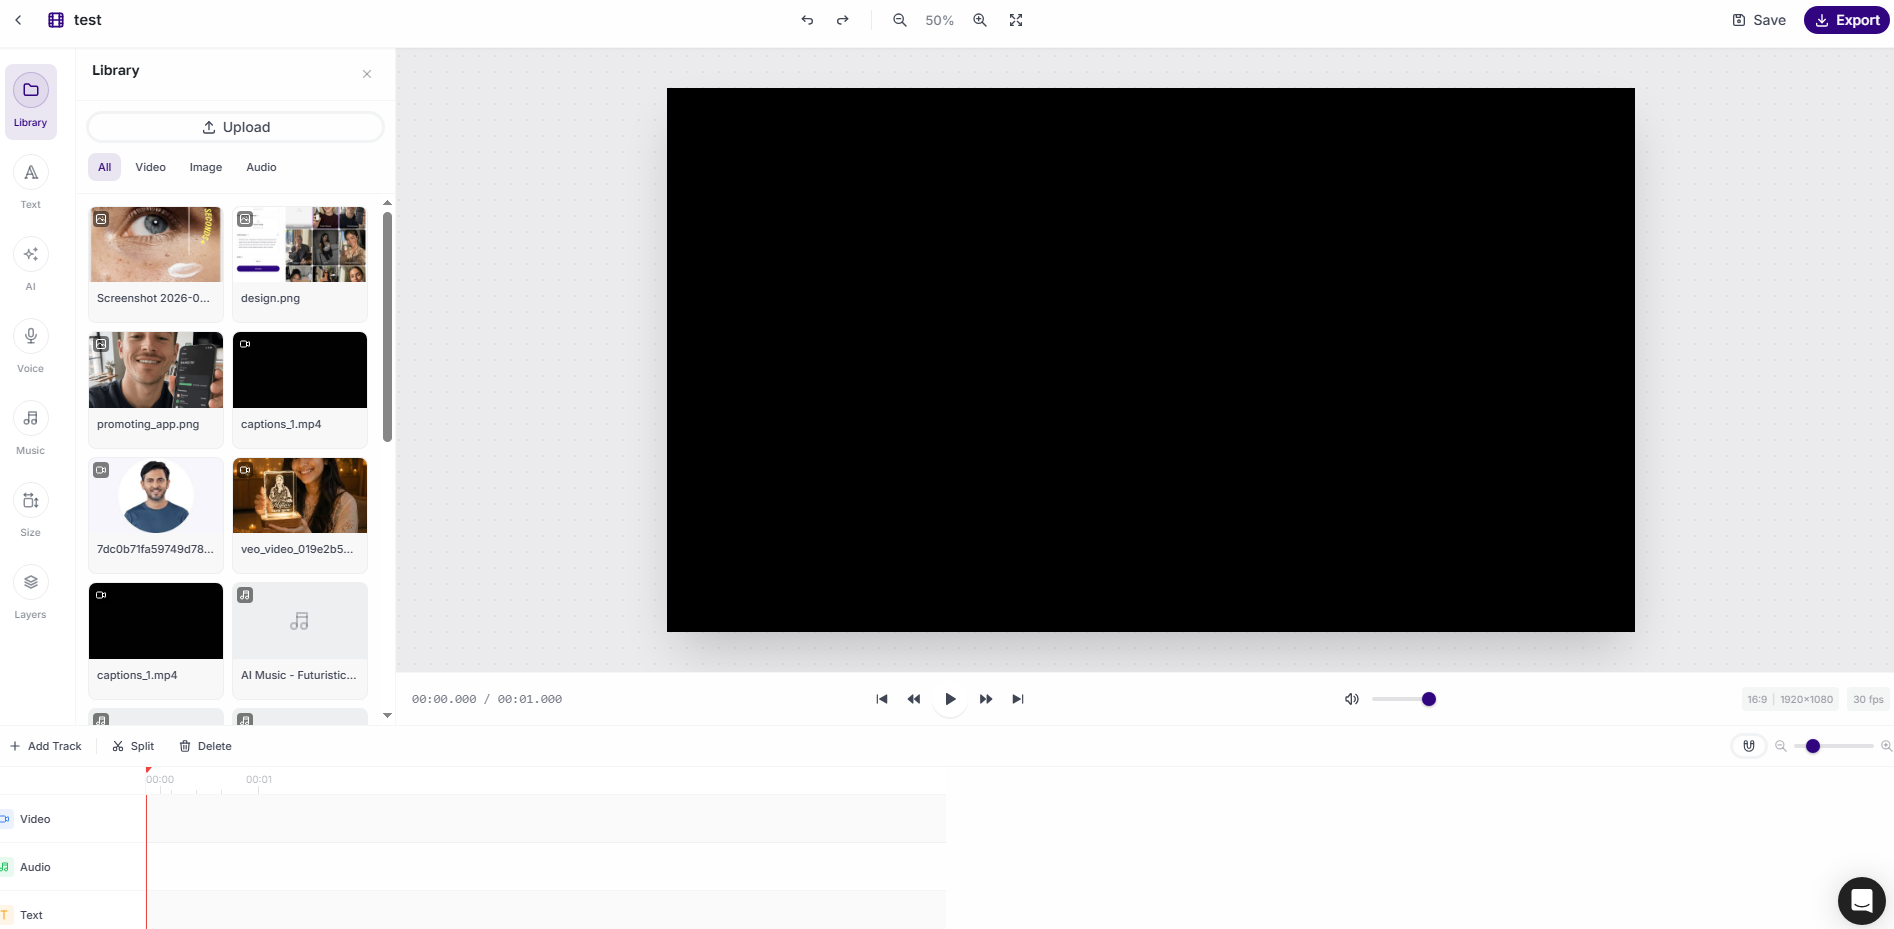
The Library panel holds every asset available to the project. Arrange, trim and layer
Use the timeline to trim clips, split them and change their order. Video, audio and text sit on separate tracks, so narration, music and captions can run underneath the picture. The preview updates as you work, and projects save automatically.
Use the AI panels
Three side panels bring AmmarAI generation into the editor itself, so new material lands straight on the timeline instead of being produced elsewhere and imported.
Generate video in the AI panel
Open the AI tab, describe the clip you need and choose the model. The generated clip is placed on the timeline ready to trim and position with the rest of the edit.
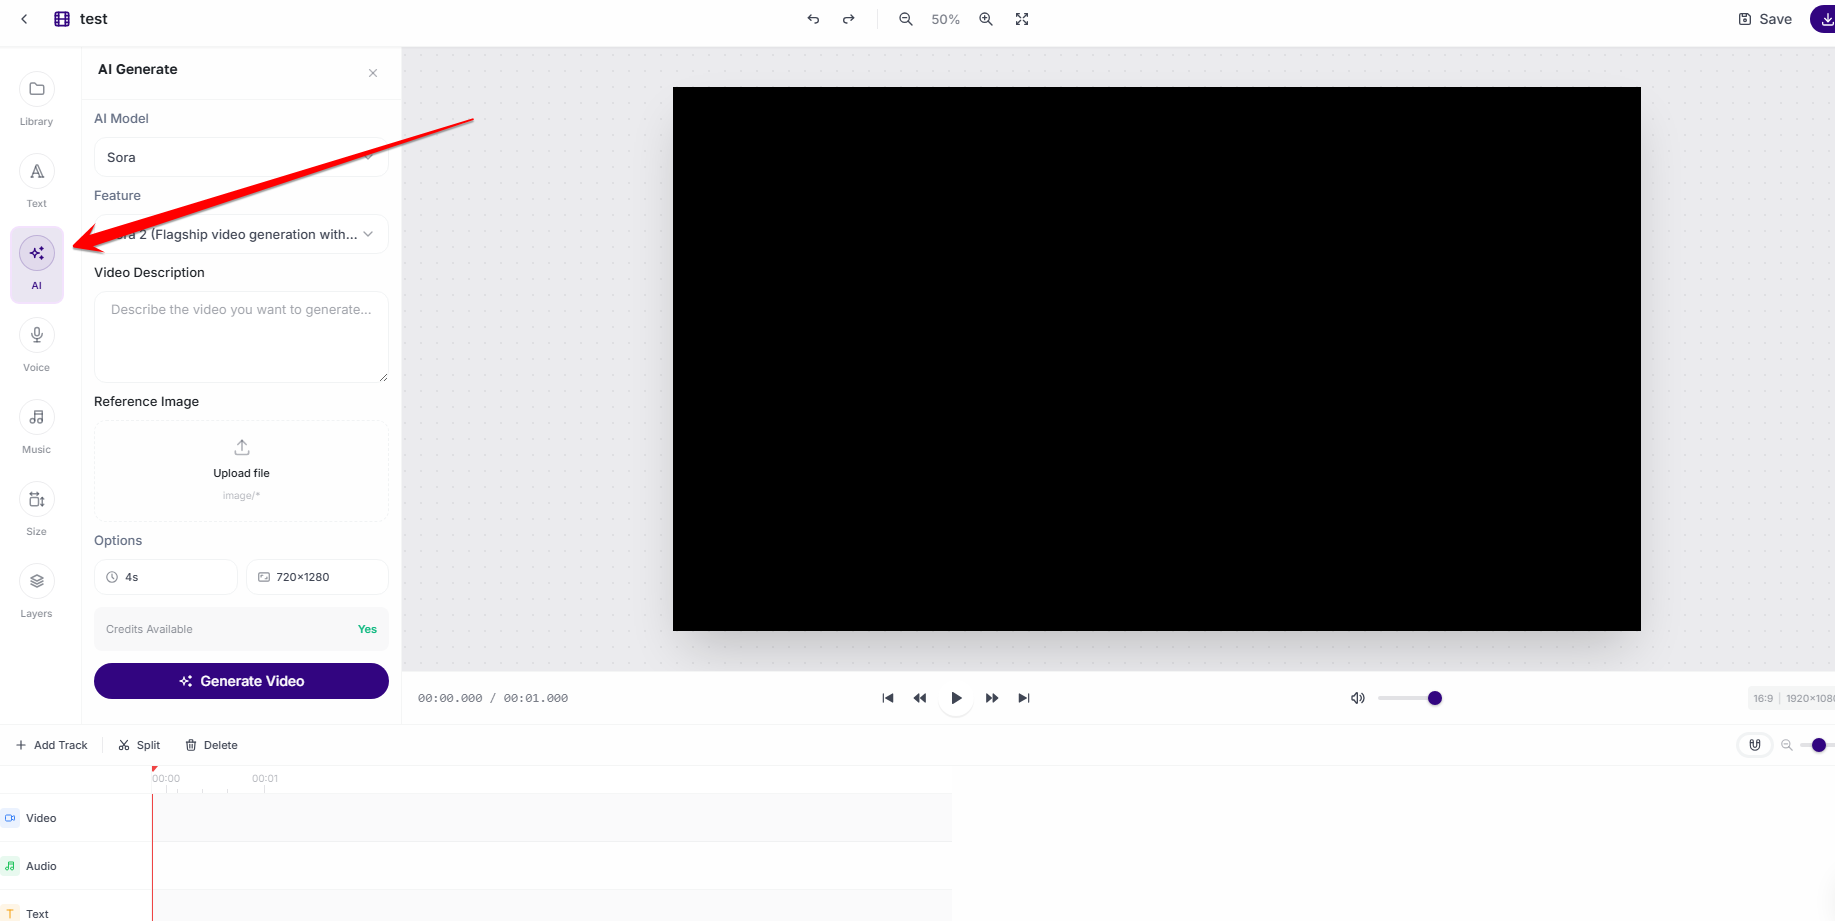
Generated clips are added straight to the timeline. Add a voiceover in the Voice panel
Open the Voice tab, enter the script, choose the language and voice, and generate. The narration is added as an audio track you can move and trim against the picture.
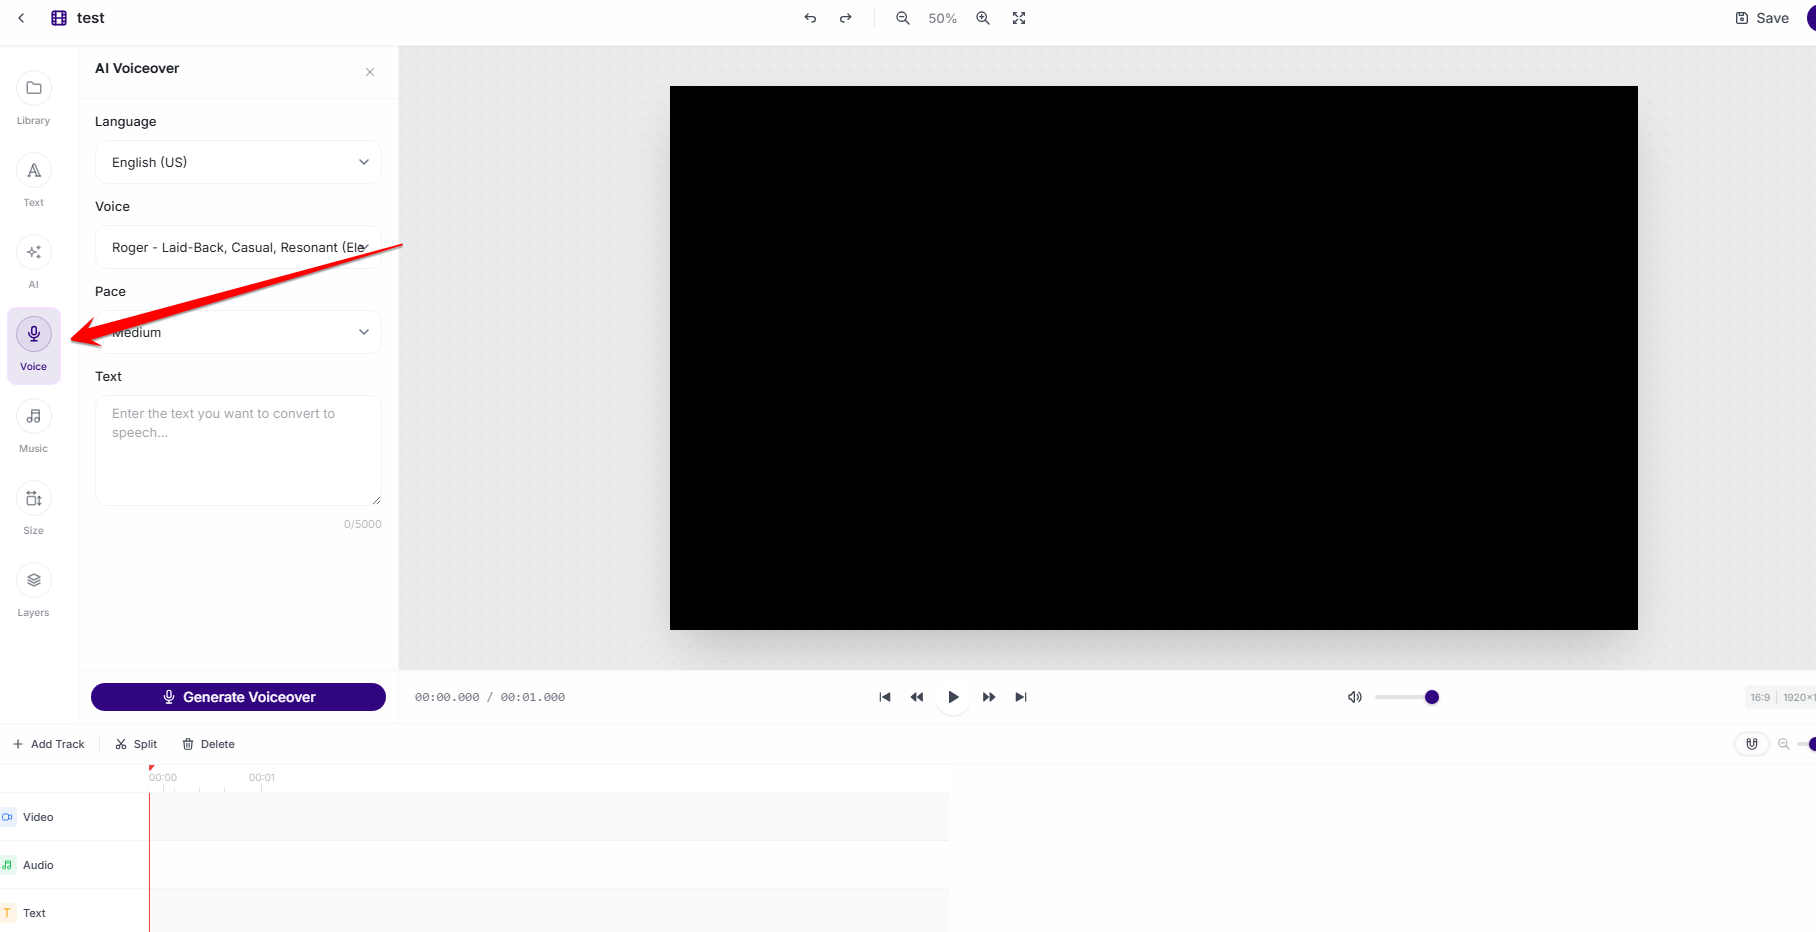
Narration arrives as a normal audio track on the timeline. Add background music in the Music panel
Open the Music tab, describe the mood or style you want behind the edit and generate a track. Place it on an audio track and lower its level so narration stays clear.
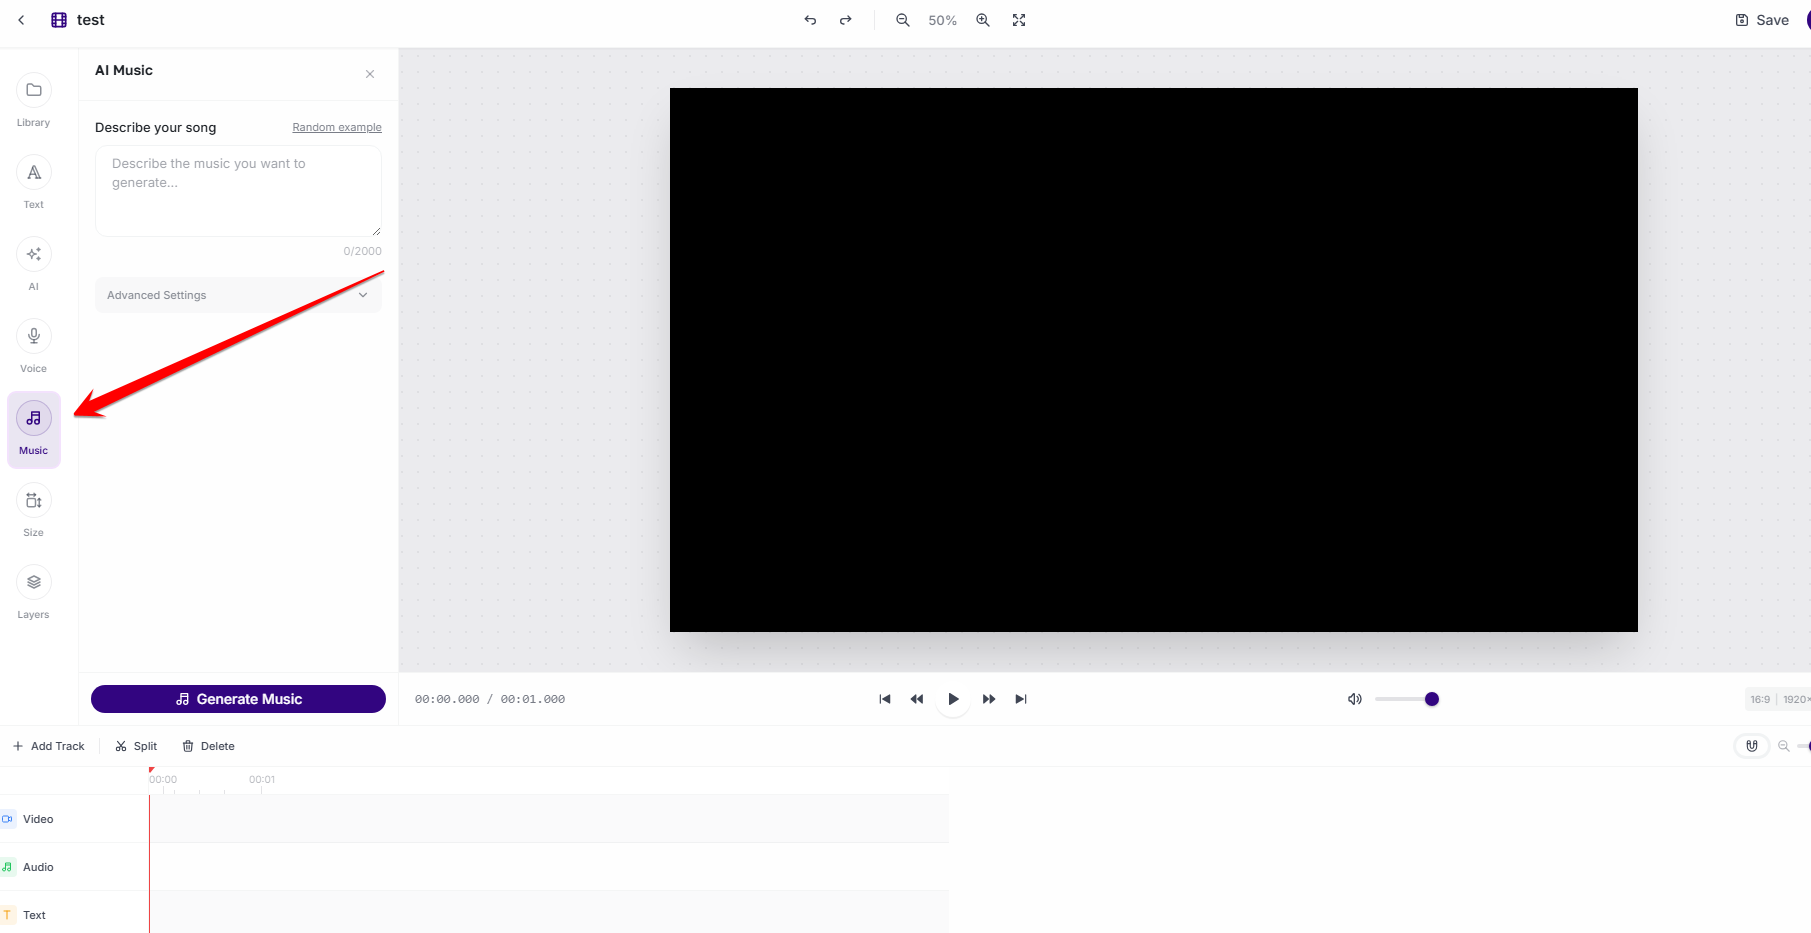
Generated music sits on its own audio track under the narration.
Save and export
Review the full edit
Play the project from the start and check pacing, audio balance and the readability of any on-screen text at the size viewers will actually see.
Export the video
Use Save to keep working later, or Export to render the finished video in the project's aspect ratio. Completed projects stay on the editor home screen and can be reopened at any time.
Ready to try it?
Try AI Video Editor in AmmarAI