Video
How to use AI Video Pro
AI Video Pro creates short videos from a written prompt or a source image. Available controls let you choose the generation approach and set options such as duration, resolution or style when the selected model supports them.
When to use this
- You want to turn a written scene description into a short video clip.
- You want to add motion to a still image.
- You need visual material for a product demo, short story or social post.
Generate a video
Open AI Video Pro and choose an action
Open AI Video Pro, then choose the action that matches your source. Use text-to-video for a written scene or image-to-video when you have a still image to animate.
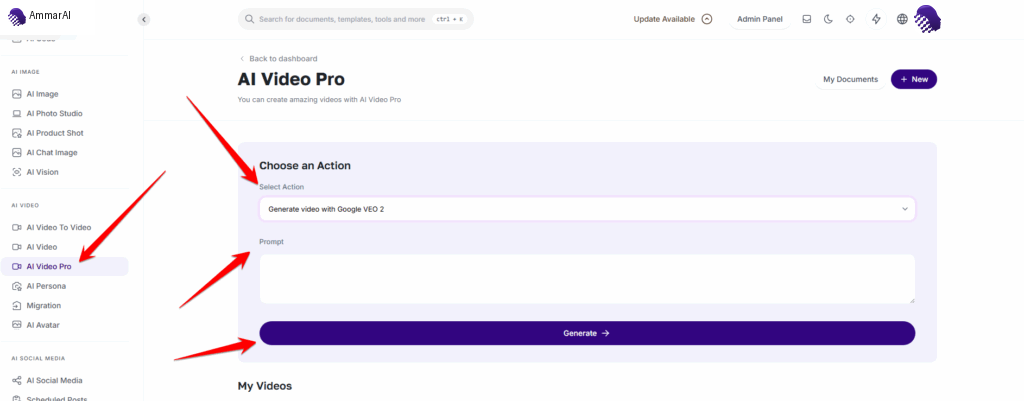
Choose the video action, provide the source and generate the clip. Choose an available model
Select a video model from the options shown in your workspace. Models can support different source types and controls, so confirm the selected action before continuing.
Enter a prompt or upload an image
For text-to-video, describe the subject, action, setting, camera movement and lighting. For image-to-video, upload the source image and describe the motion you want.
Adjust the available settings
Set the resolution, duration and style controls offered by the selected model. Keep the first test short so you can refine the direction before creating a longer result.
Generate and review the video
Start the generation and wait for the video to finish. Review motion, subject consistency, framing and unwanted visual changes before downloading or using the clip.
Set the generation inputs
When you choose a video action that generates a clip from scratch, the form gives you a small set of inputs that control the result: an optional reference image, the prompt, the model, the duration and the output size.
Add a reference image (optional)
Drop in a JPG or PNG to use as the first frame. The reference image has to match the width and height you request further down the form, otherwise the generation is rejected.
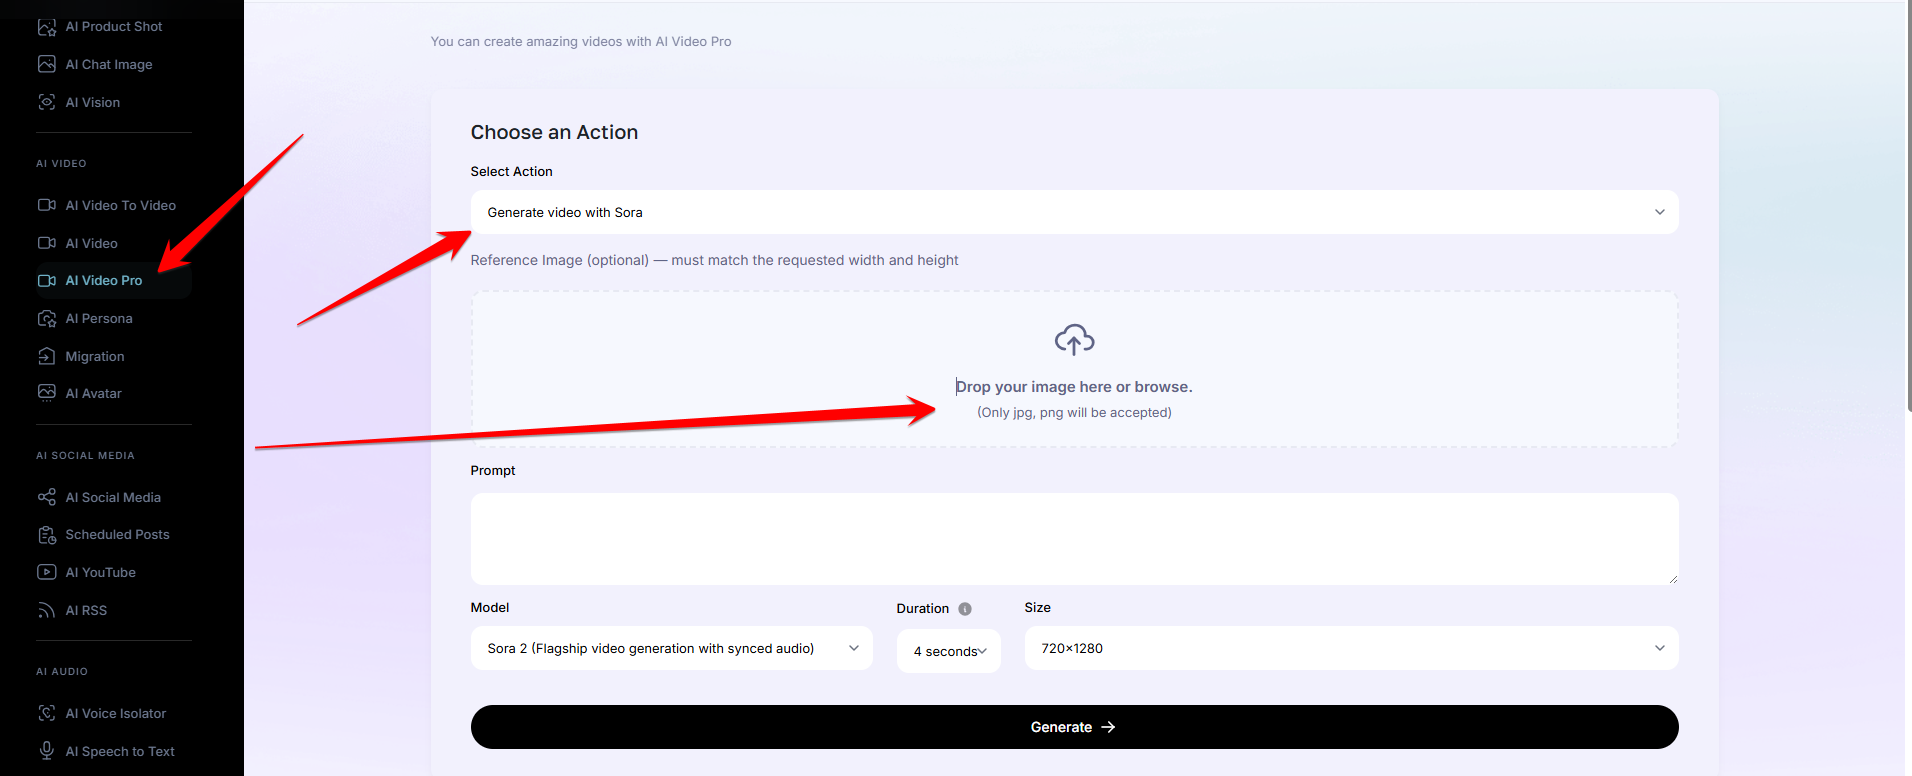
The reference image is optional and must match the requested output size. Write the prompt
Describe the subject, the setting, the action, the lighting and the camera movement in one clear paragraph. The prompt is required even when you supply a reference image, because it tells the model what should happen in the shot.
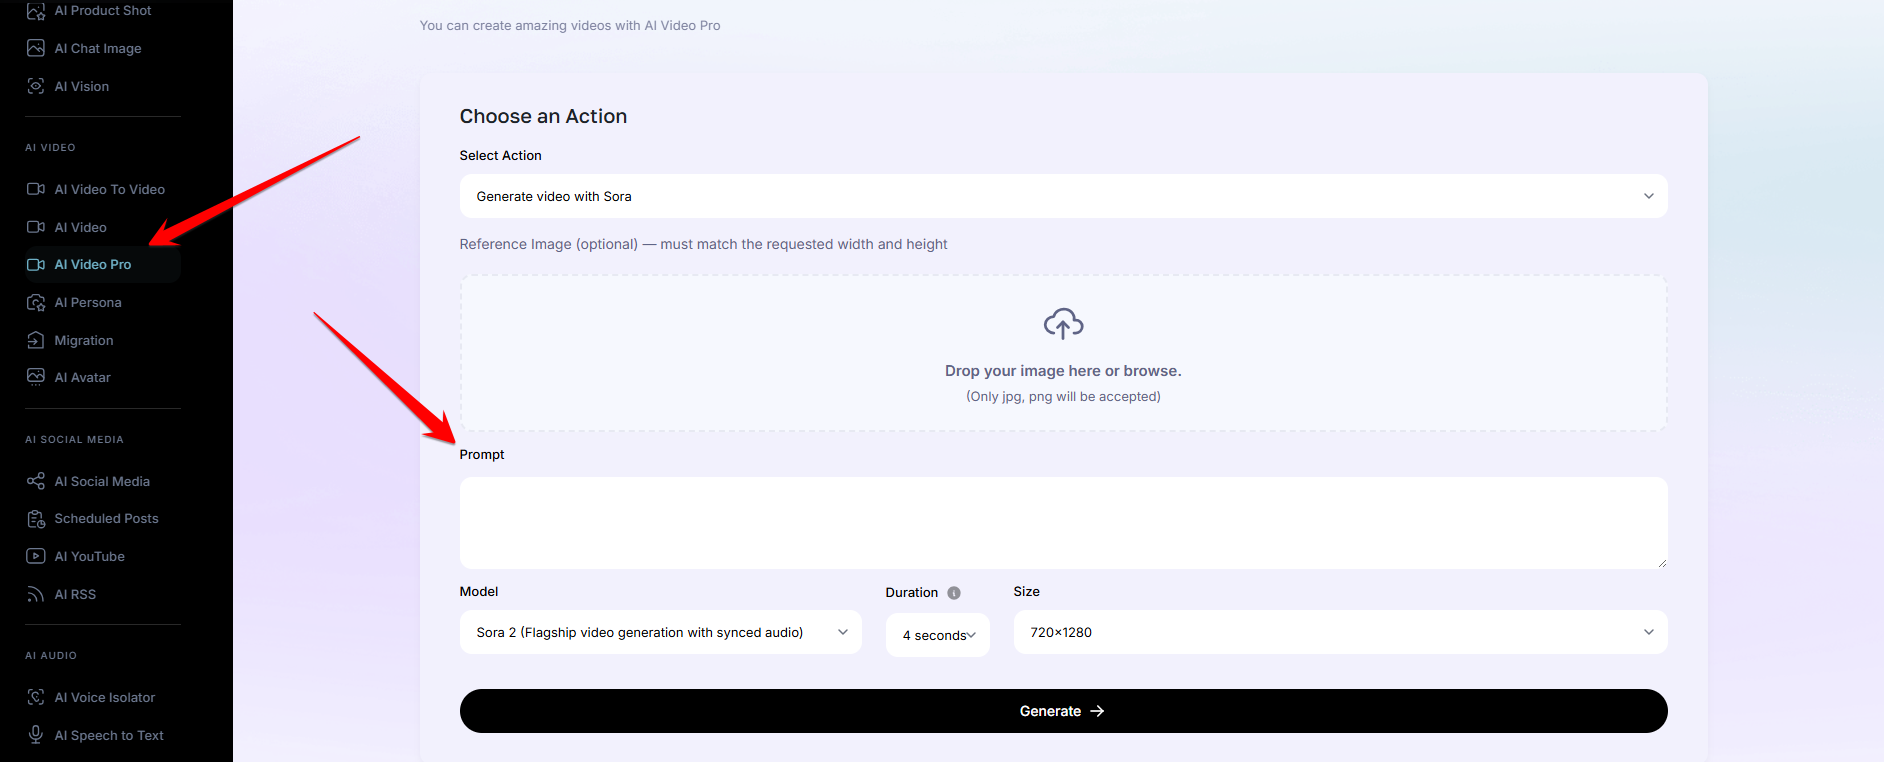
Describe subject, action, setting, light and camera in the prompt field. Choose the model
Pick the model variant you want to generate with. Variants differ in quality, speed and whether audio is generated alongside the picture, so check the label on the option before you run a longer clip.
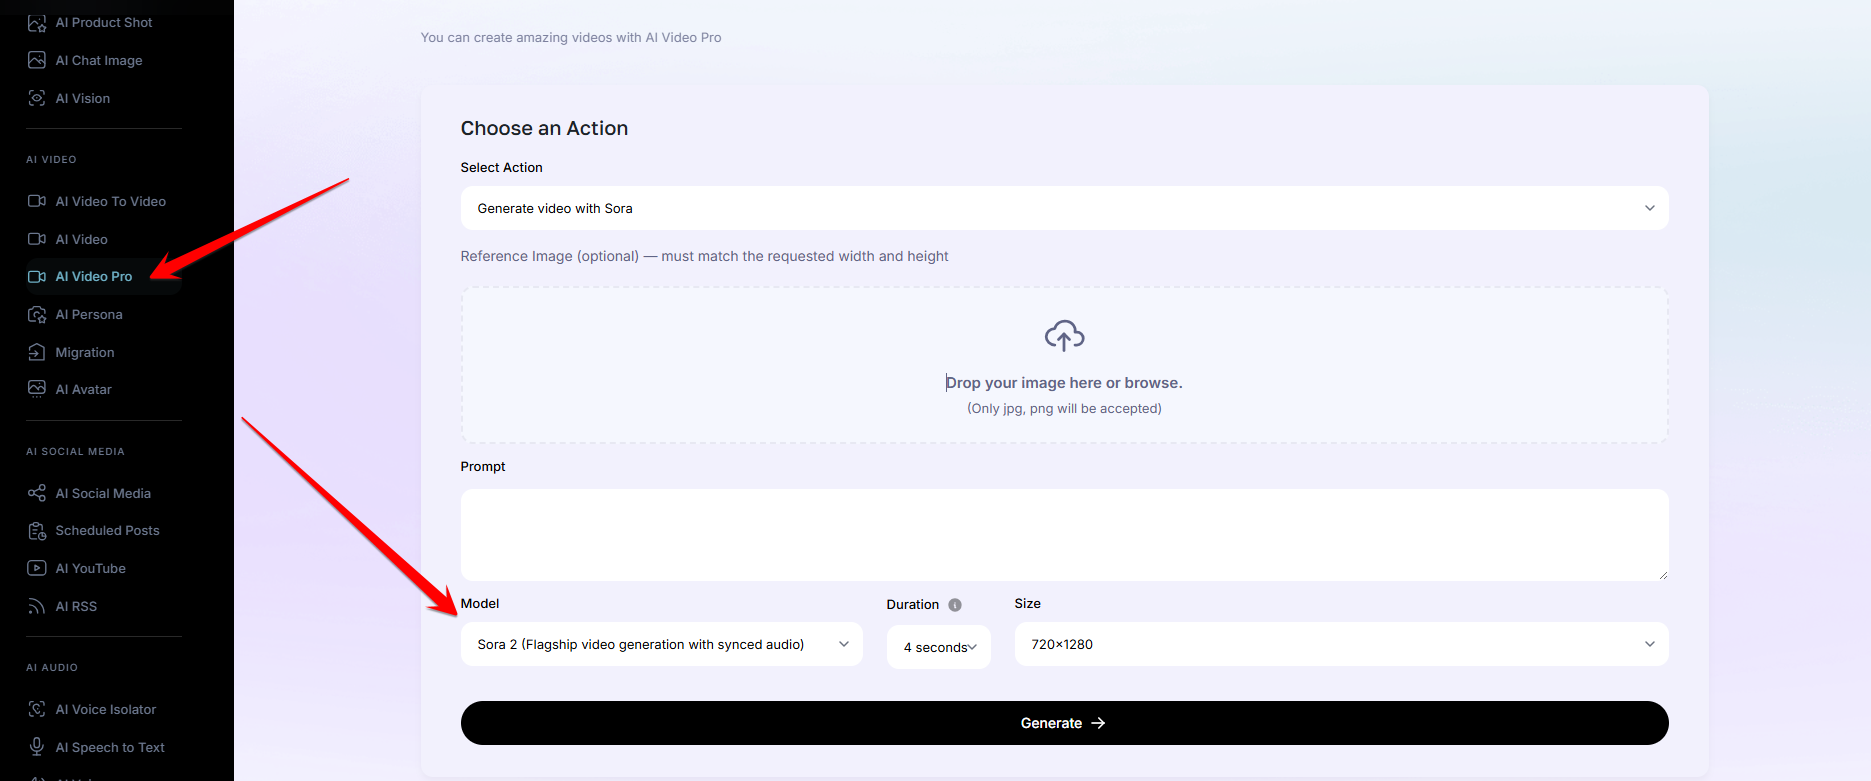
The model selector controls generation quality, speed and audio support. Set the duration
Choose the target length of the clip in seconds. Start with the shortest option while you are still testing the prompt, then re-run at full length once the direction is right.
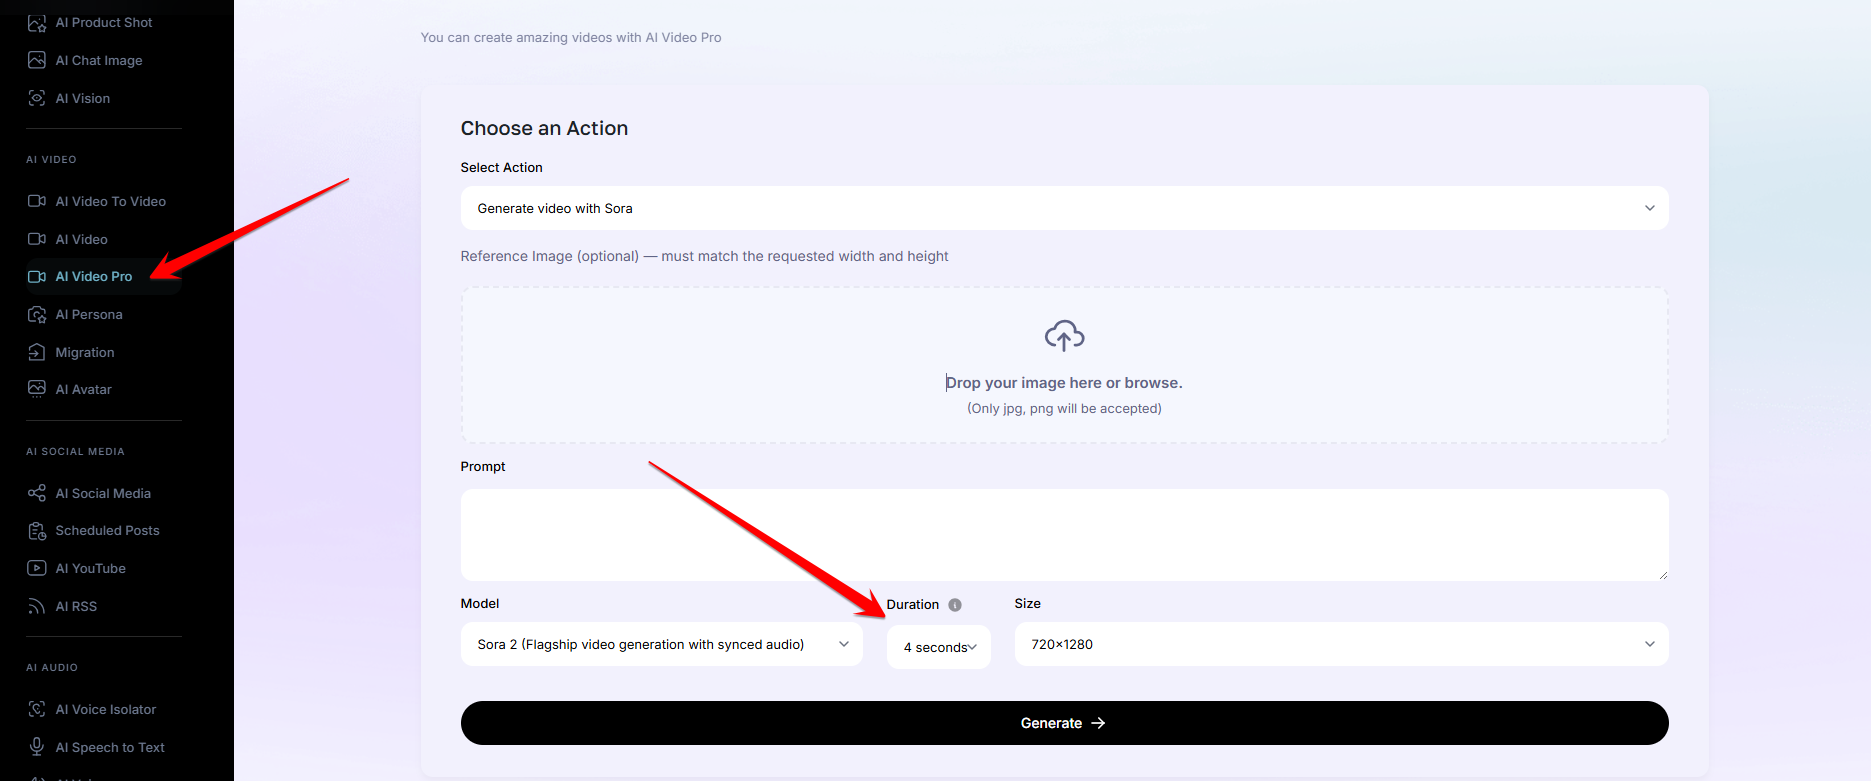
Duration sets the target length of the generated clip. Set the size and generate
Select the output resolution and aspect ratio for the platform you are posting to, then select Generate. Vertical sizes suit Reels, Shorts and TikTok, while landscape suits YouTube and site embeds.
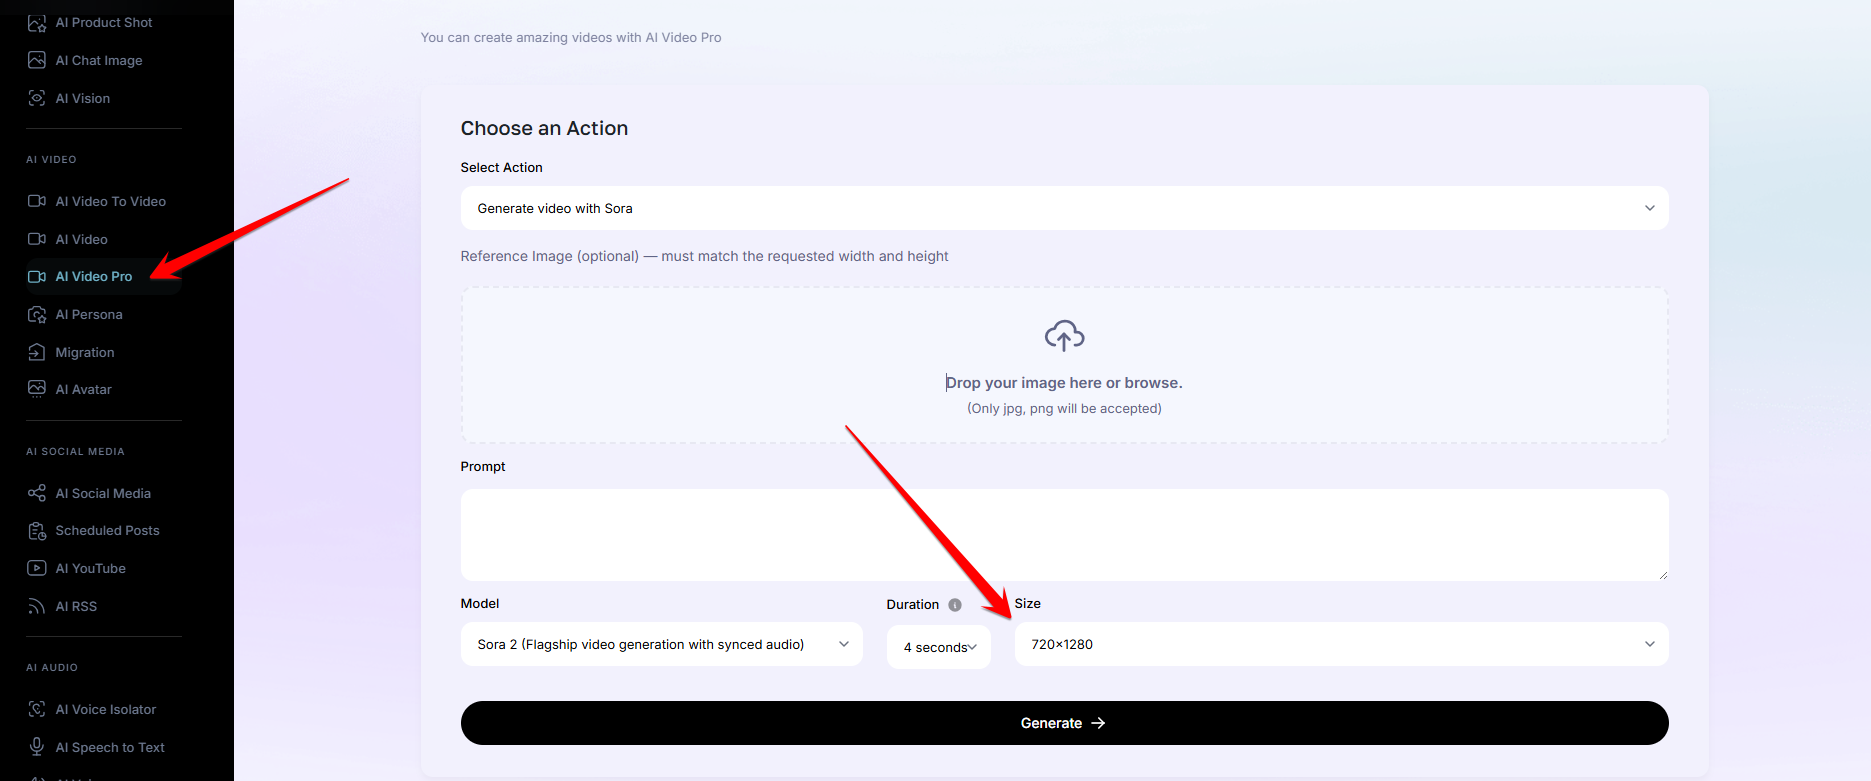
Pick the output resolution and aspect ratio before generating.
Write a stronger video prompt
| Prompt detail | Example |
|---|---|
| Subject | A ceramic coffee cup on a wooden counter |
| Action | Steam curls upward as morning light moves across the surface |
| Camera | Slow push-in from a medium shot |
| Look | Natural light, realistic texture, warm editorial color |
Choose the right starting point
- Use text-to-video when the scene does not need to preserve an exact existing subject.
- Use image-to-video when the starting composition, product or character already matters.
- Keep motion instructions simple and physically plausible for the cleanest first result.
Limits and good practice
- Generated motion can change faces, hands, products, text and fine details between frames.
- Review every clip before publishing, especially when it represents a real product or person.
- Model choices and their supported settings can vary by plan and availability.
- Use only source images and likenesses you are authorised to process.
Ready to try it?
Try AI Video Pro in AmmarAI